
If you’ve ever looked at Starlink’s website and wondered which plan fits you best, you’re not alone. There are a few different dishes: the Standard, the High Performance, and the Mini, along with a few plans like Residential, Roam, and Business. Once you put it into perspective, it’s actually pretty simple. You just need to know what each option is built for.
Let’s break it down and see what makes sense for how you use Starlink, whether you’re parked at home or somewhere far off the grid.
Why Starlink Pricing Works the Way It Does
Starlink isn’t one size fits all. The company built different plans to match how and where people use their dishes.
There are two main costs to keep in mind:
-
The hardware cost, which is a one-time fee for your dish and router.
-
The monthly service cost, which depends on your plan and location.
The standard Starlink kit usually costs around $349 USD. After that, your monthly price changes depending on whether you’re staying put, traveling, or running a business.
The Main Starlink Plans
Here’s what Starlink offers right now:
-
Residential – around $120 a month. This is for a fixed address, like your house or cabin.
-
Roam (Regional) – about $150 a month. Lets you travel anywhere in your region with the same dish.
-
Roam (Global) – around $200 a month. Works anywhere on Earth where Starlink has coverage.
-
Mini Plan – about $50 a month, made for the smaller Starlink Mini dish with limited data.
-
Business / High Performance – starts around $250 a month, built for heavy use and faster speeds.
These prices can shift by country, and Starlink sometimes lowers rates in rural or high-demand areas.
What You Actually Get for the Price
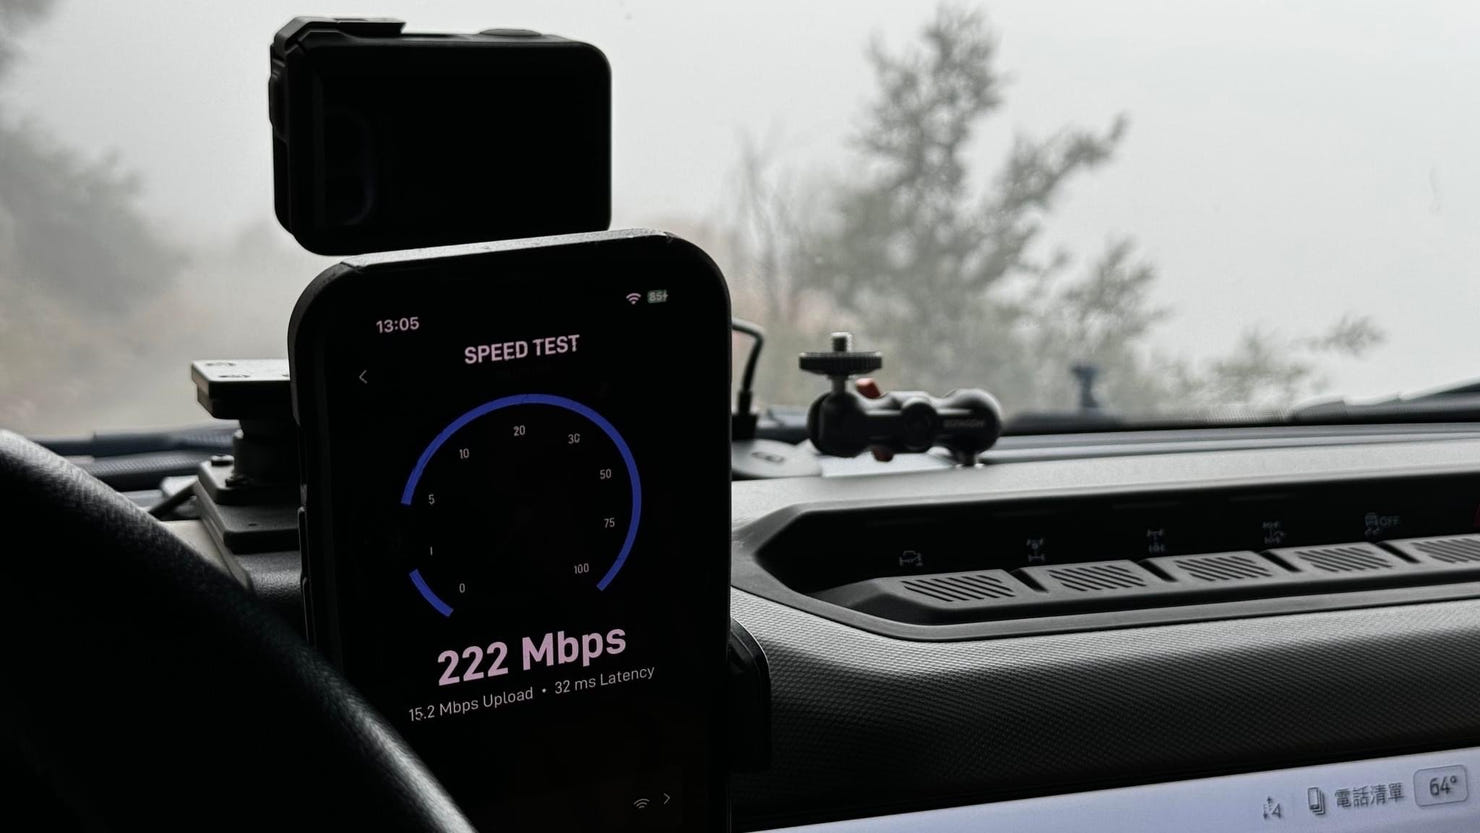
Every plan gives you access to the Starlink satellite network. That means high-speed internet almost anywhere with a clear view of the sky.
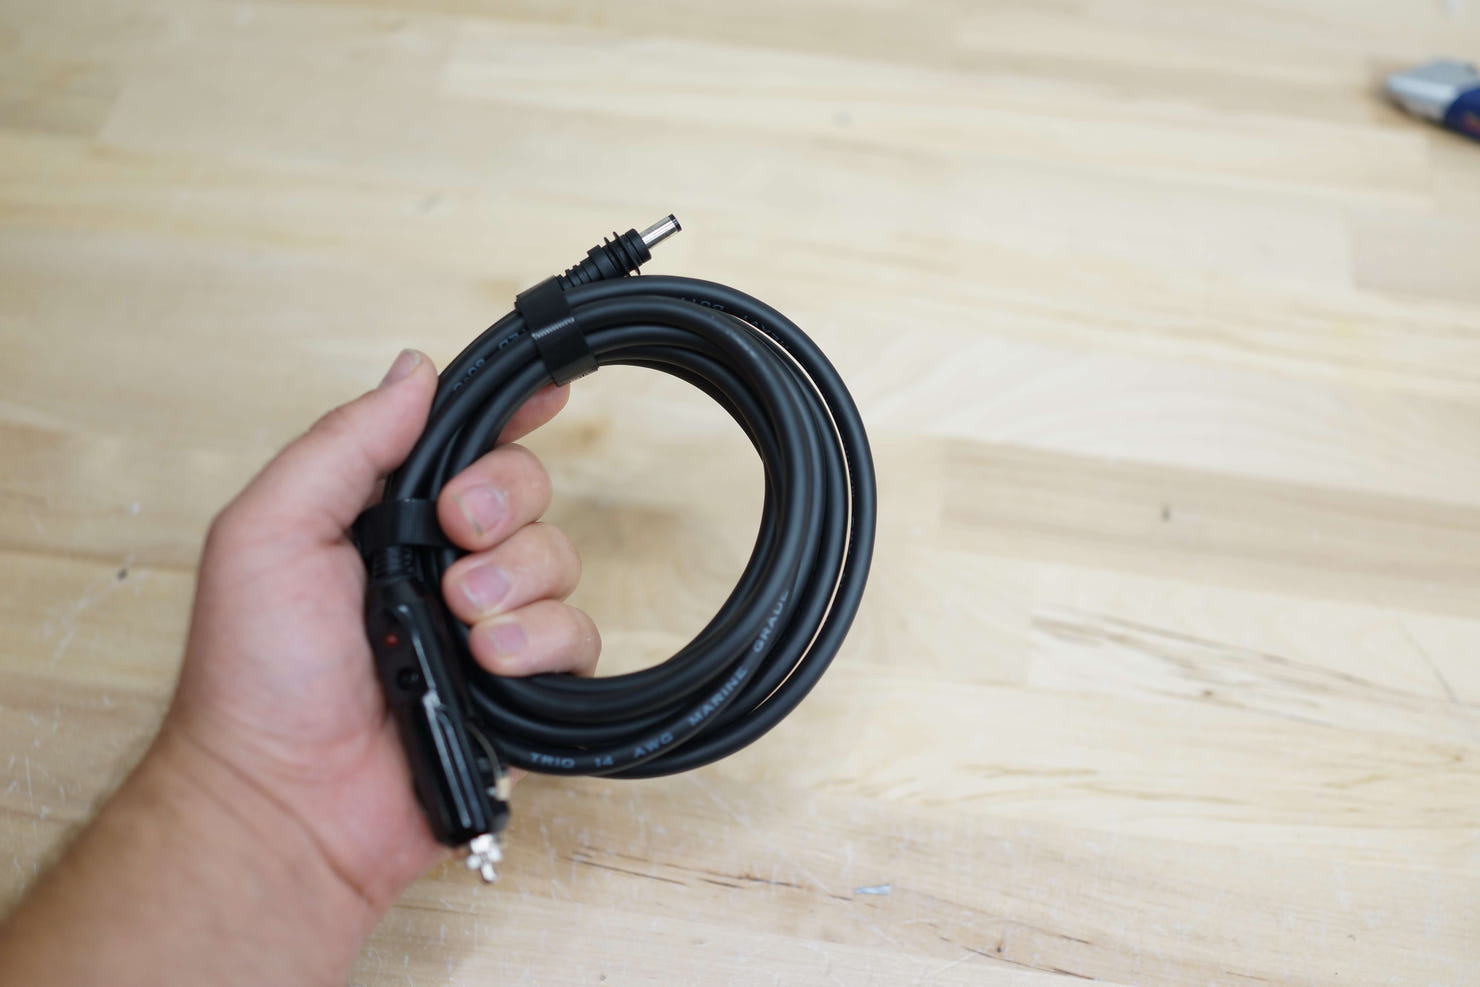
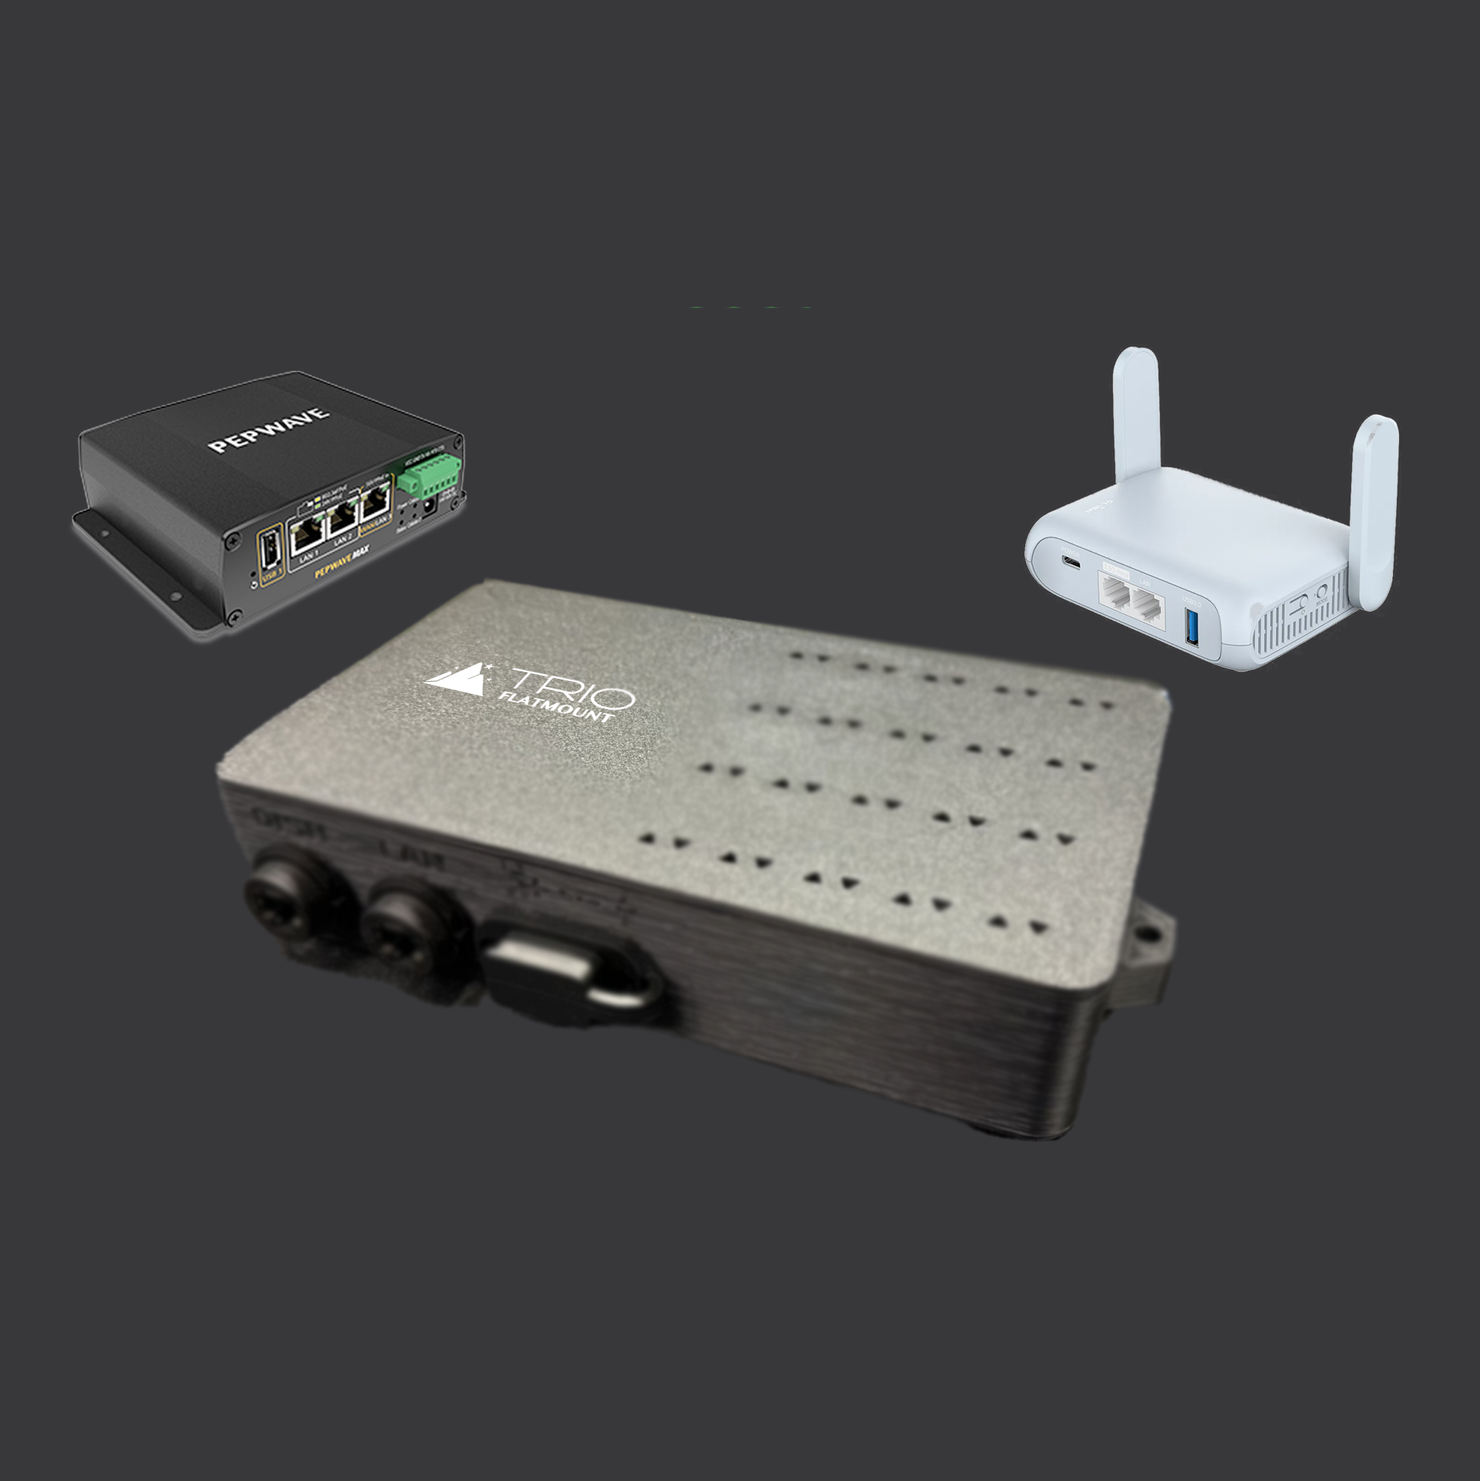
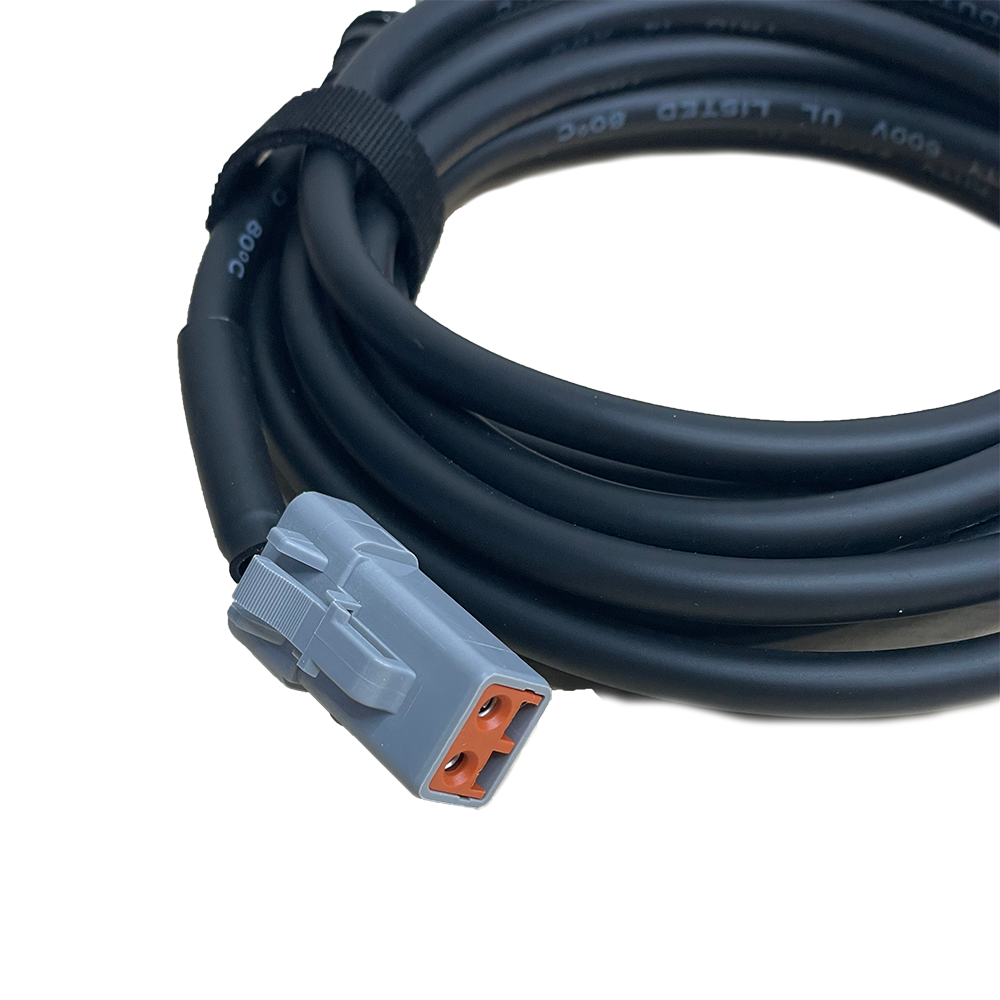
Your Starlink kit includes the dish, router, and cables, so you can set up right away. What it doesn’t include is the mount, and if you plan to use Starlink on your van, boat, or RV, that part matters more than people think.
The Starlink Mini
The Mini is one of Starlink’s smaller and more portable dishes. It’s lighter, draws less power, and was built for people who want to stay connected on the road or off the grid. You can throw it in your backpack or mount it to your roof and hit the road.
It’s more affordable than the standard kit, but the Mini plan also comes with limited priority data, which can mean slower speeds during peak hours. Still, for most travelers, it’s more than enough to stream, send a Slack message to your boss, or check the weather in the middle of nowhere.
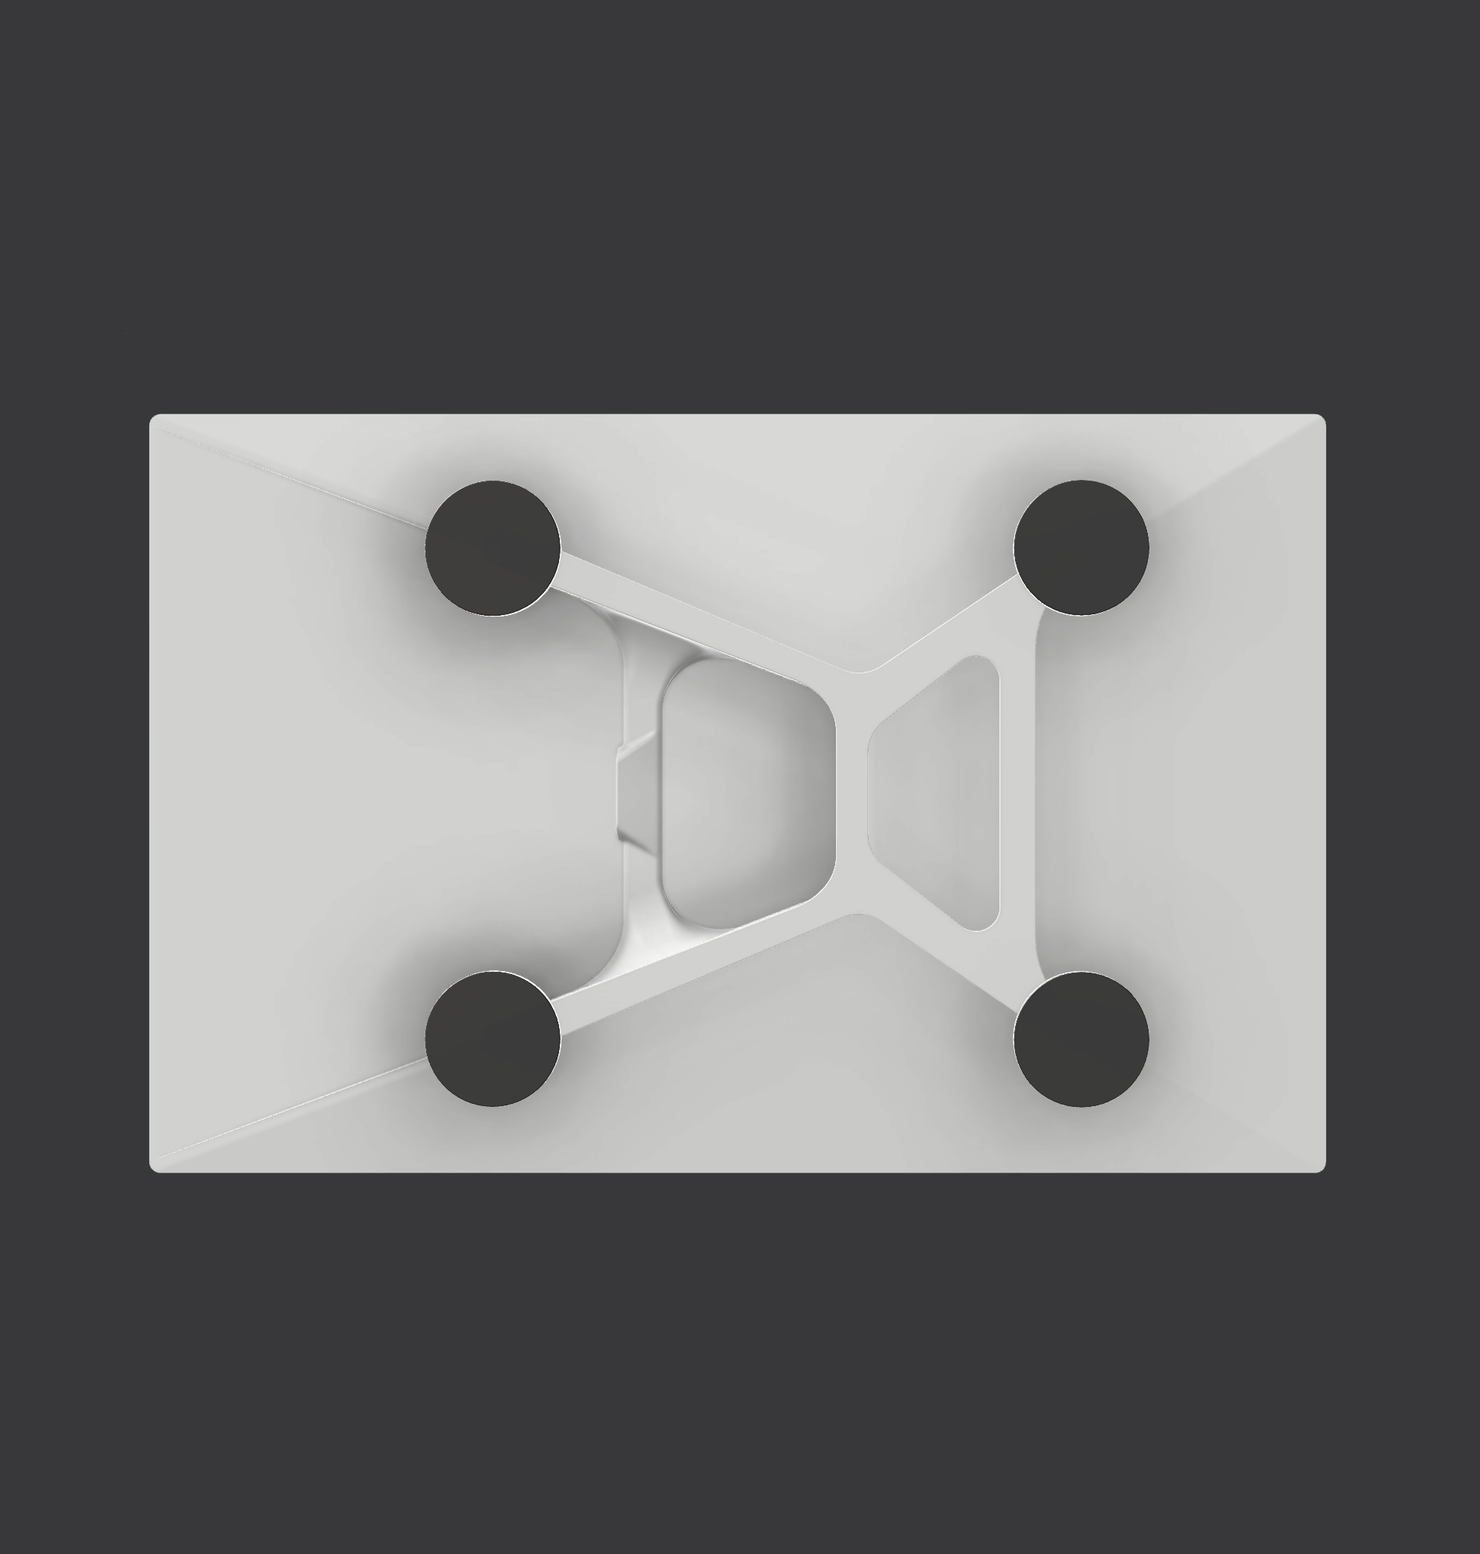
Pair it with something like the Mini Speedmount, and you’ve basically got Wi-Fi you can take anywhere.
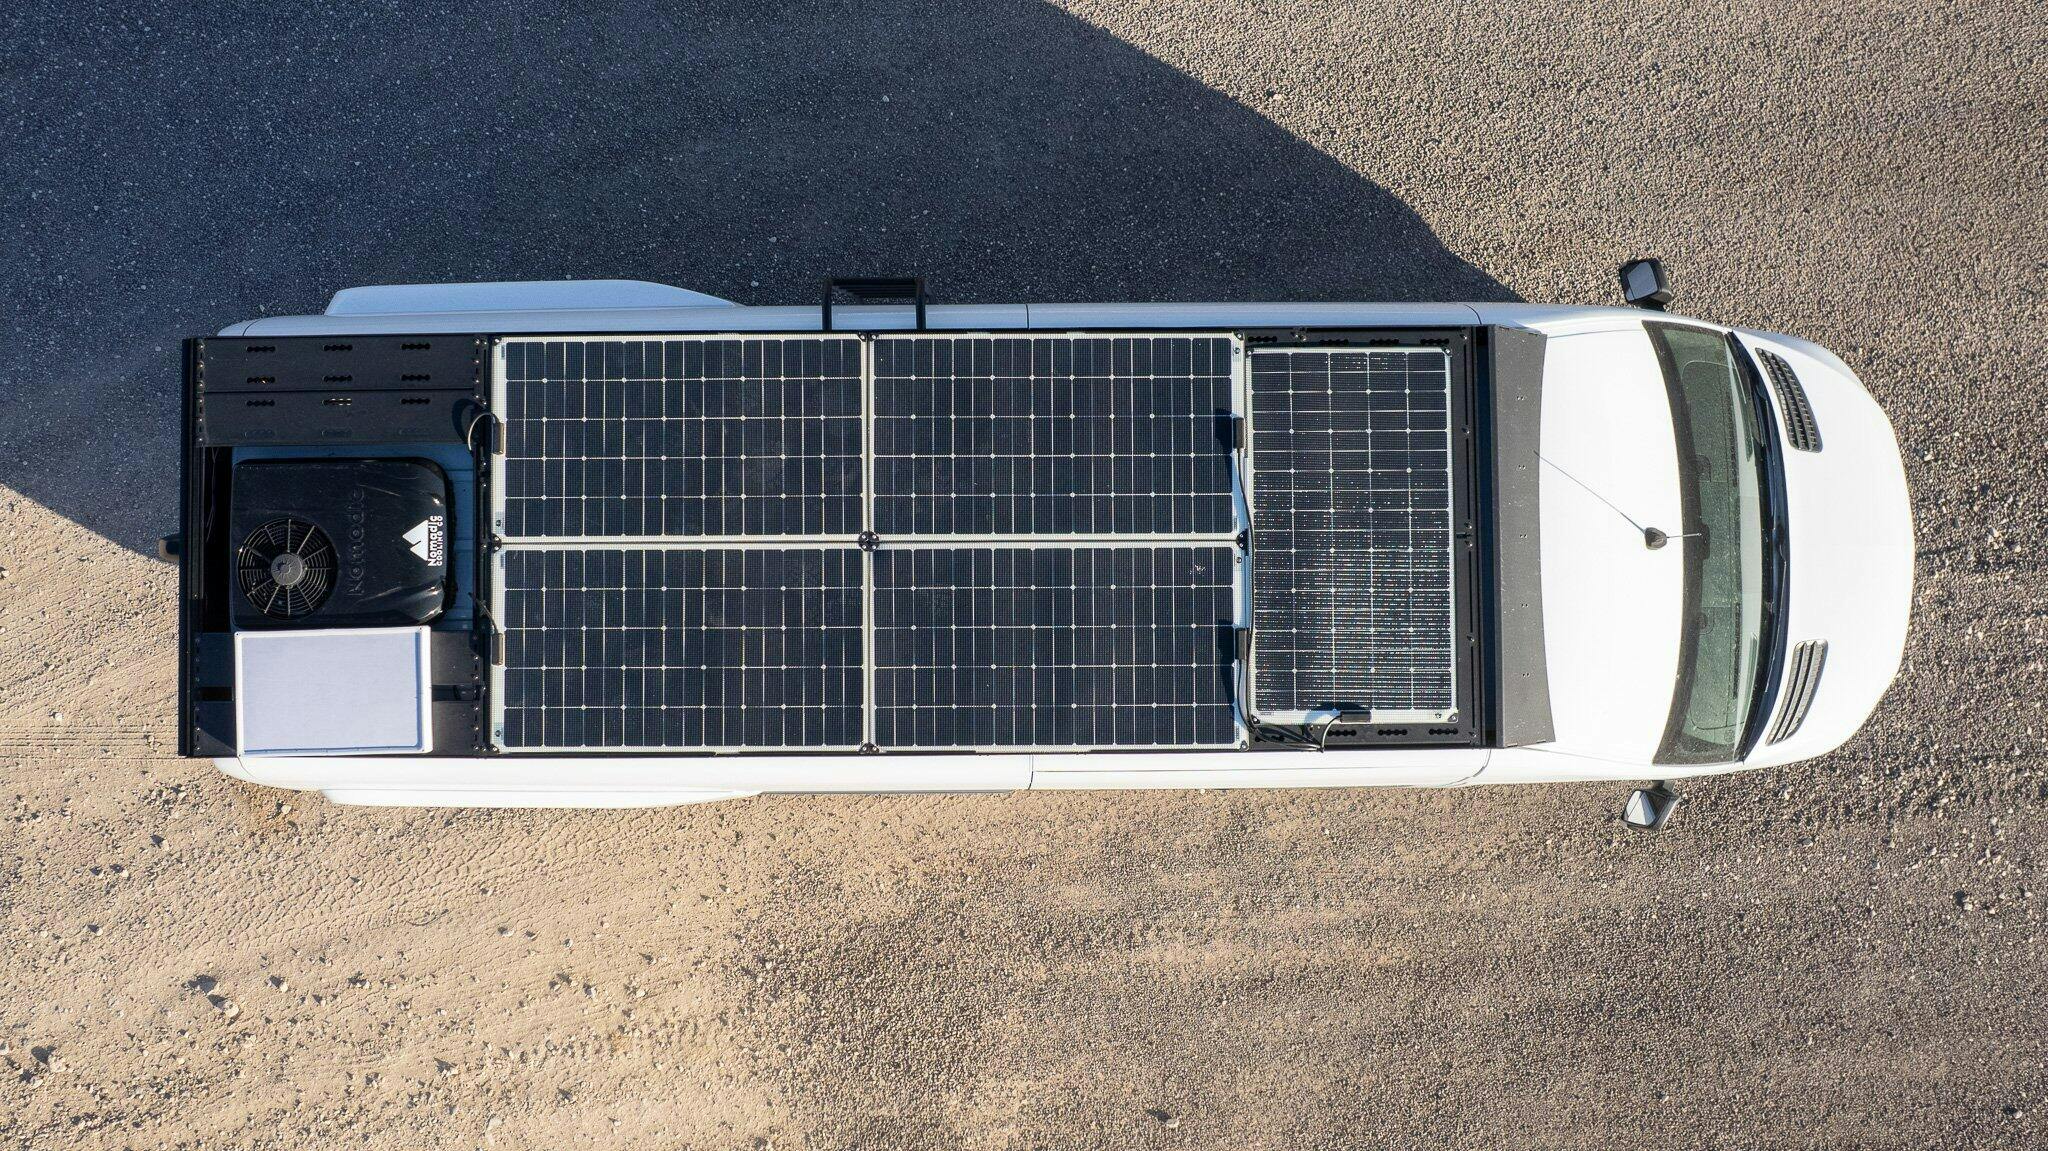
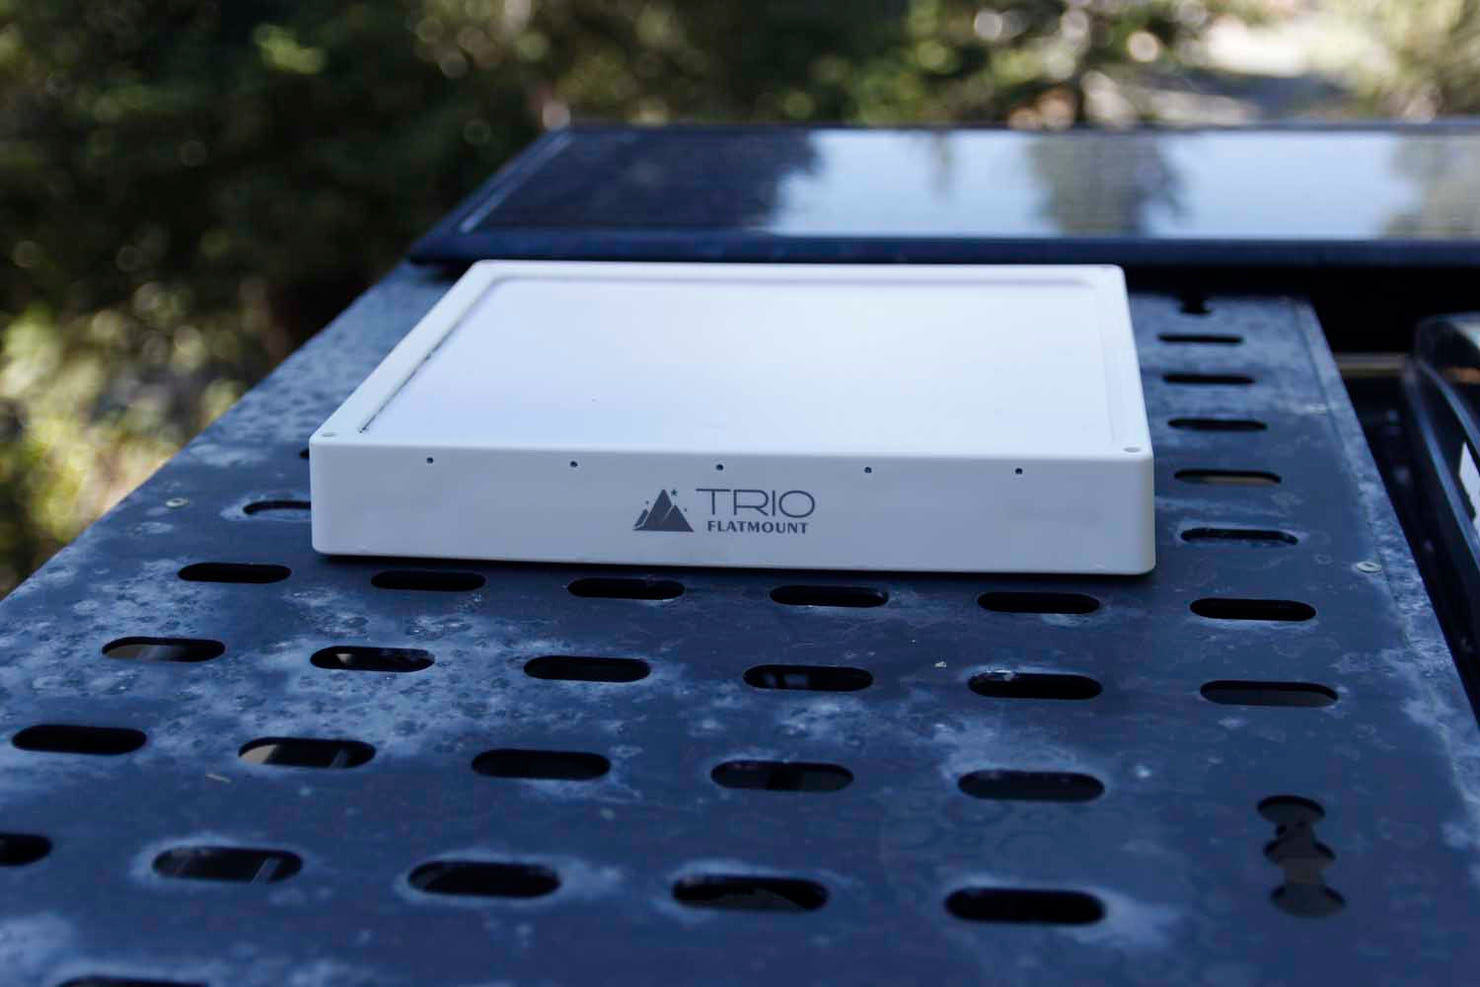
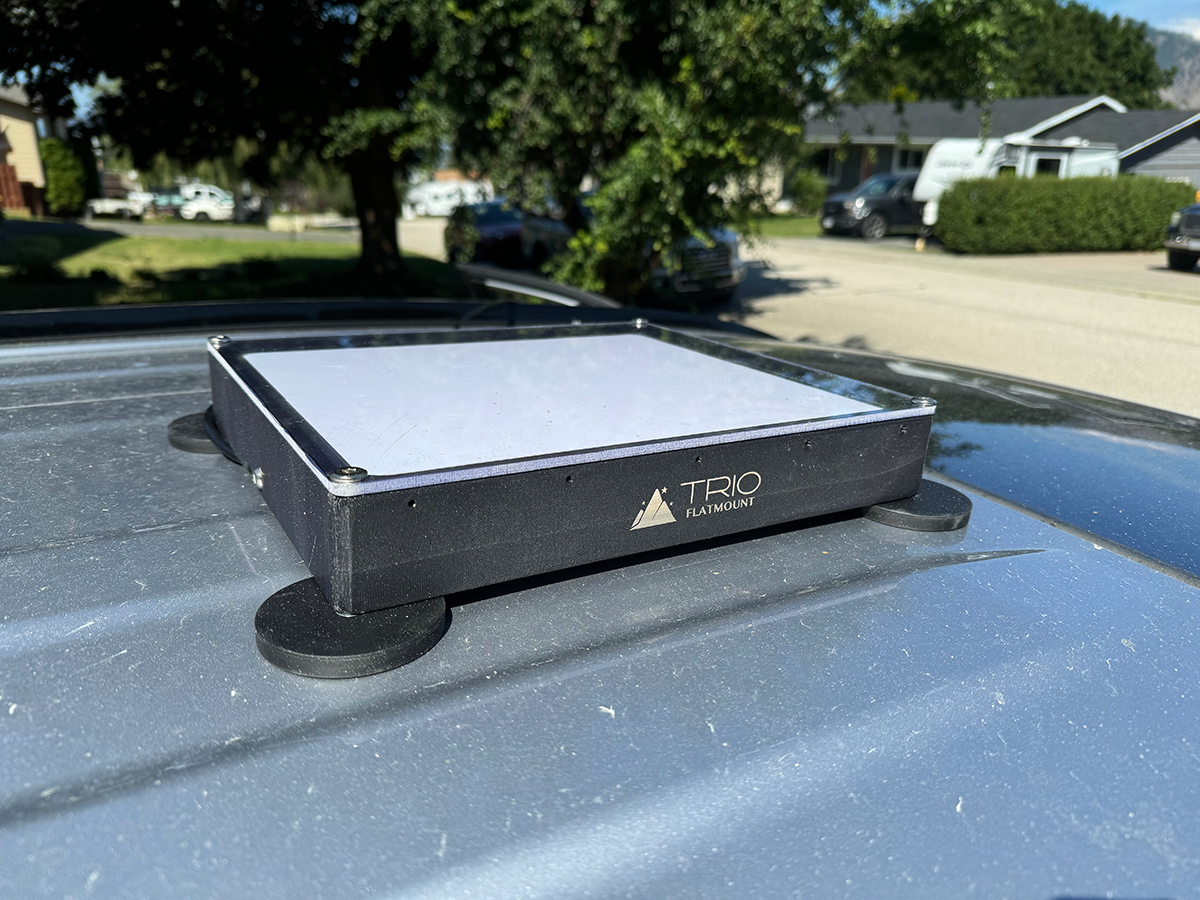
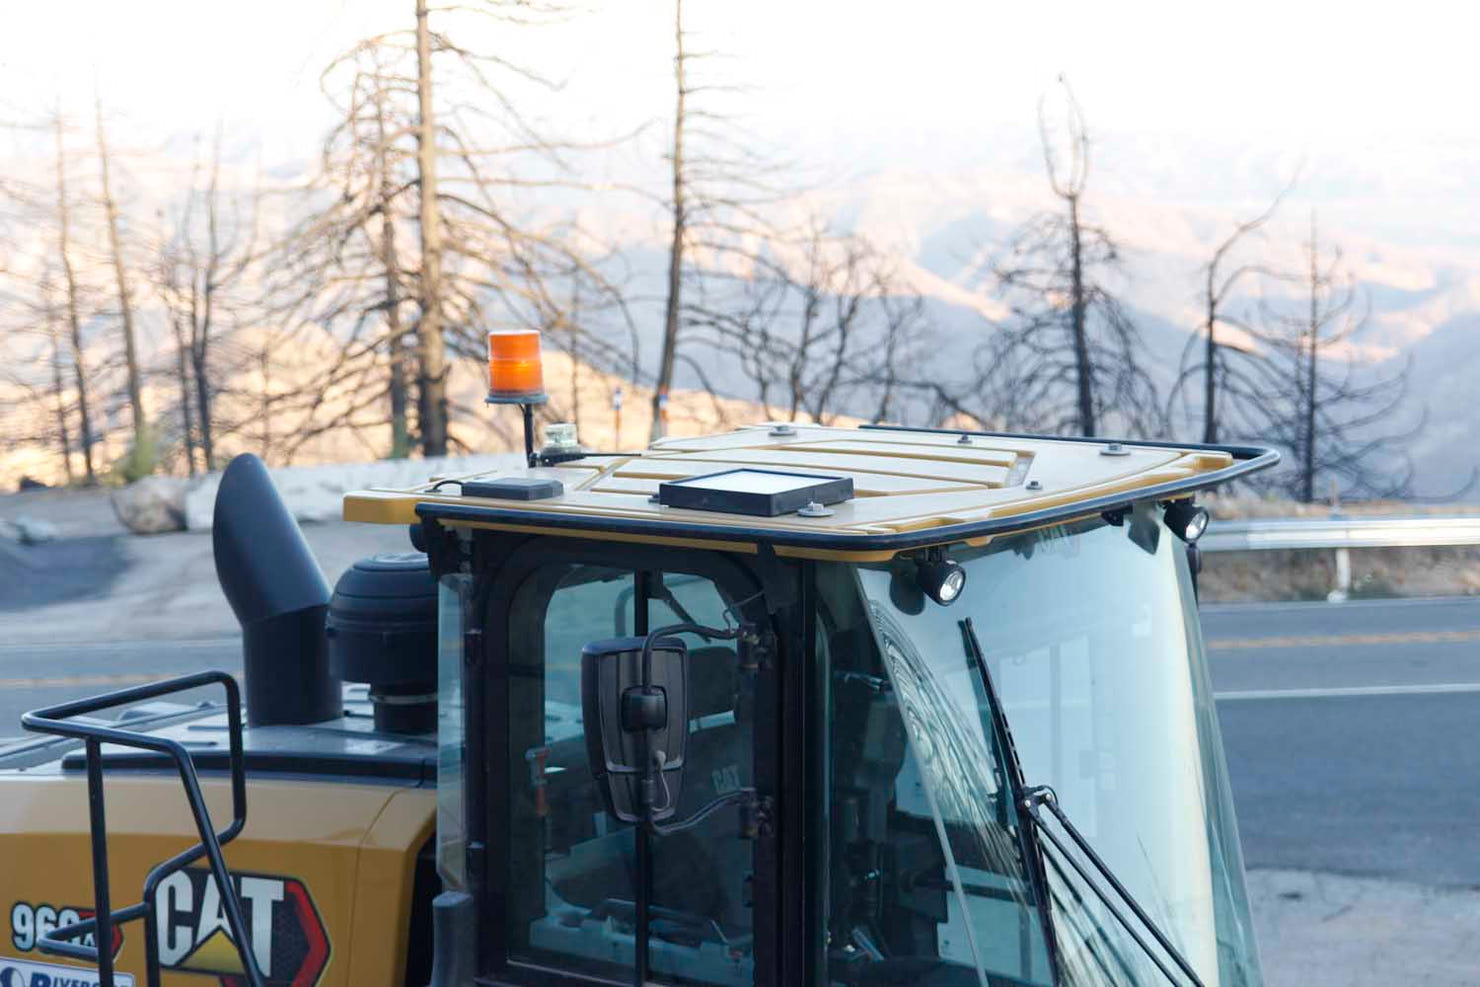
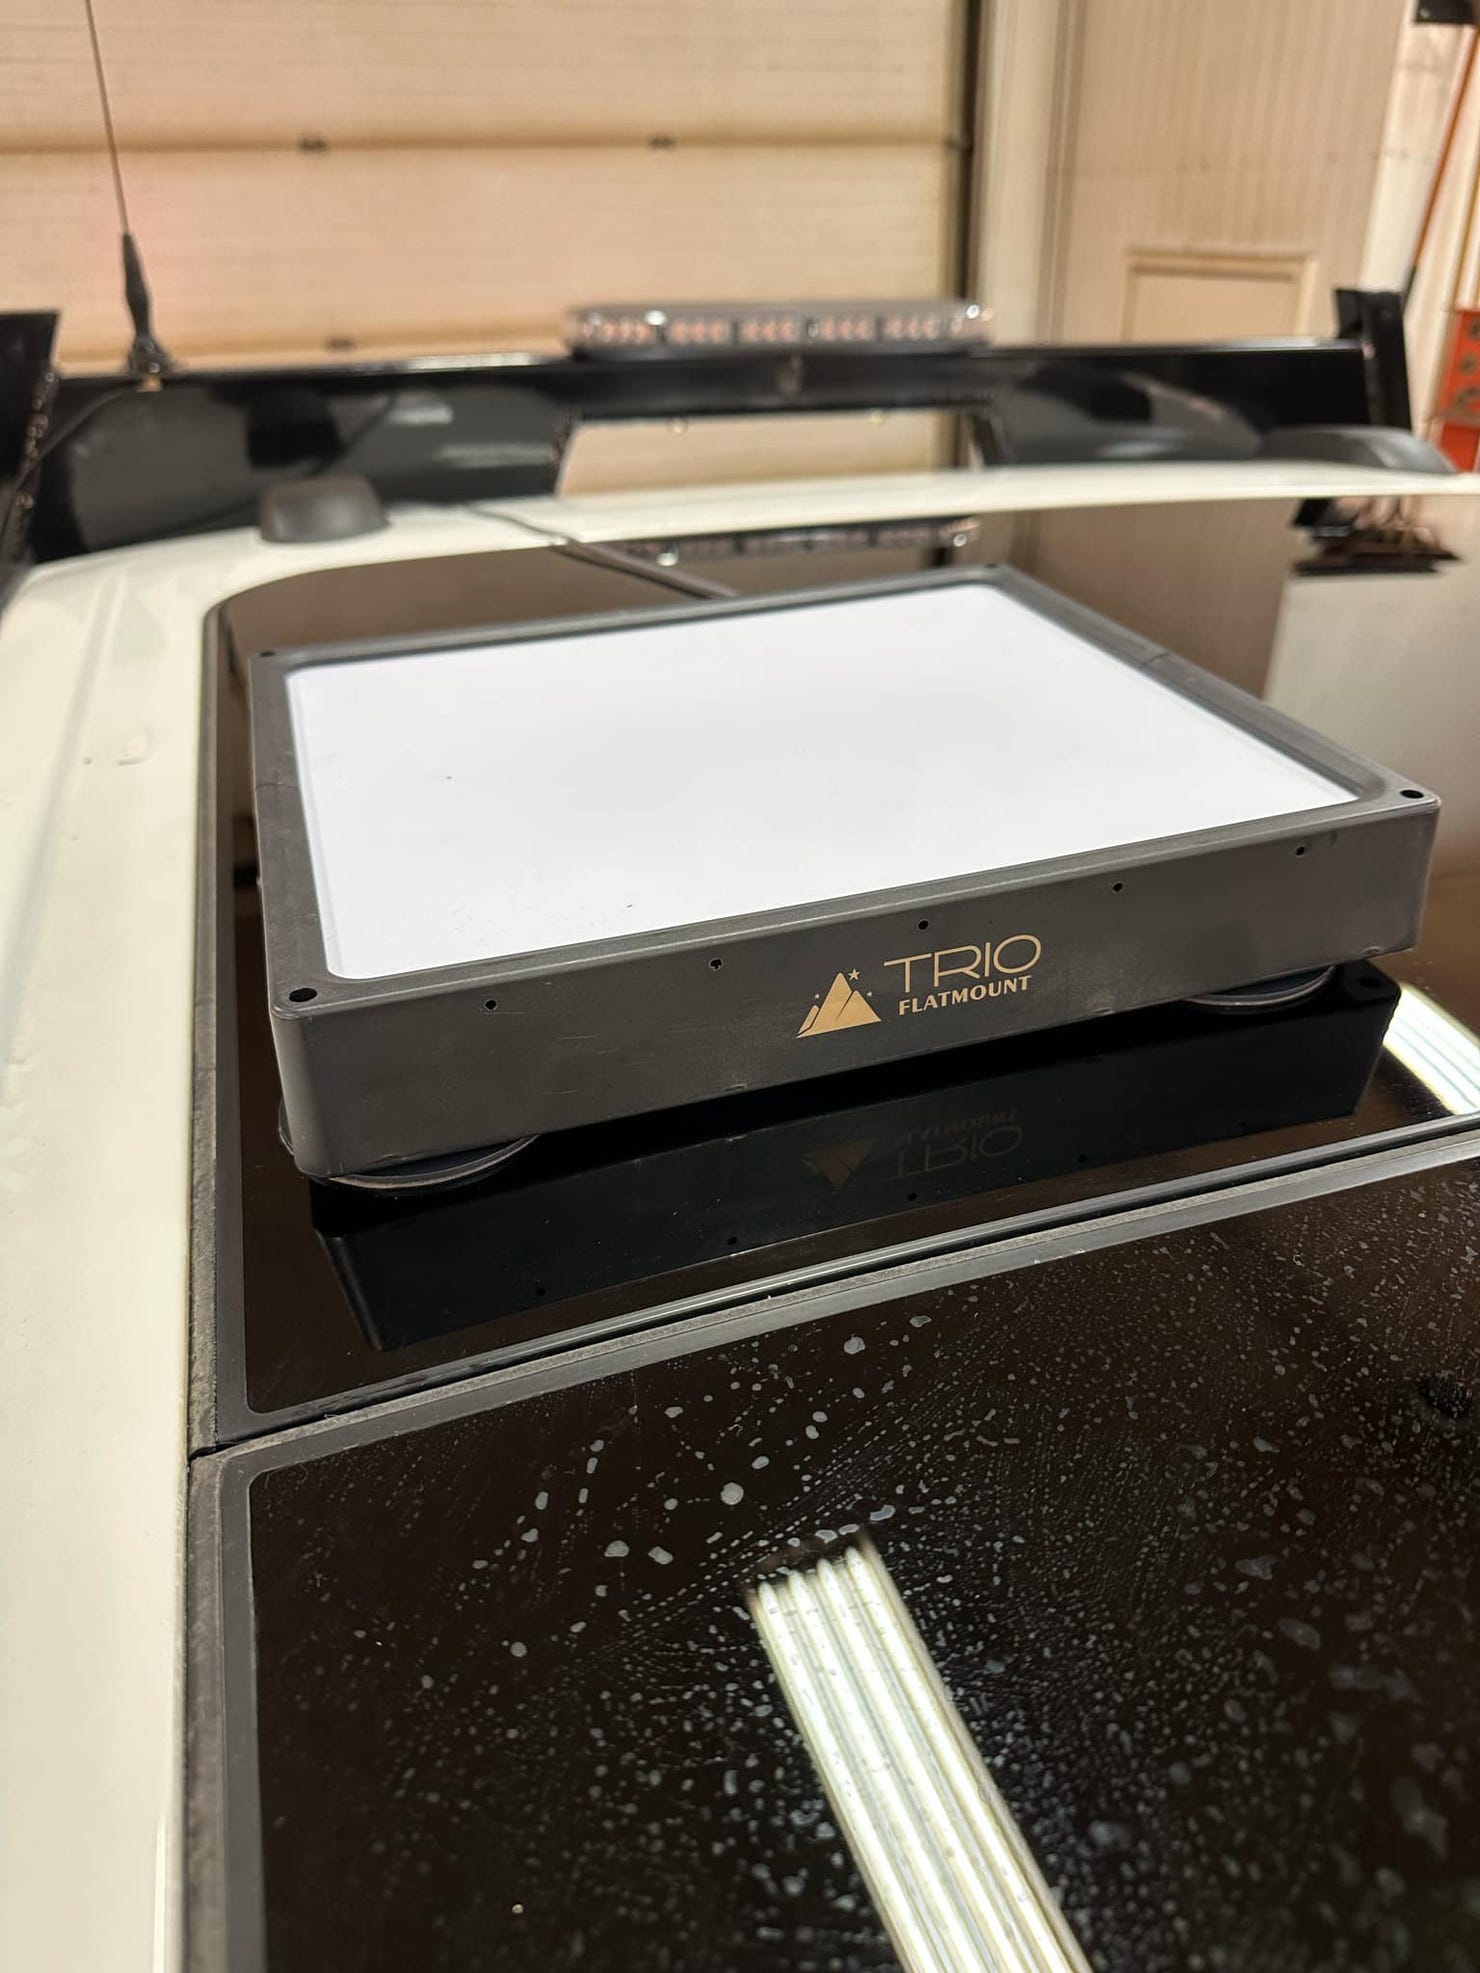
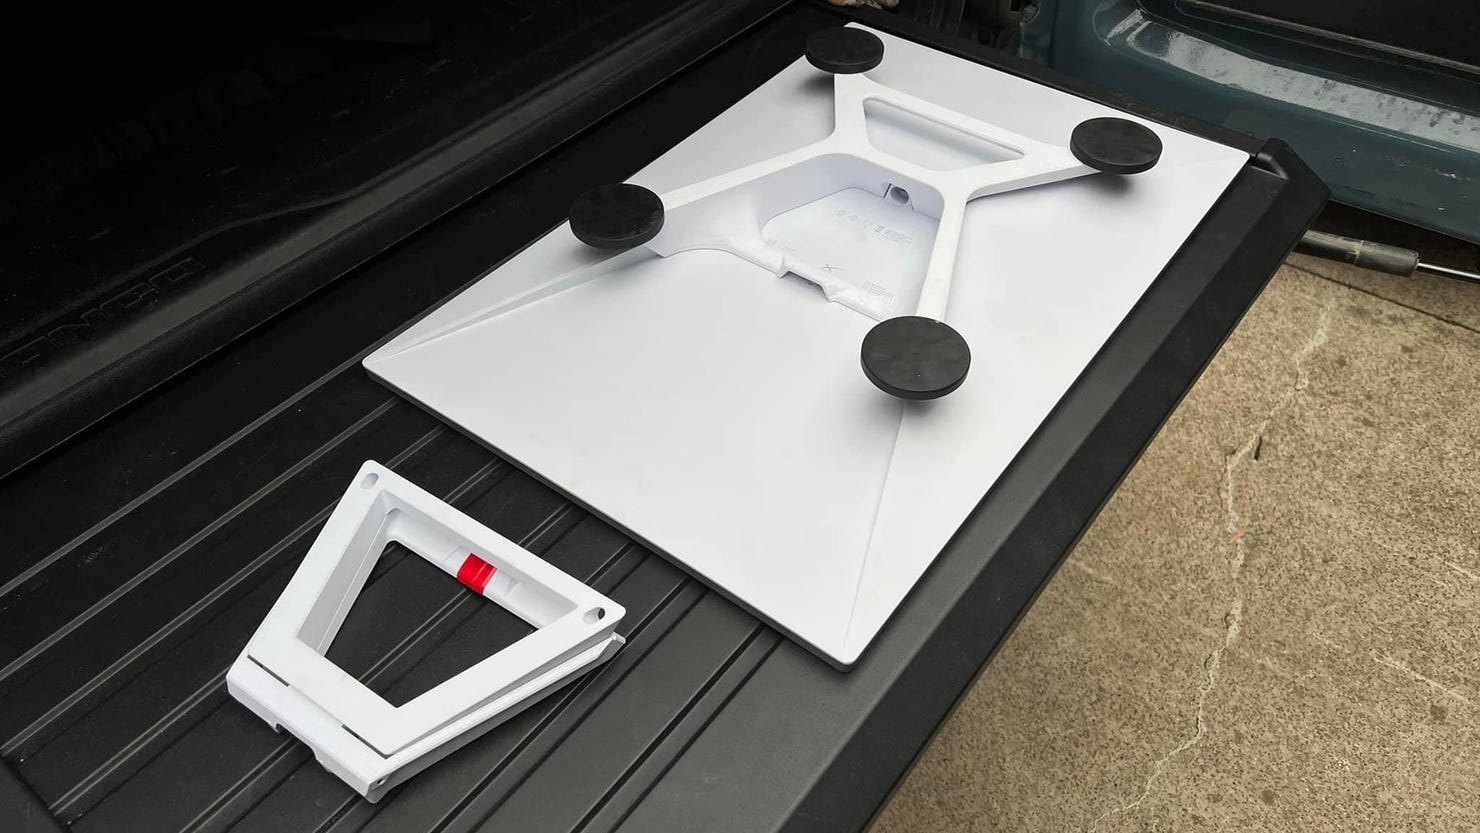
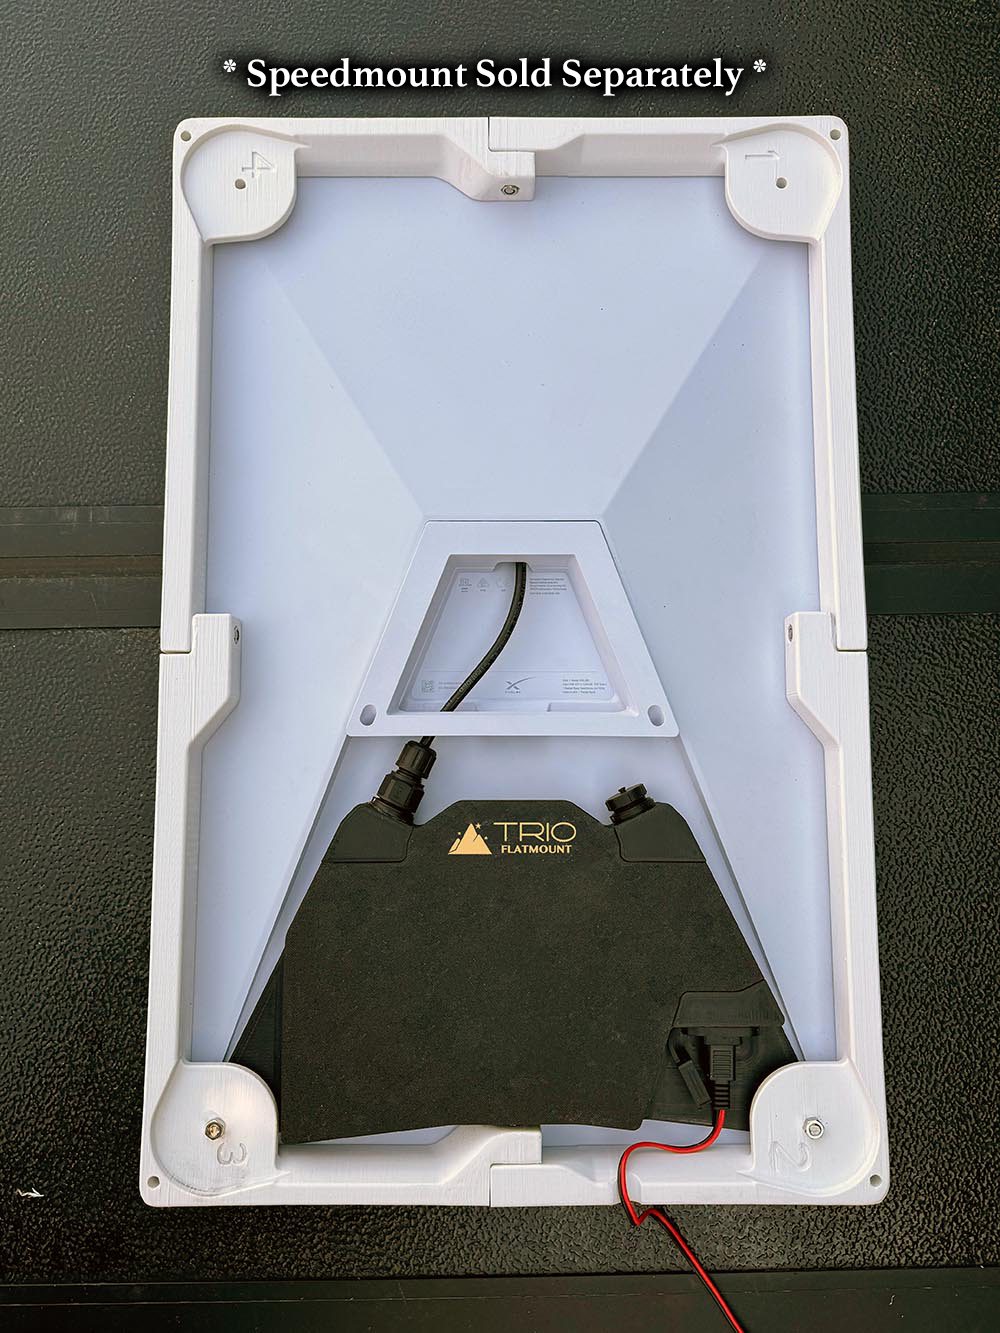
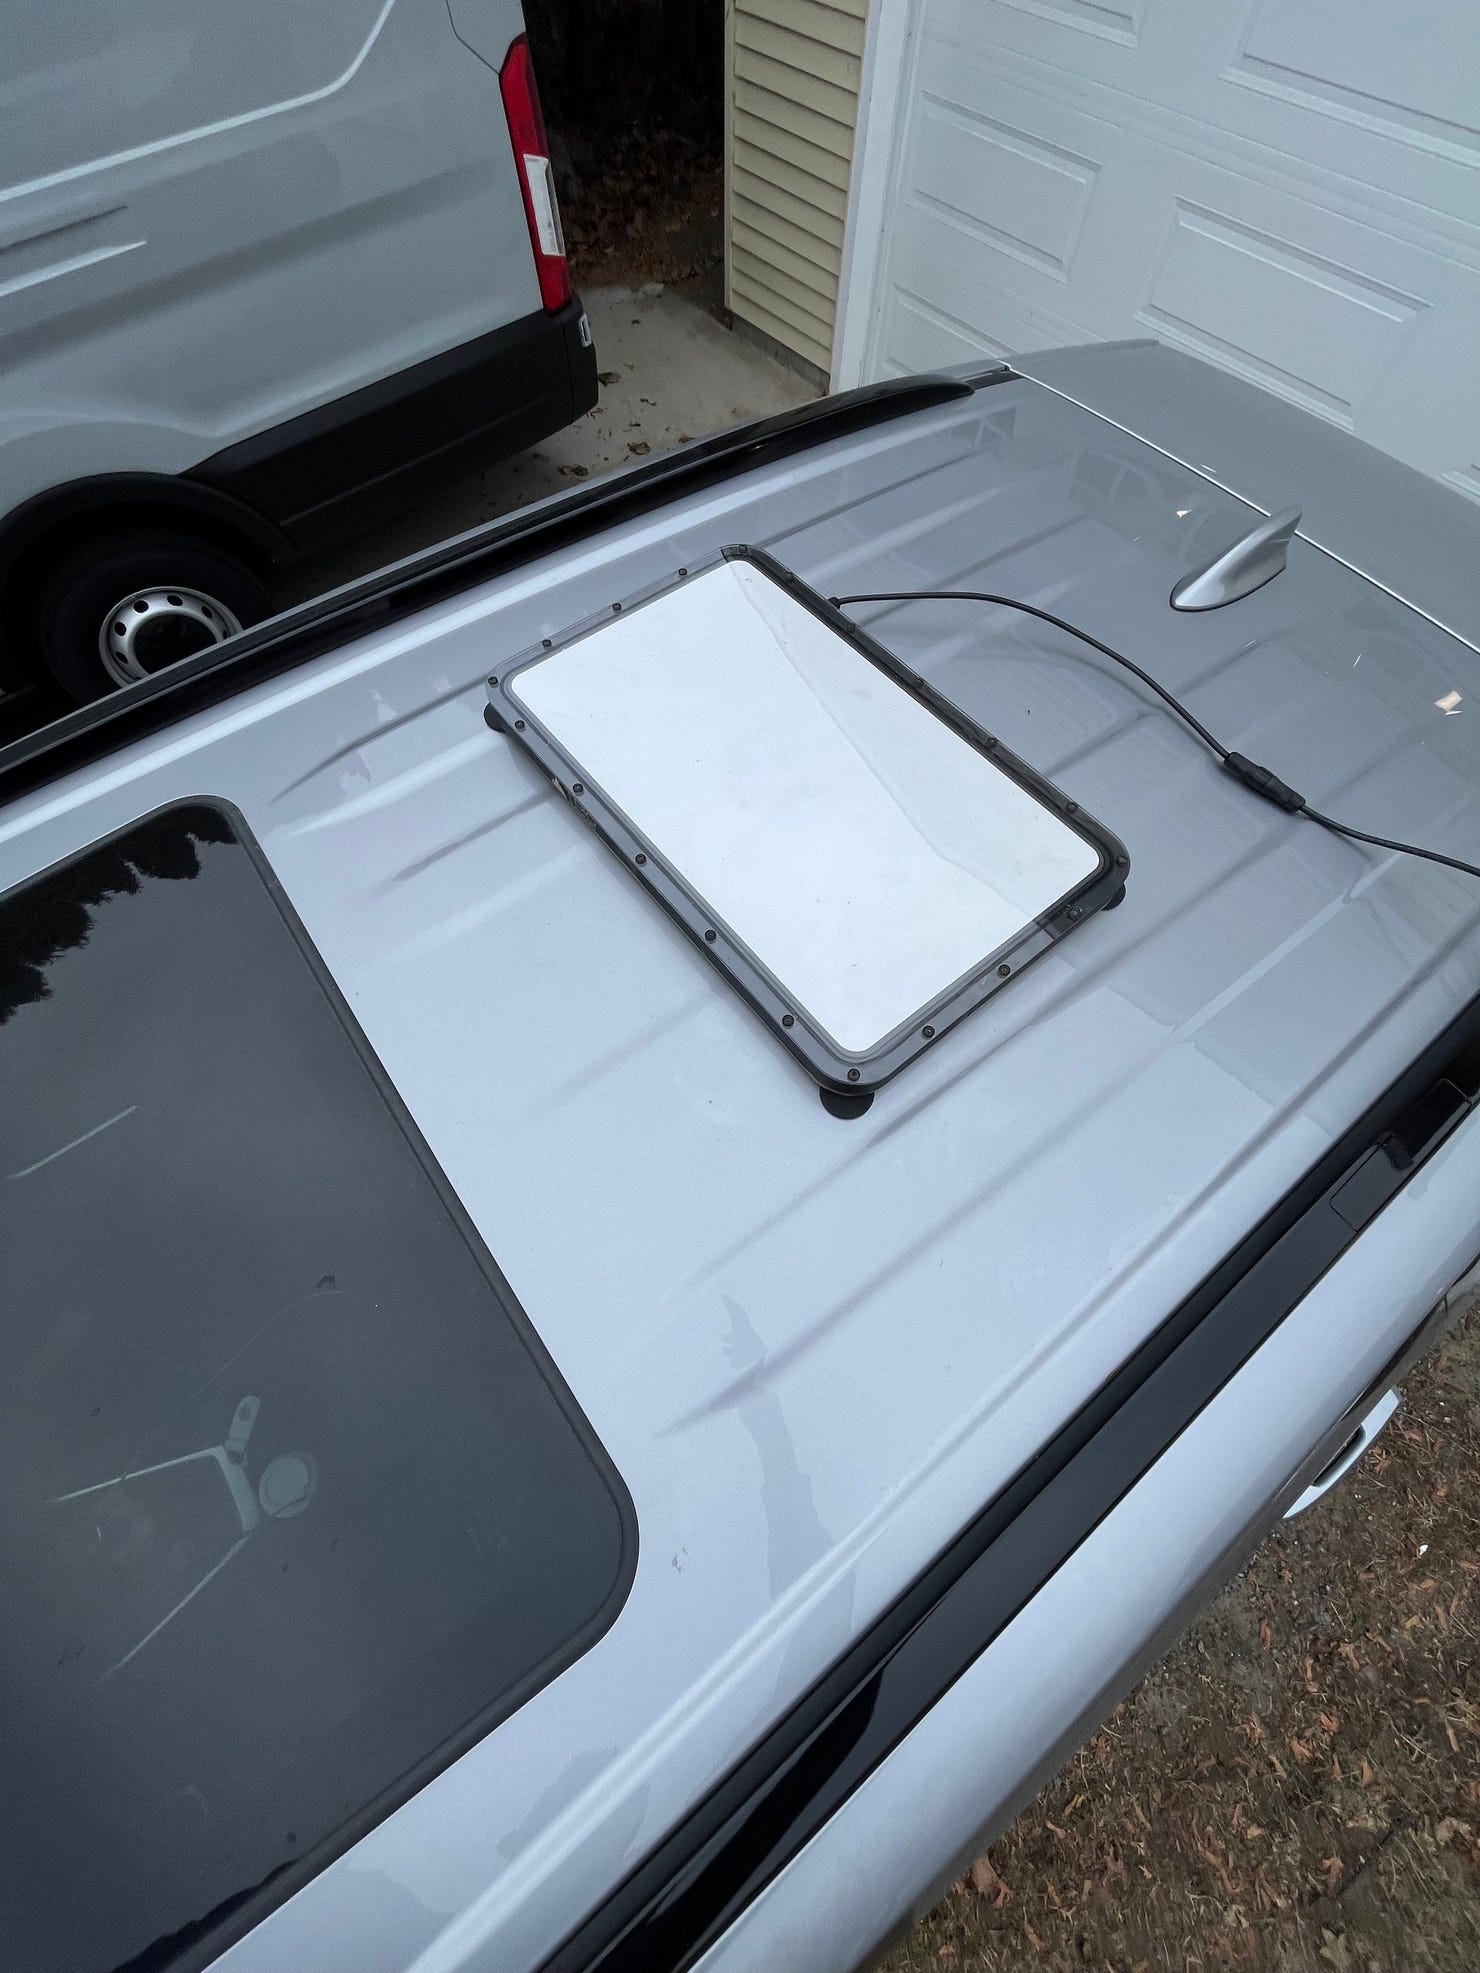
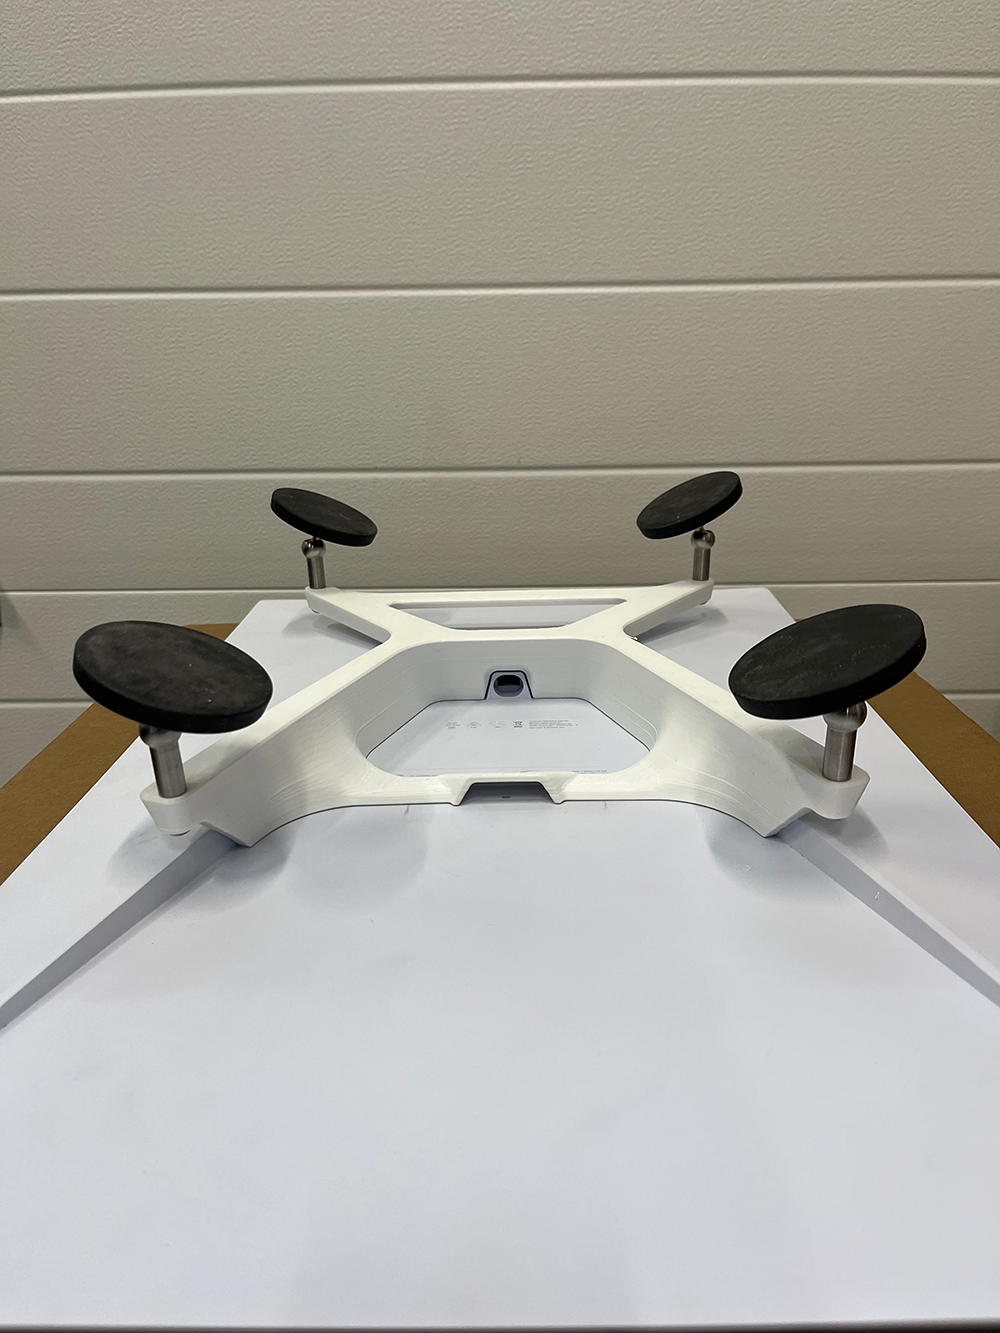
After You’ve Picked a Plan, How Do You Mount It?
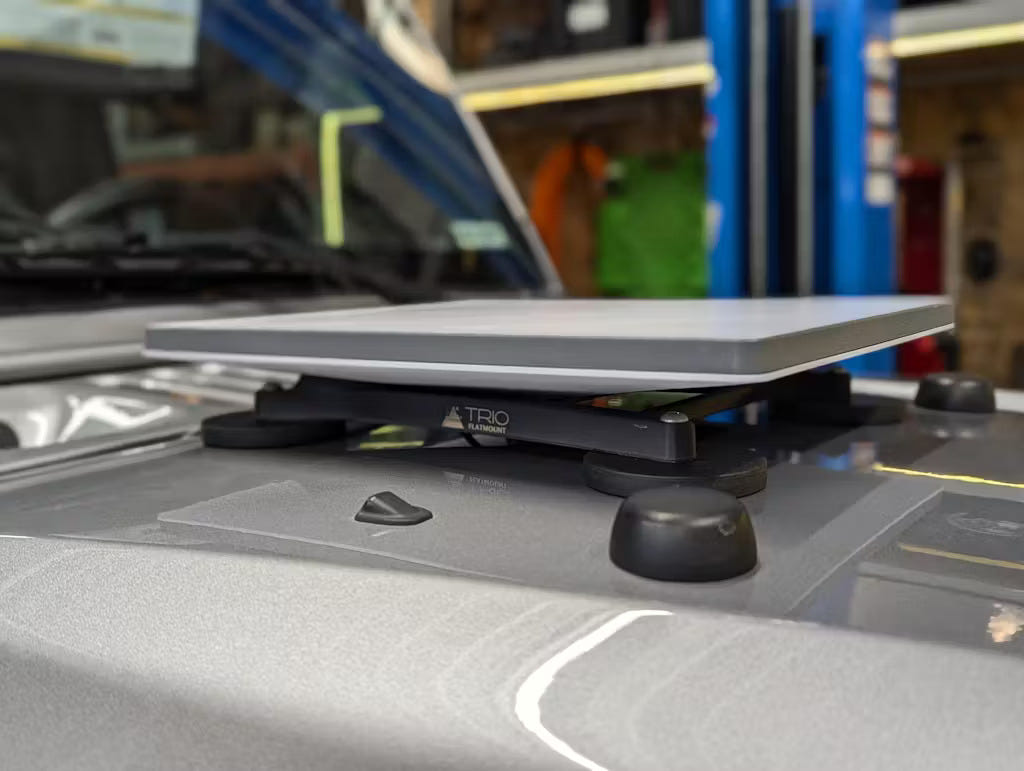
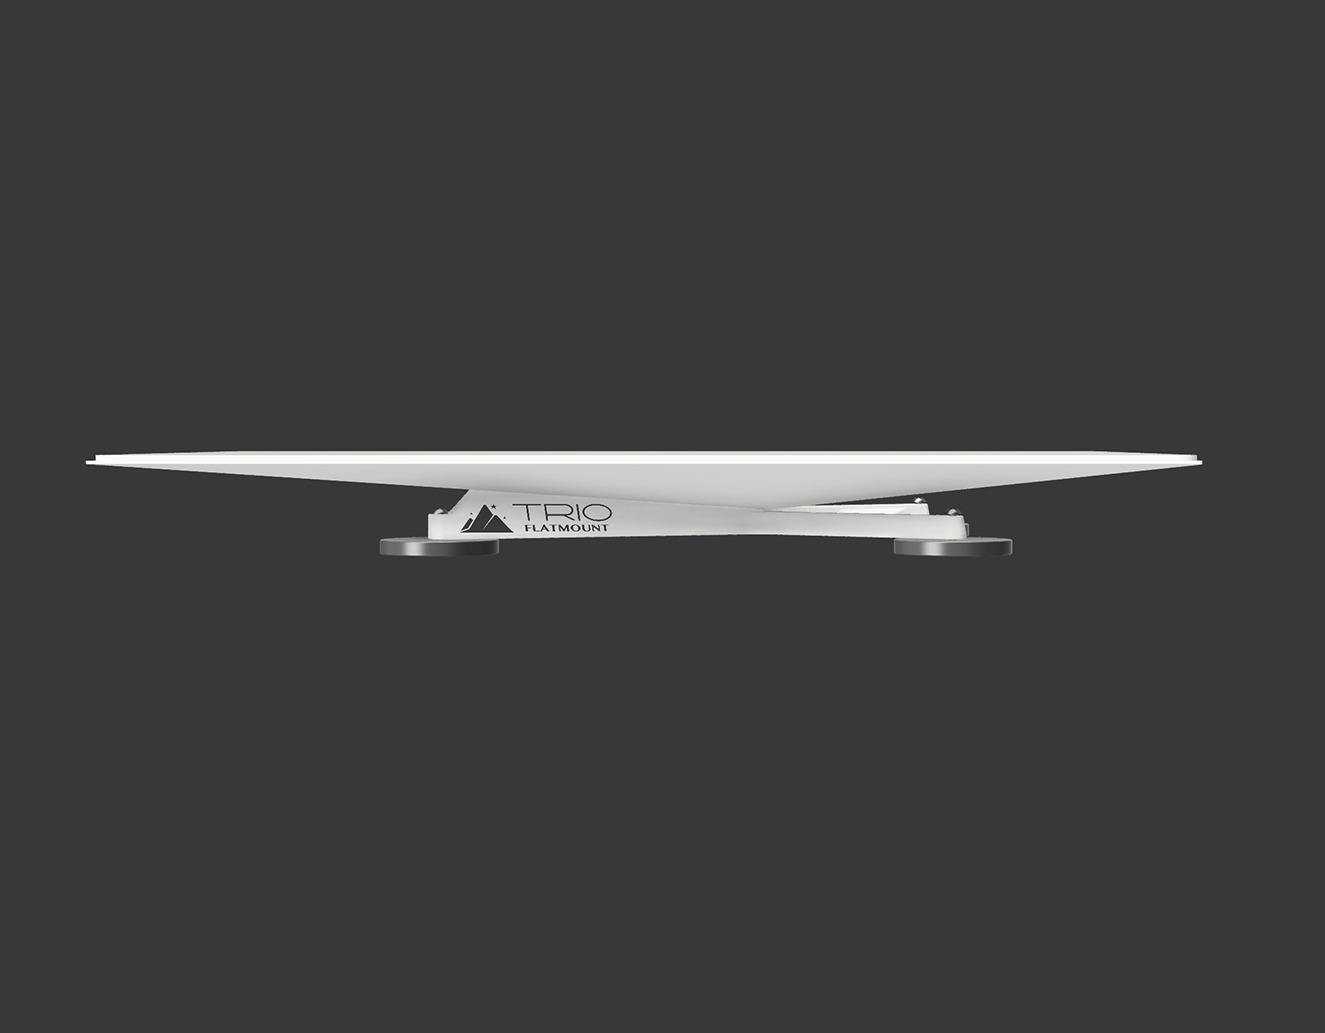
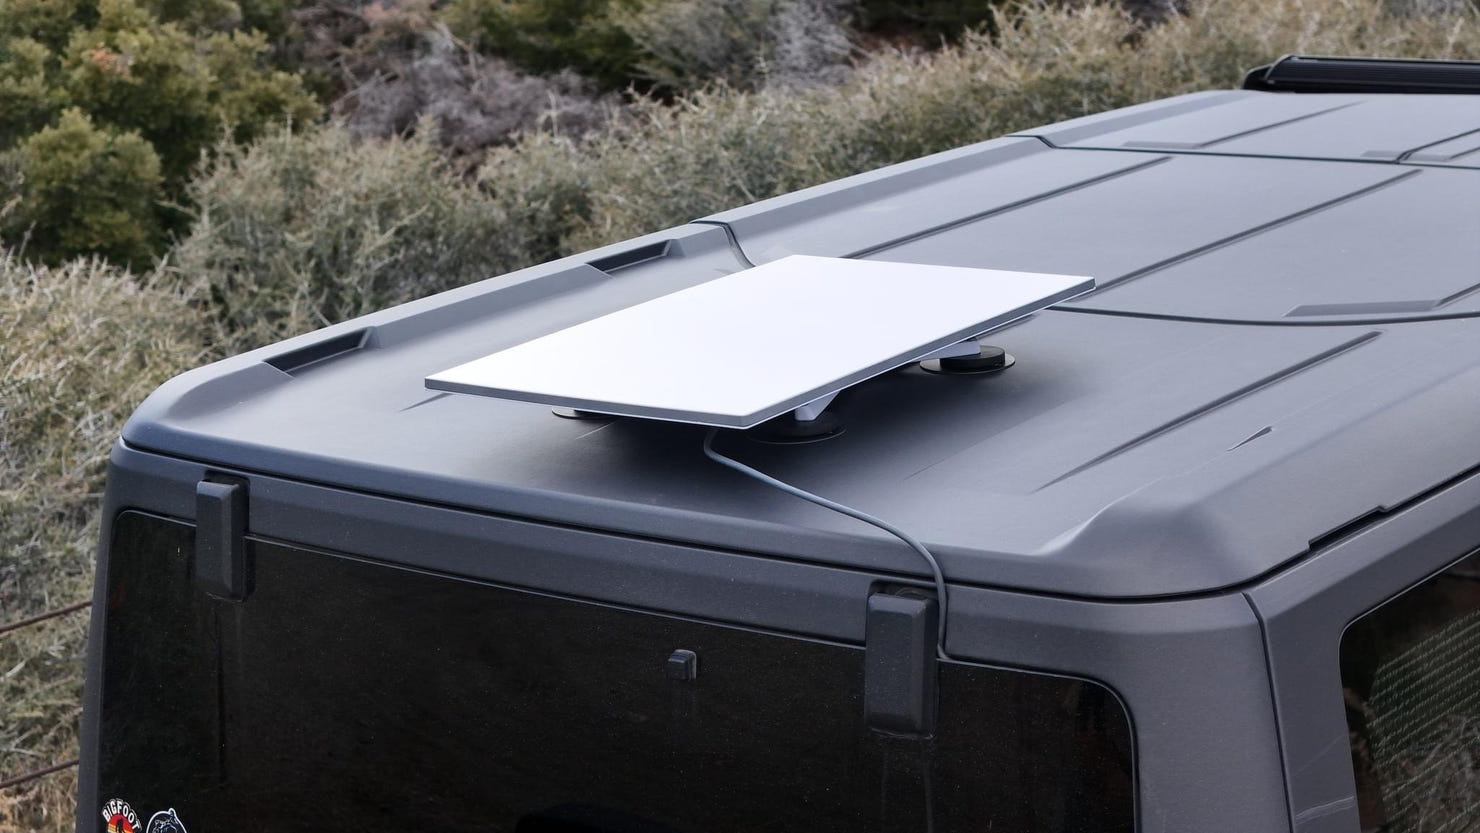
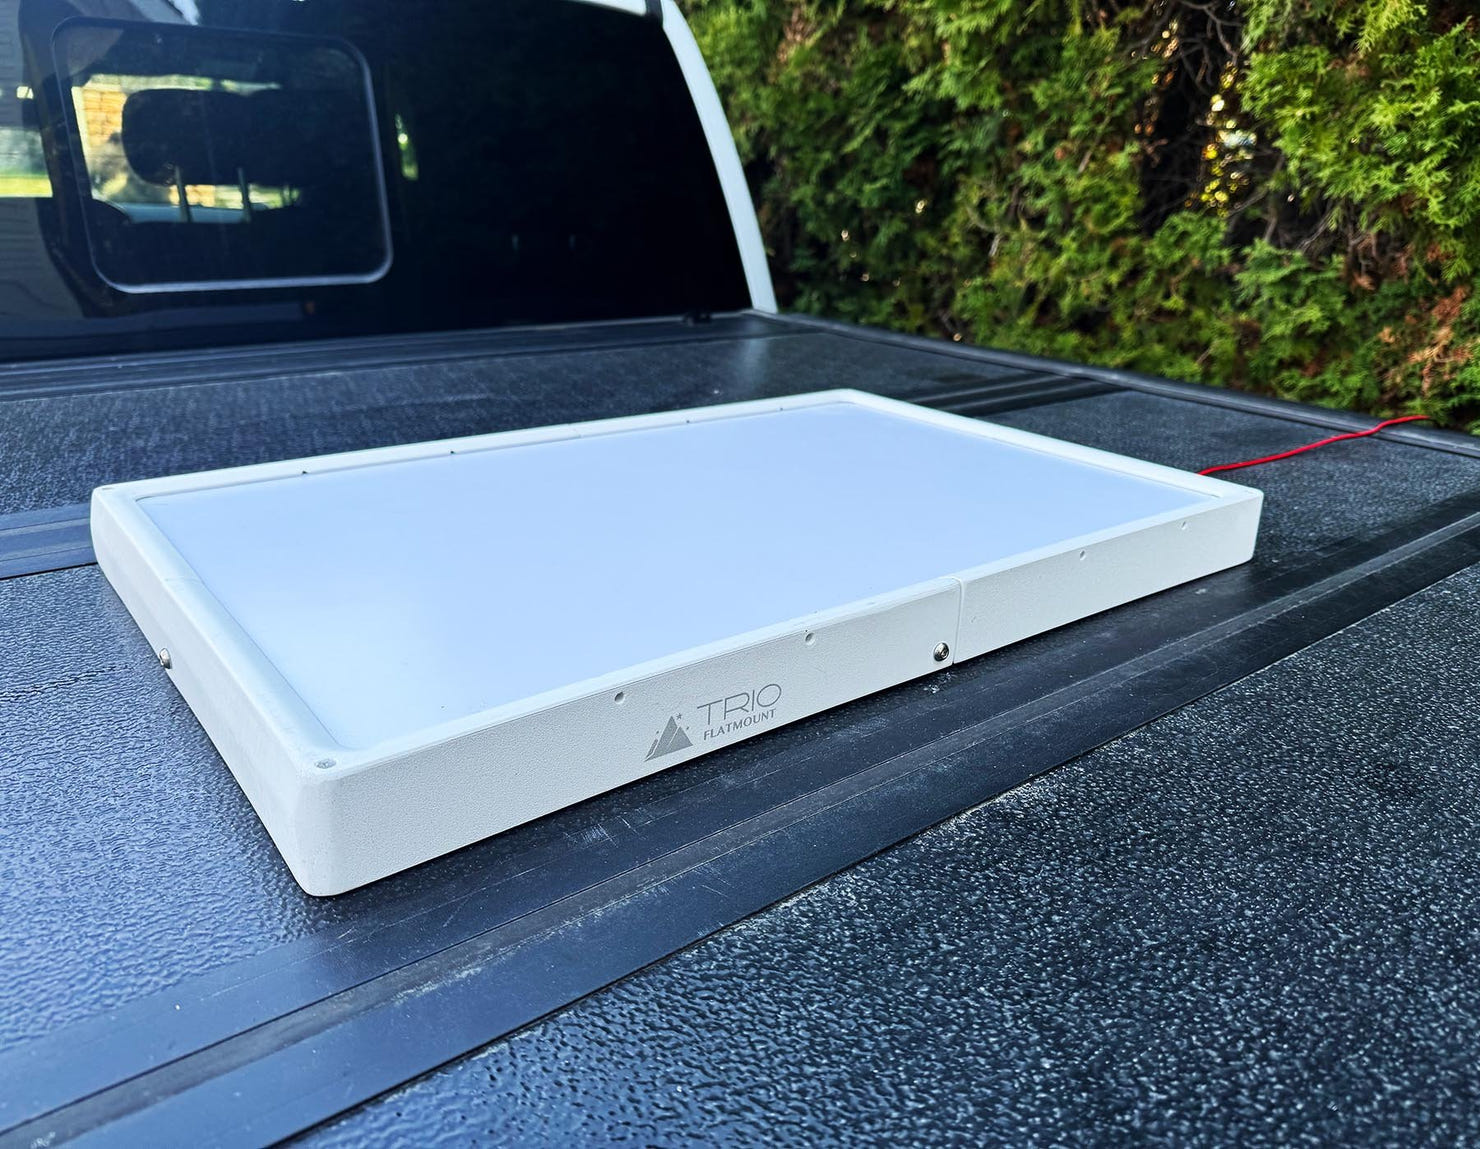
Once you’ve chosen your Starlink plan, the next thing to think about is how you’ll mount it. The dish performs best when it’s secure, flat, and clear of obstructions.
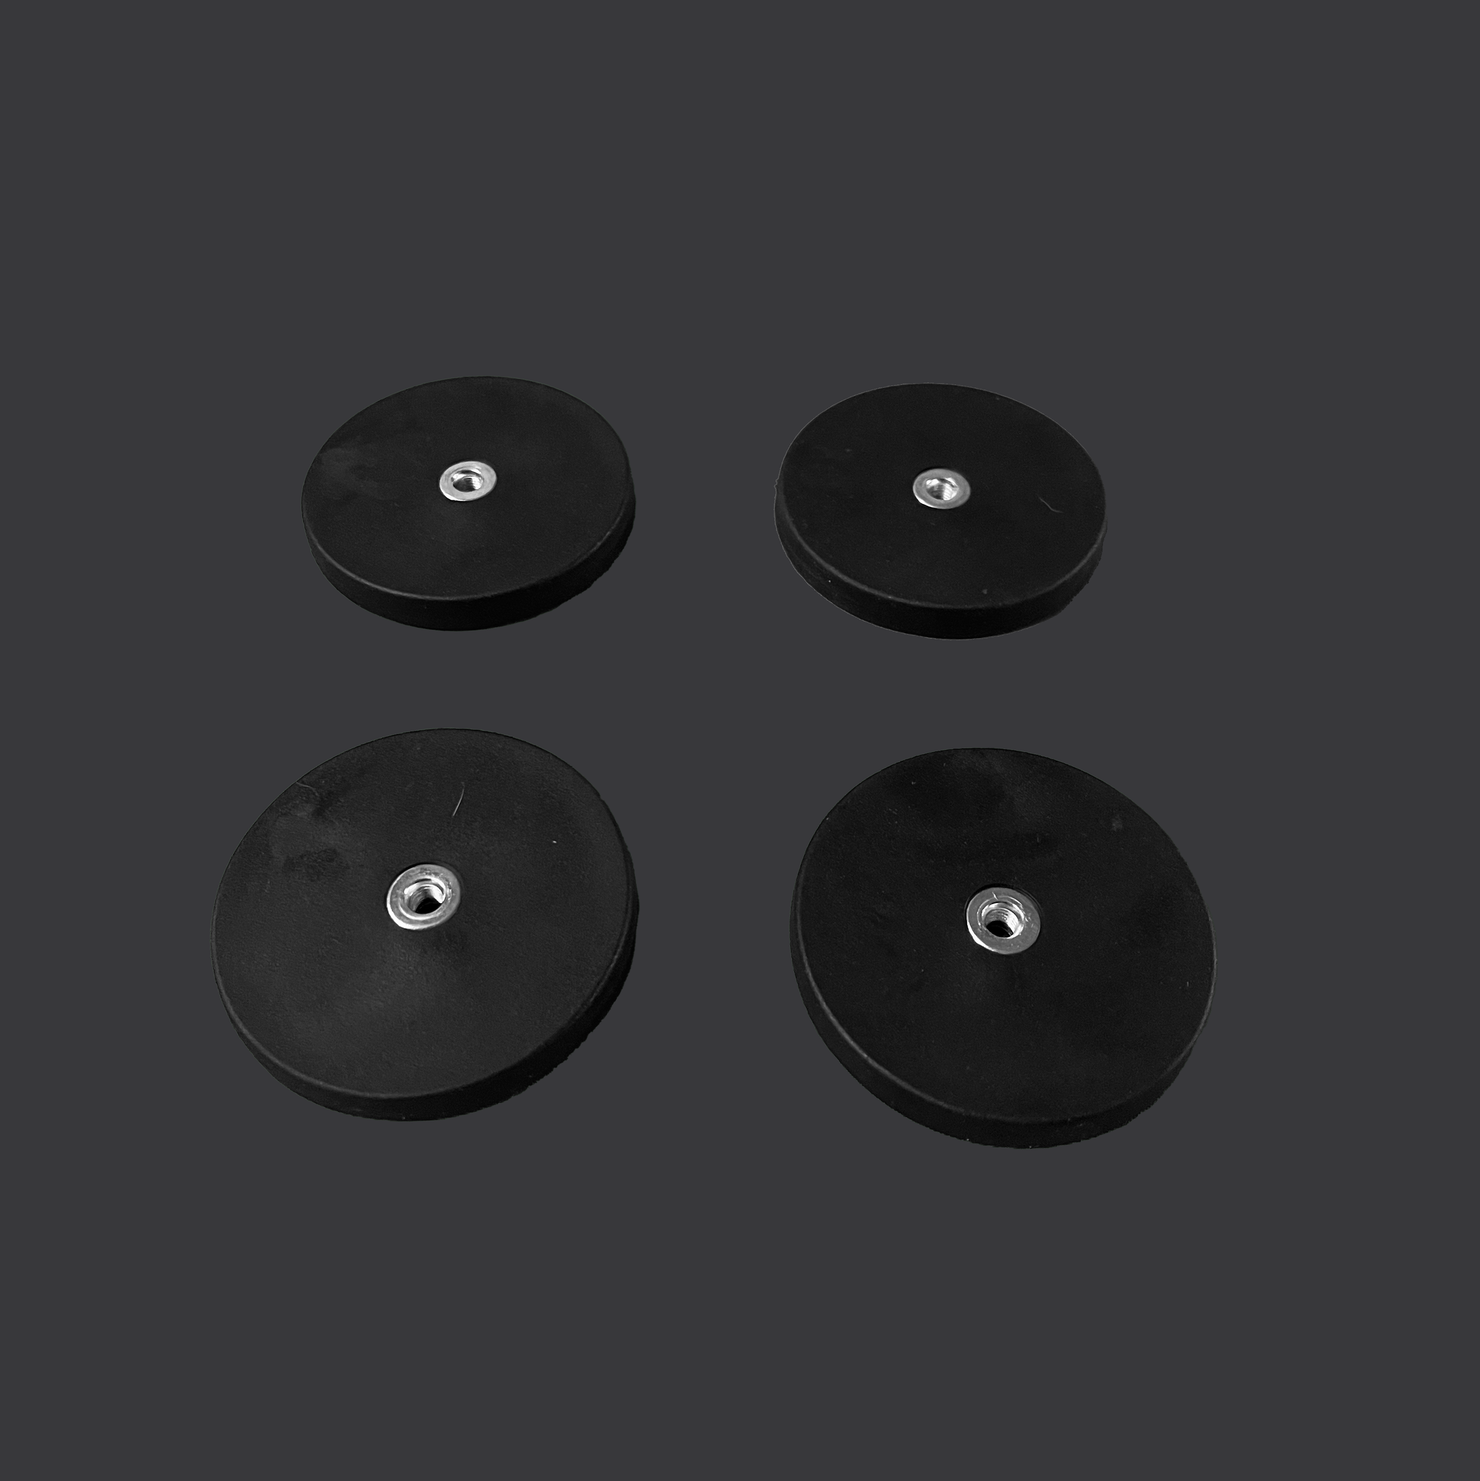
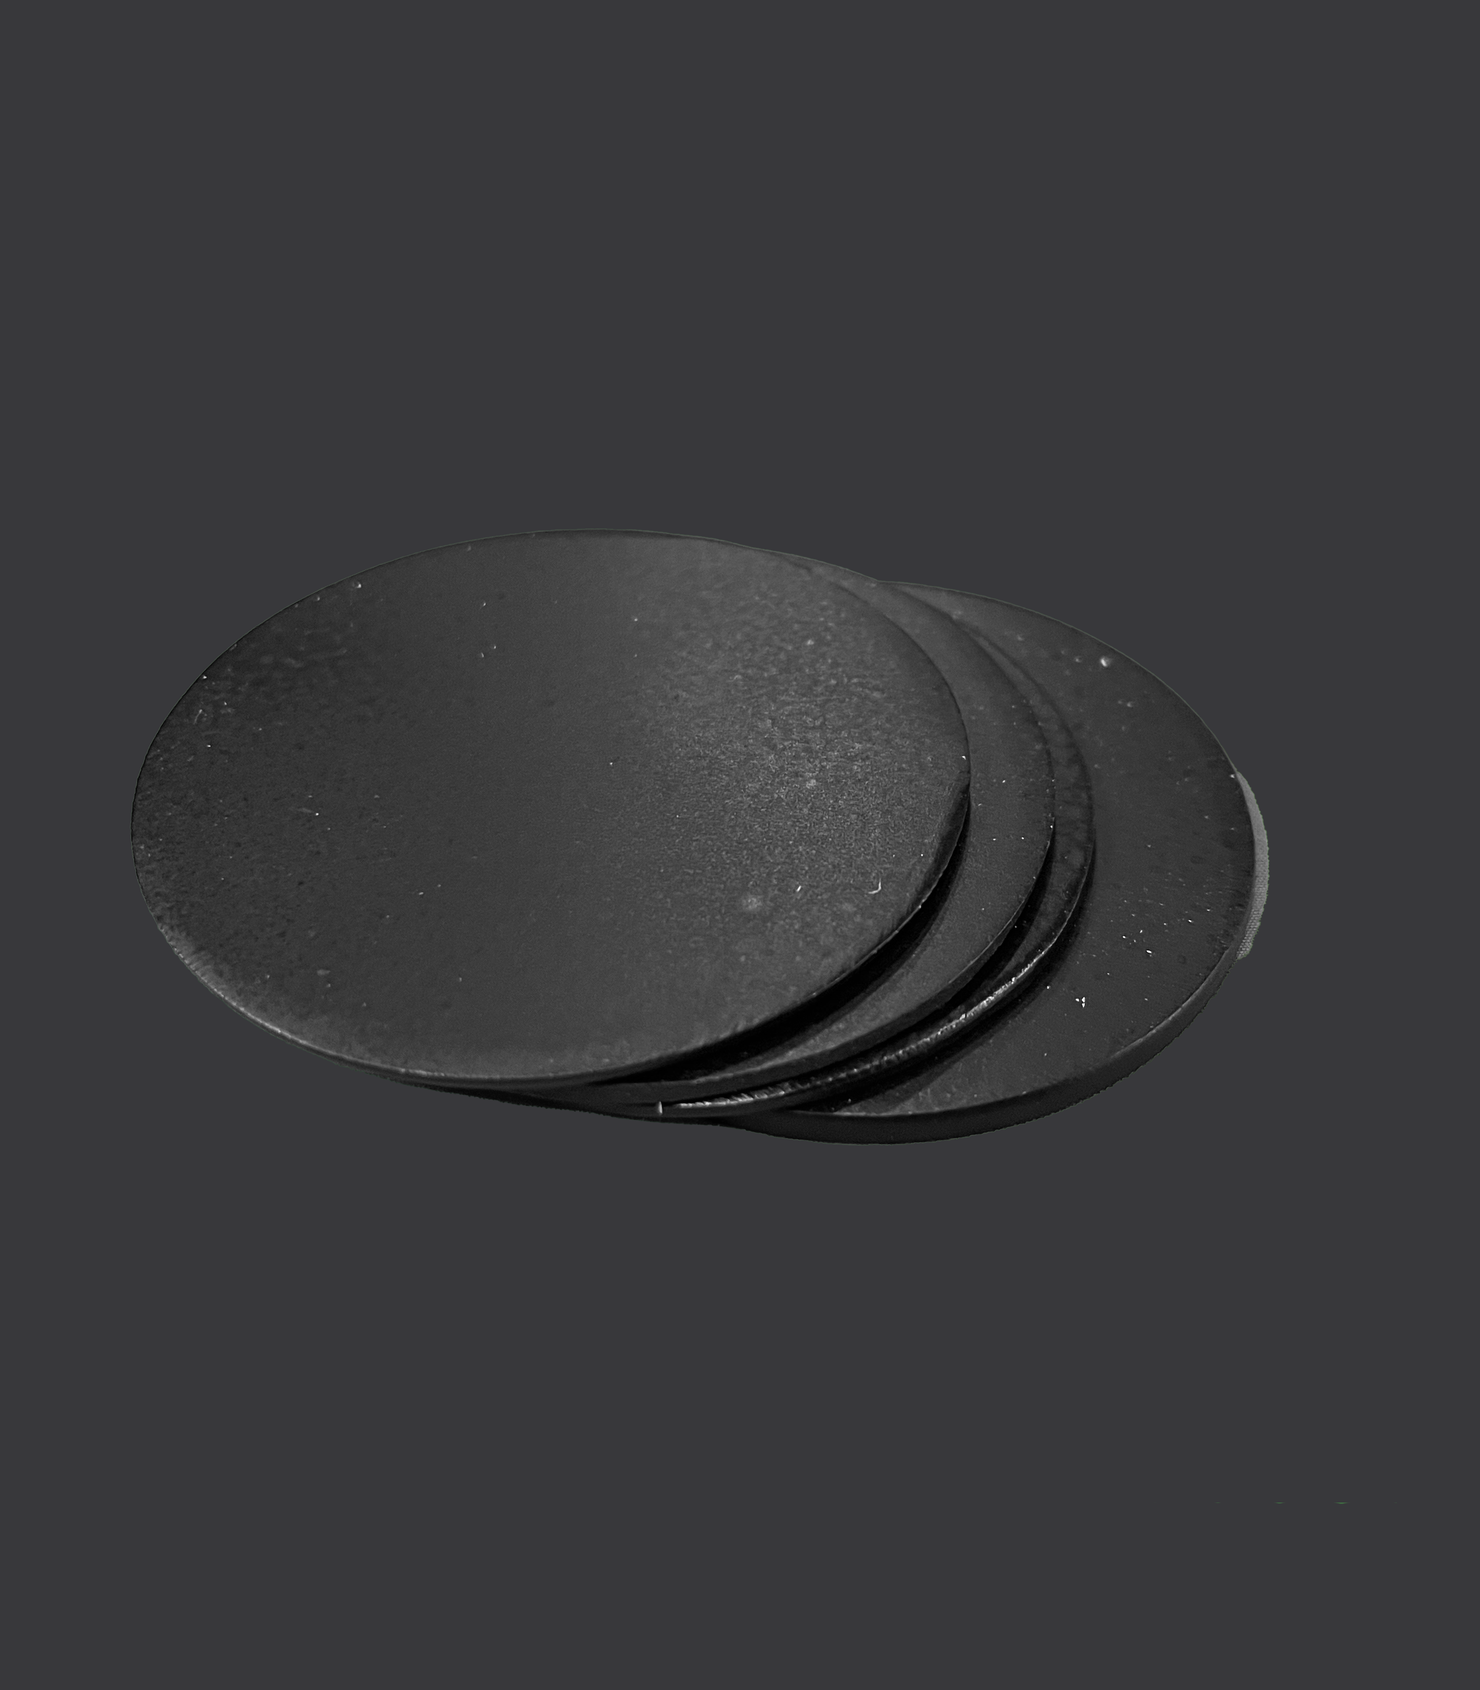
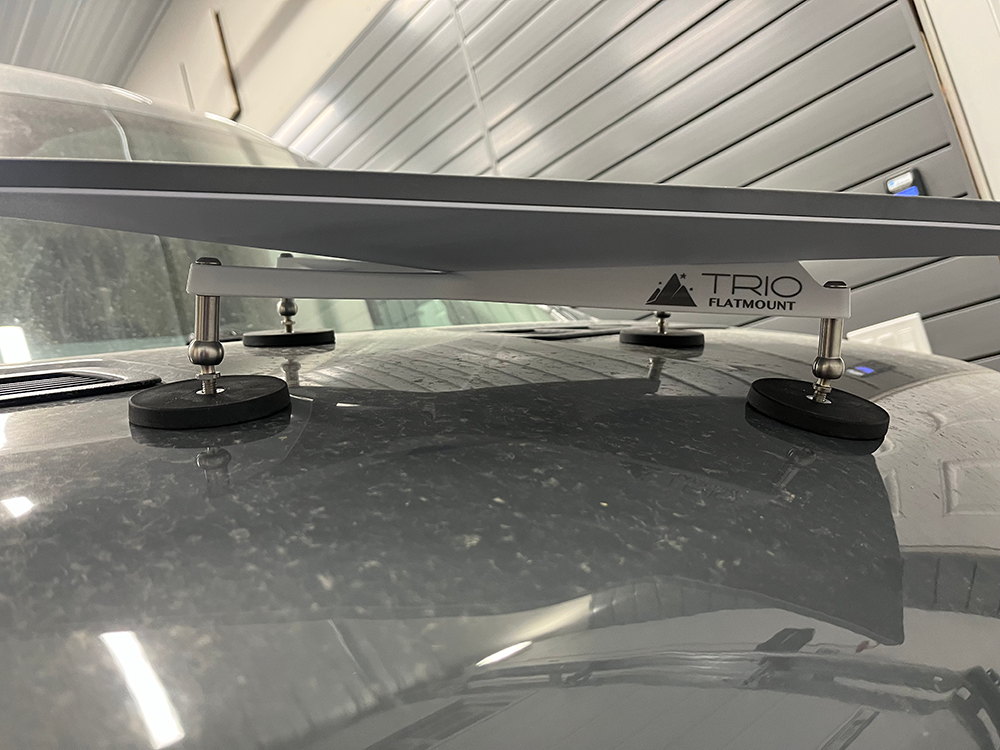
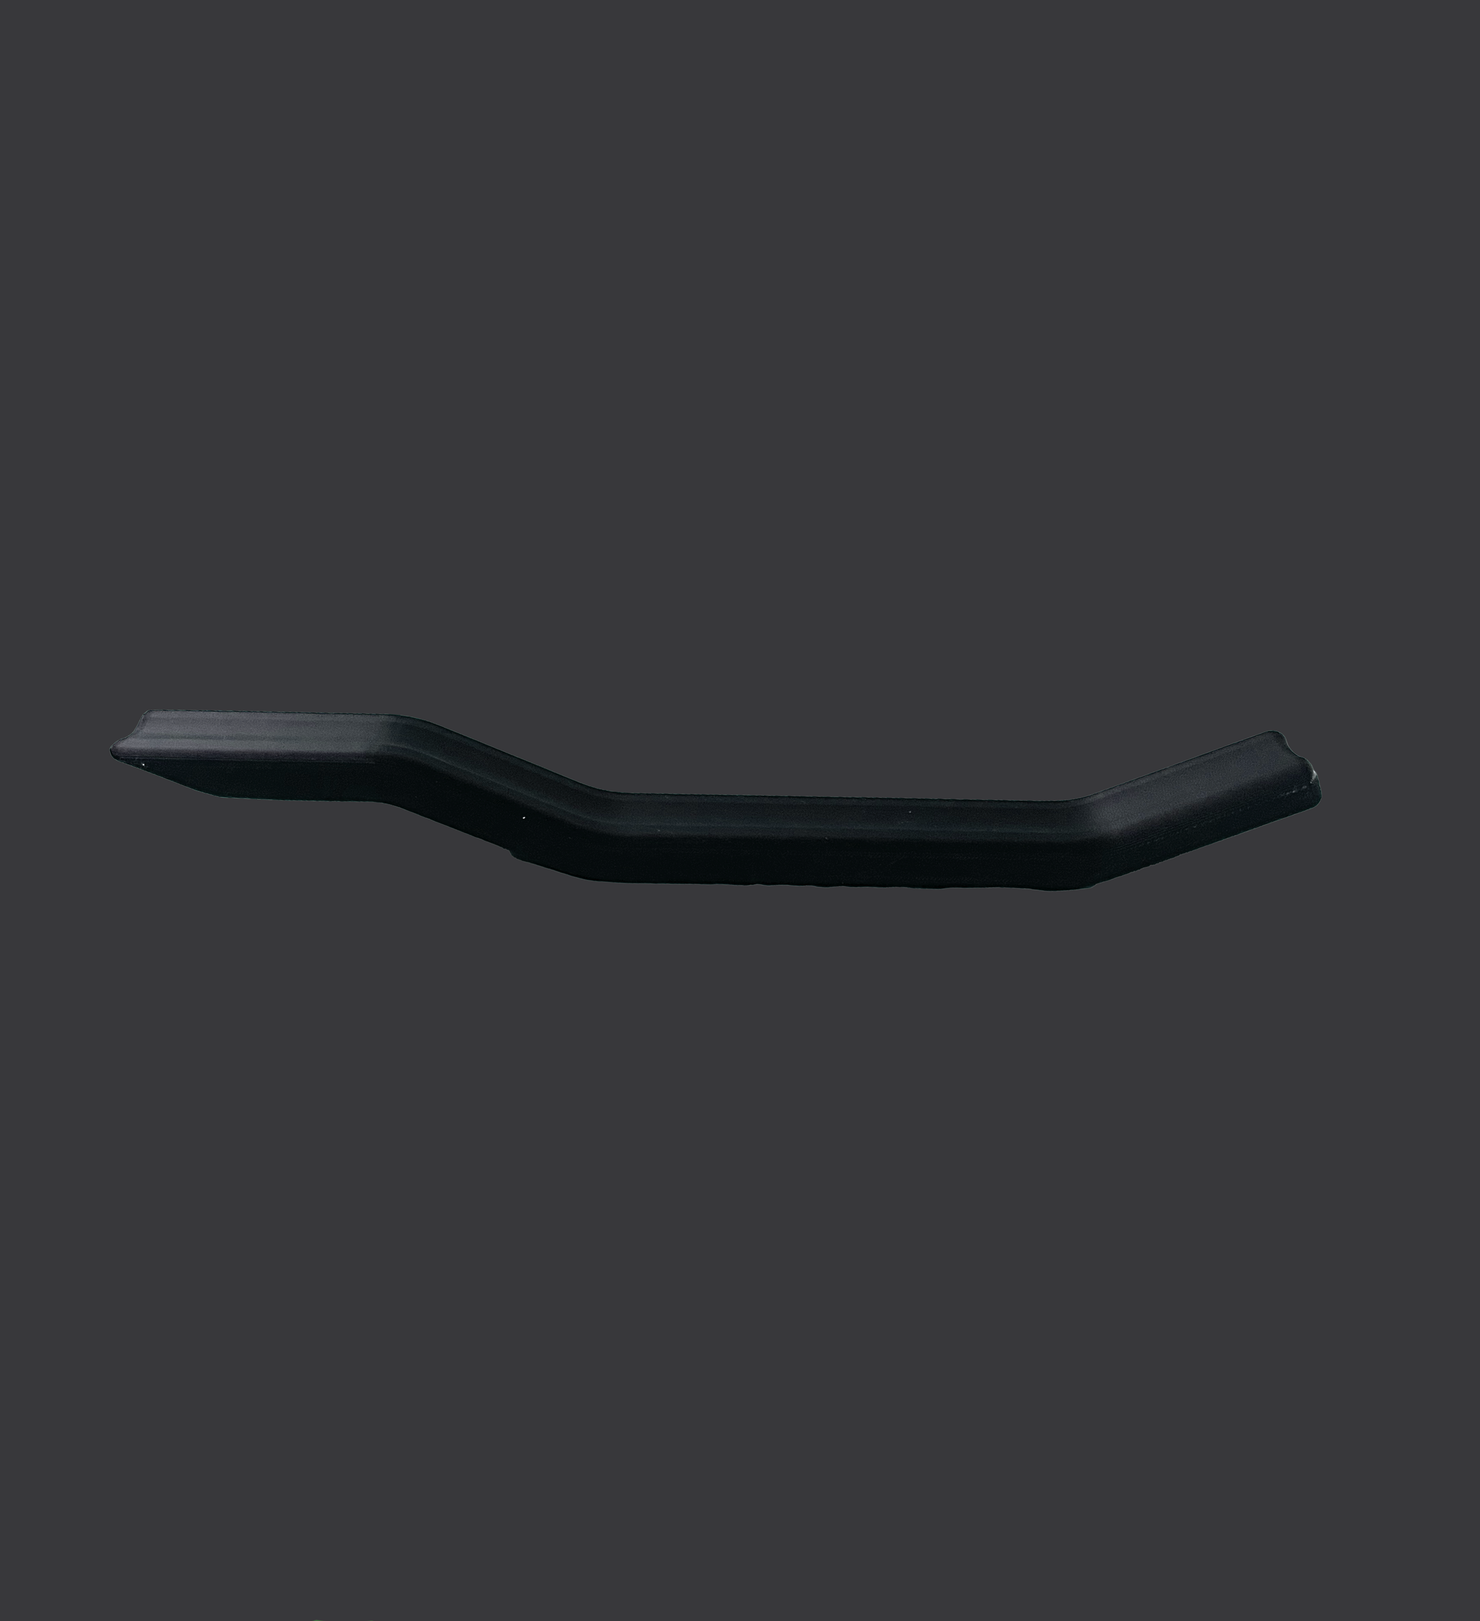
If your roof is metal, rubber-coated magnets are the easiest and cleanest option. They hold tight, don’t scratch, and pop off when you need to remove the dish.
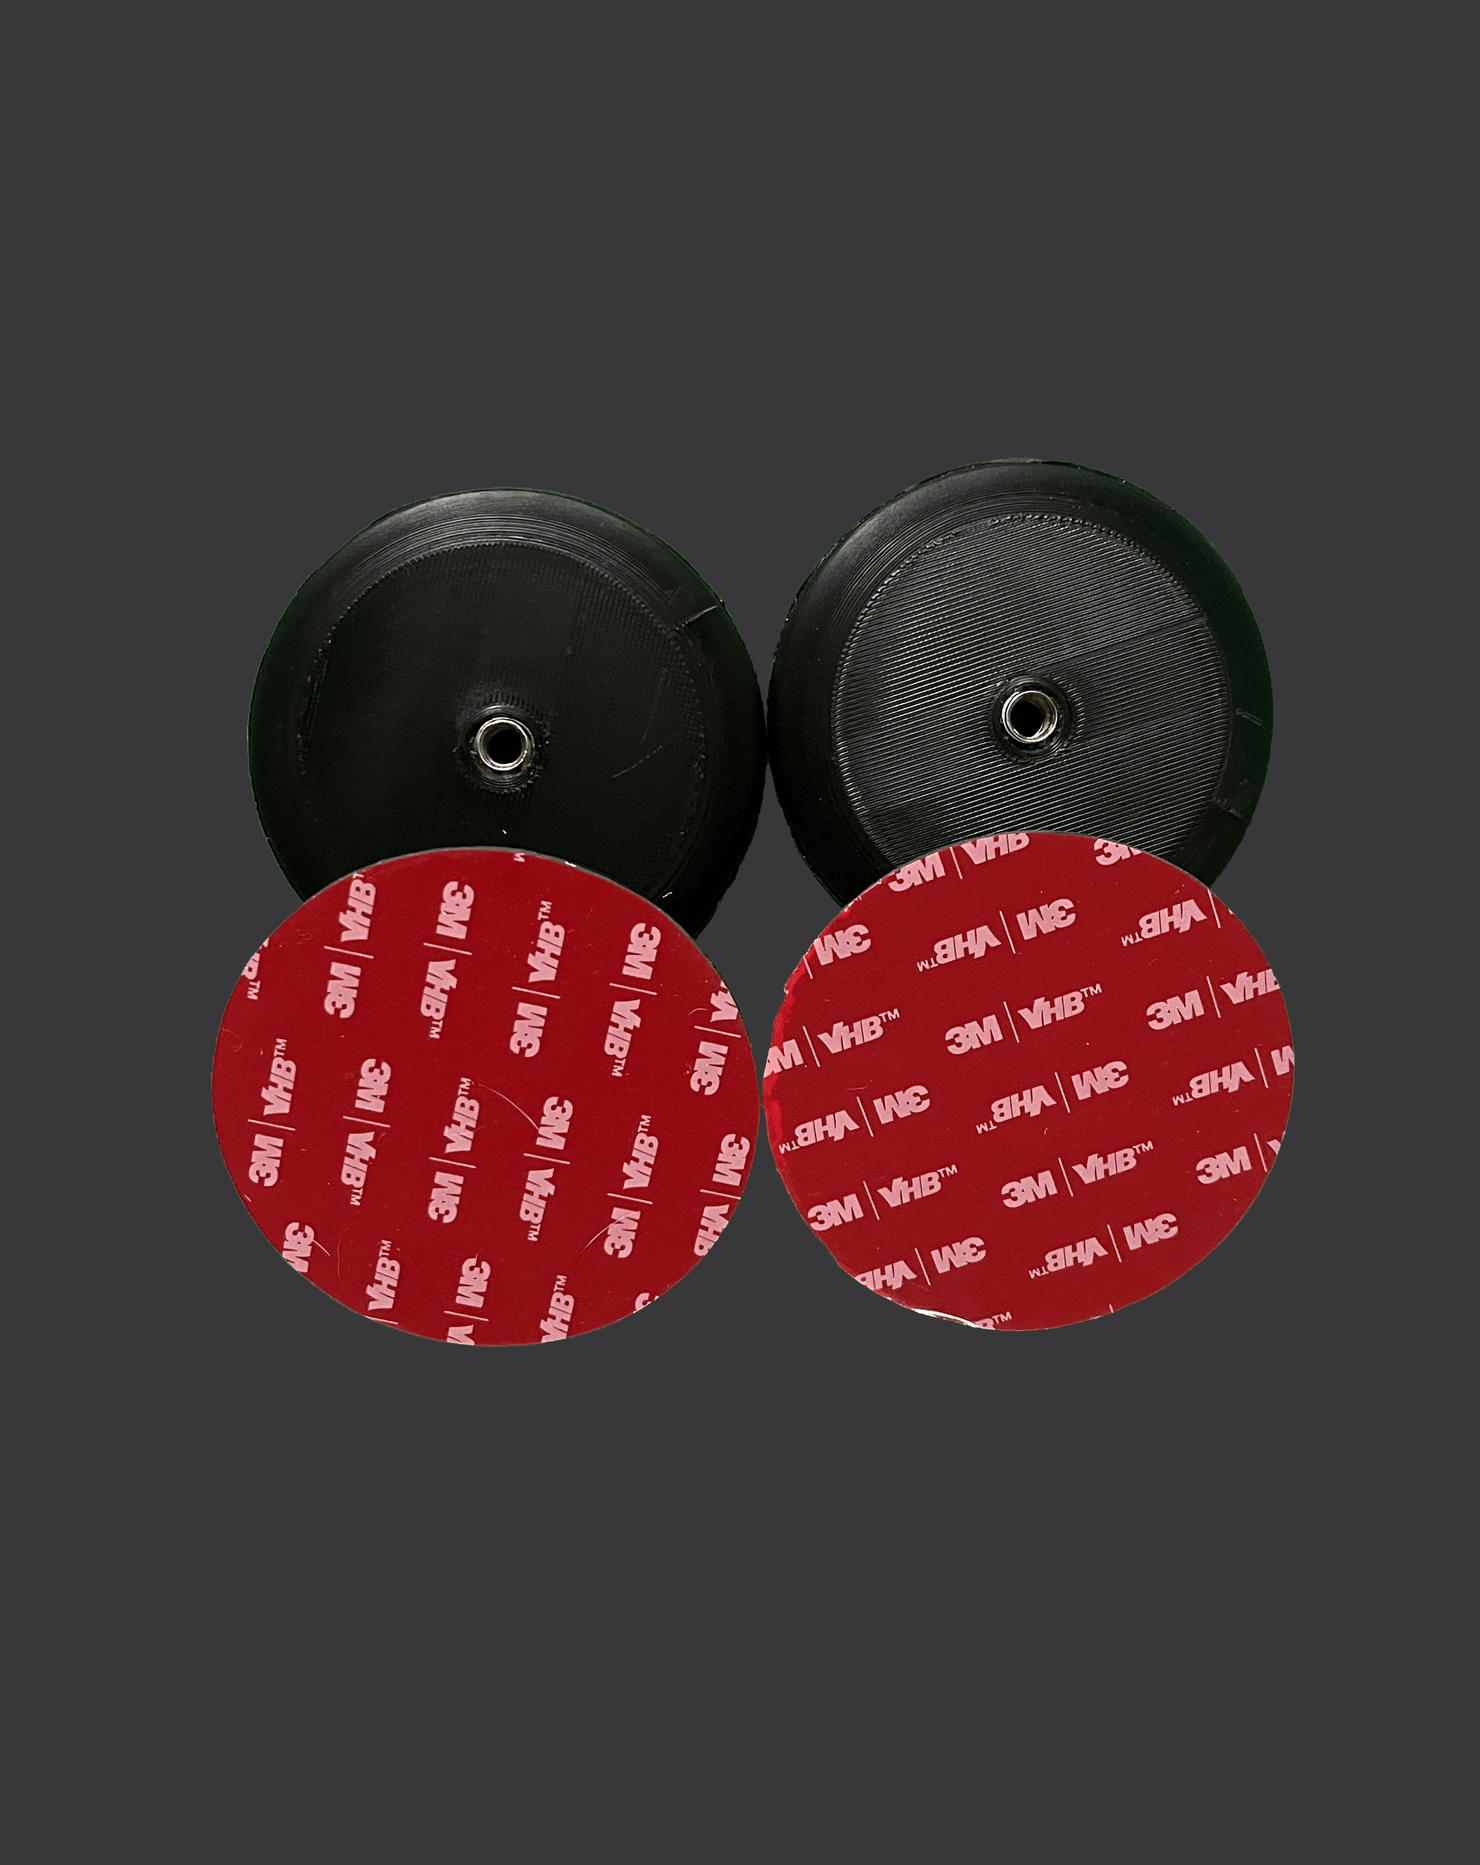
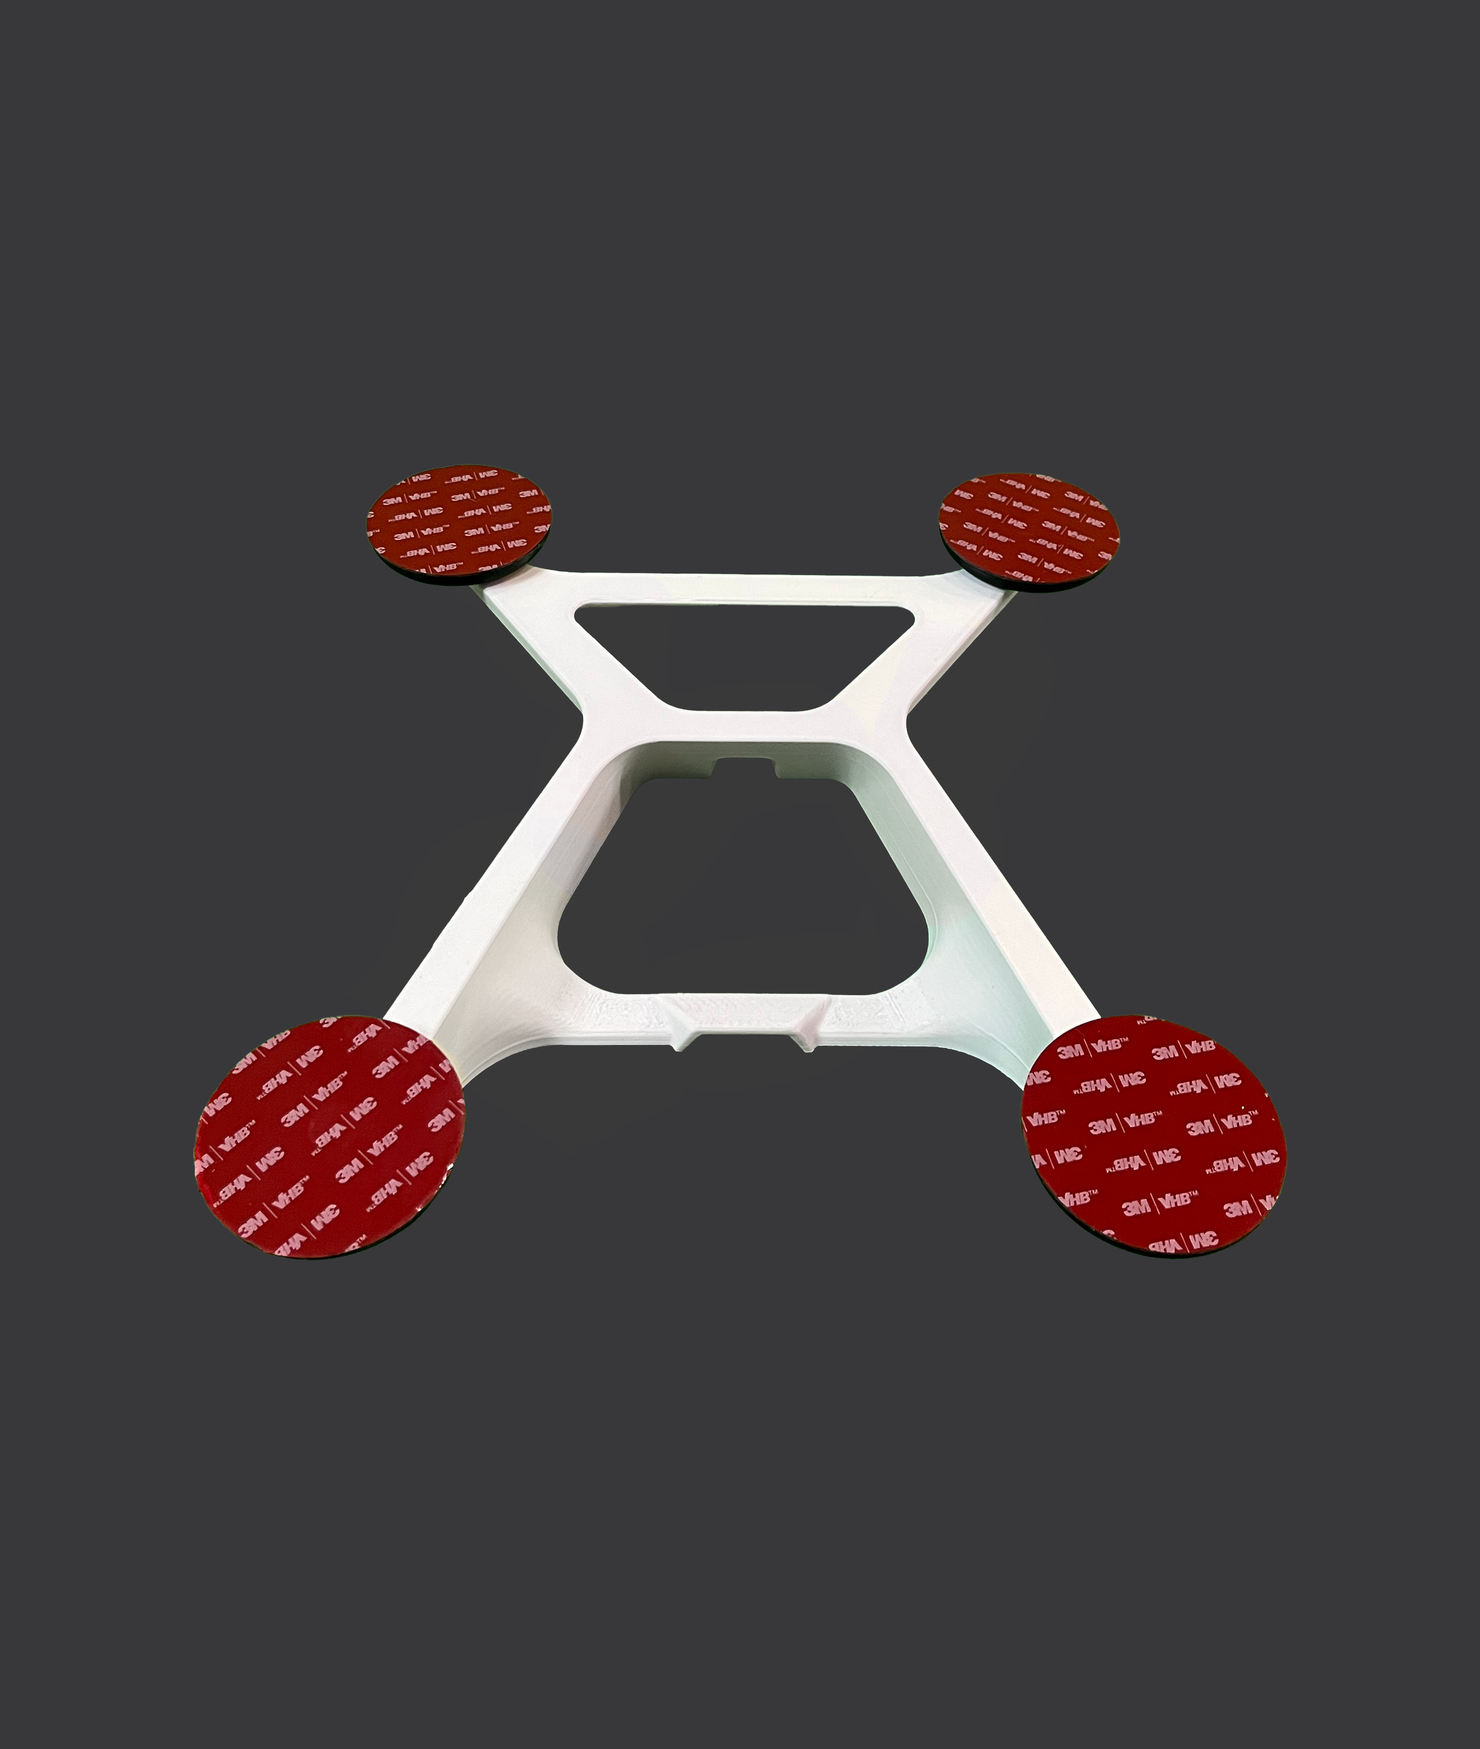
For fiberglass or aluminum roofs, you can use VHB landing pads for a permanent no-drill setup, or VHB magnetic discs for a semi-permanent option.
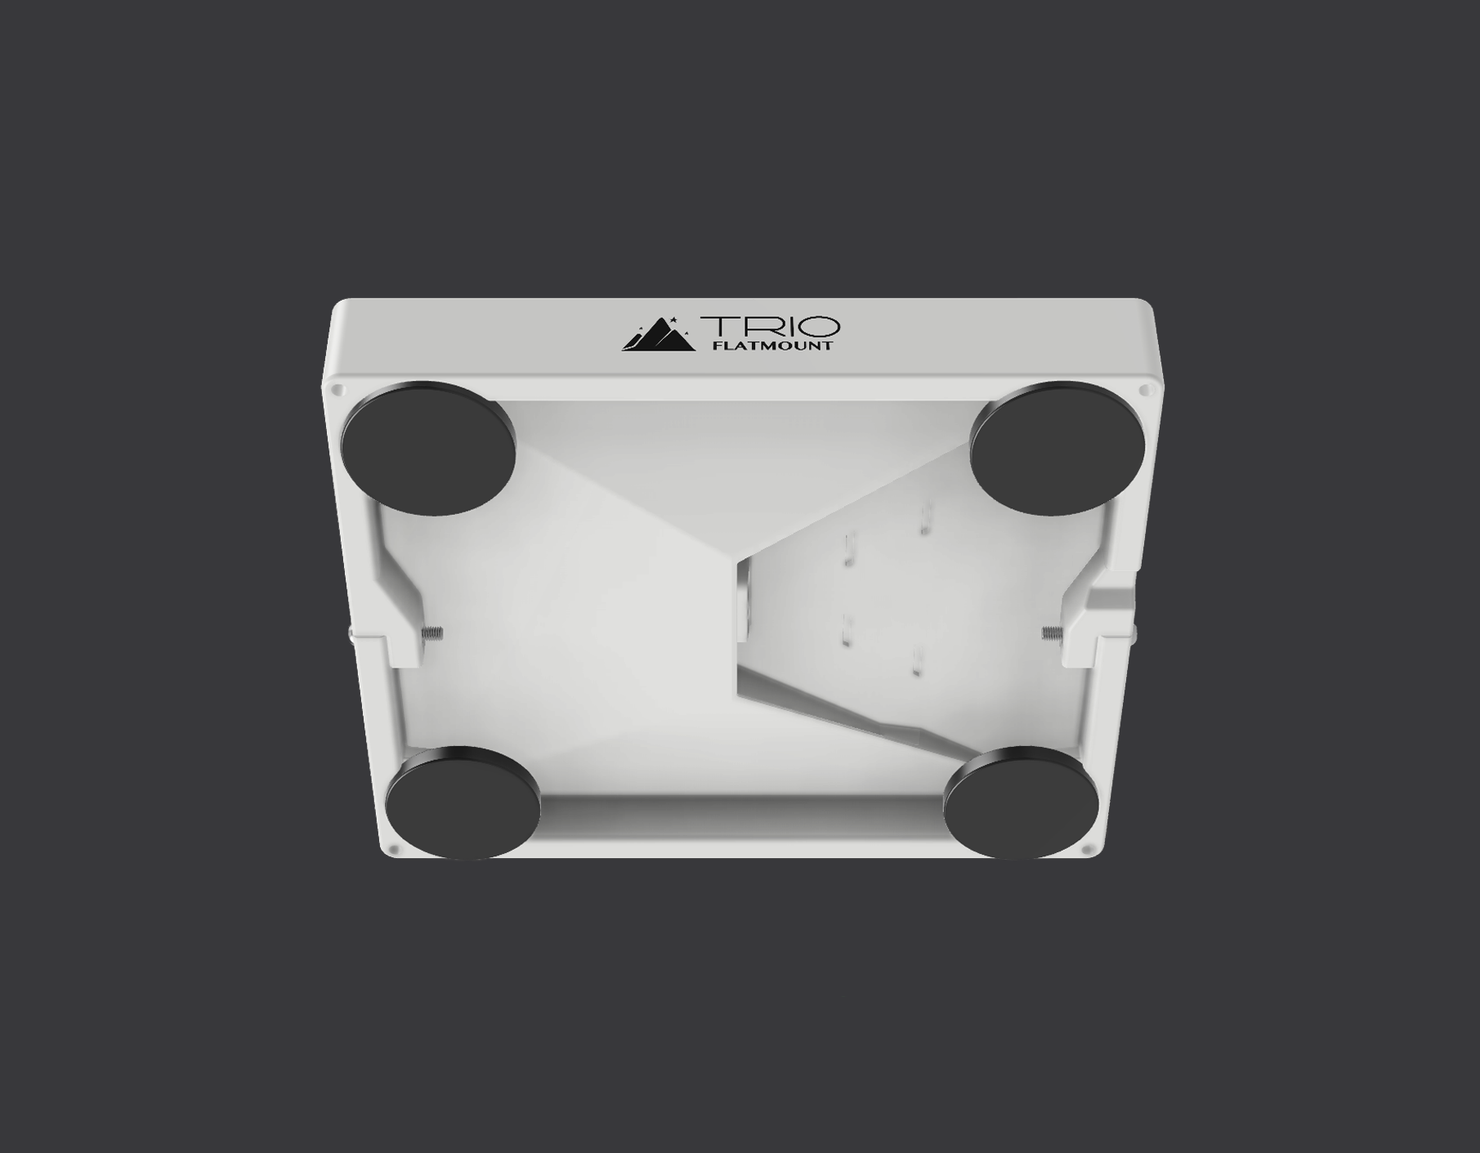
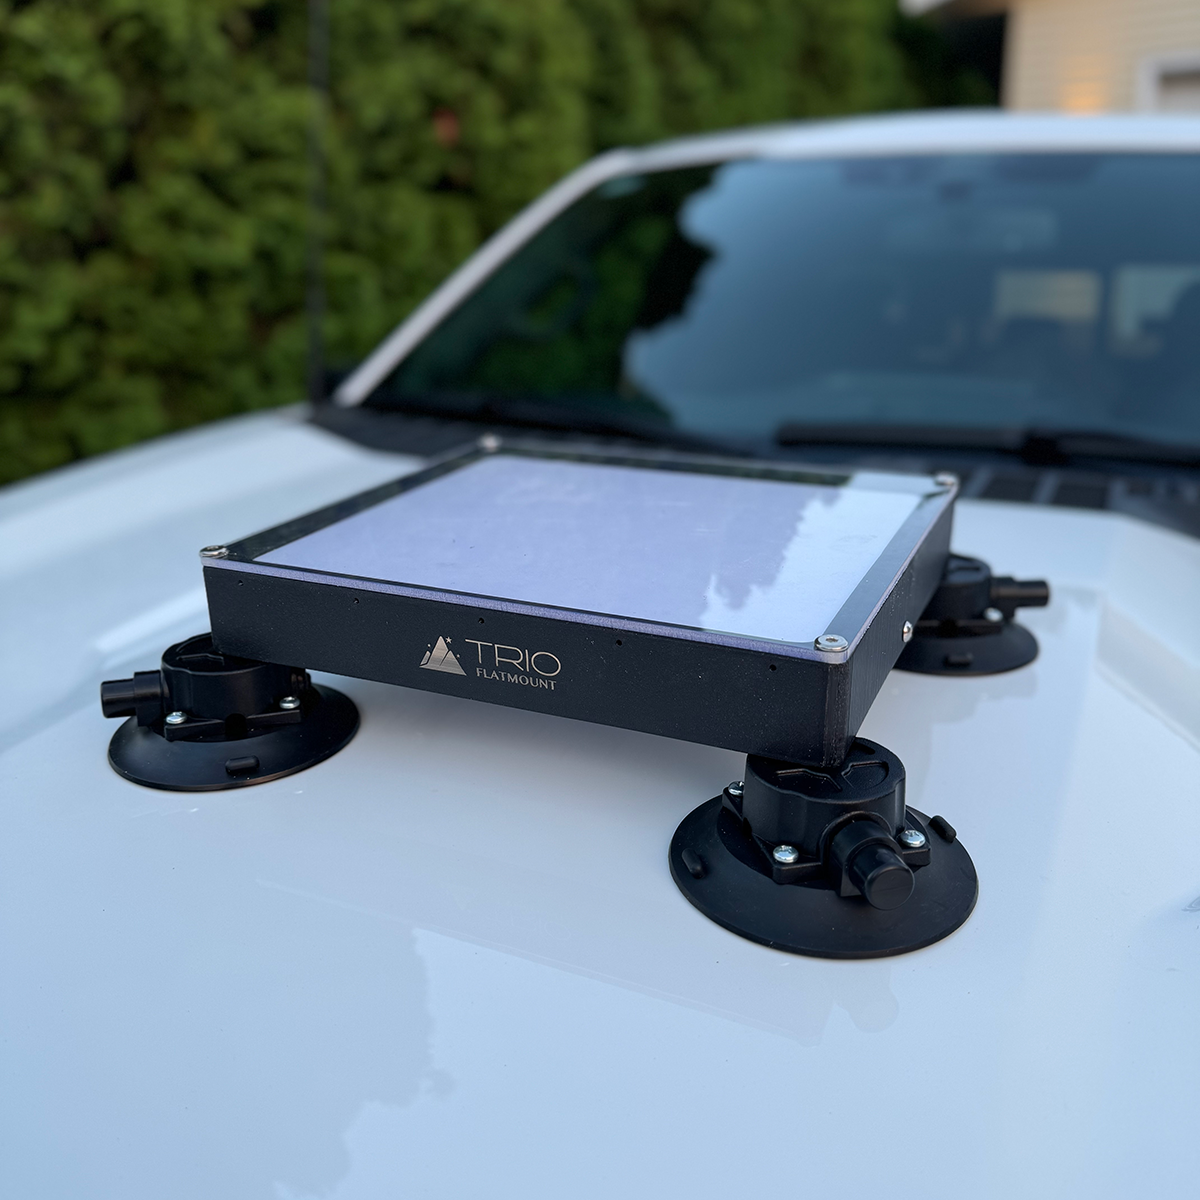
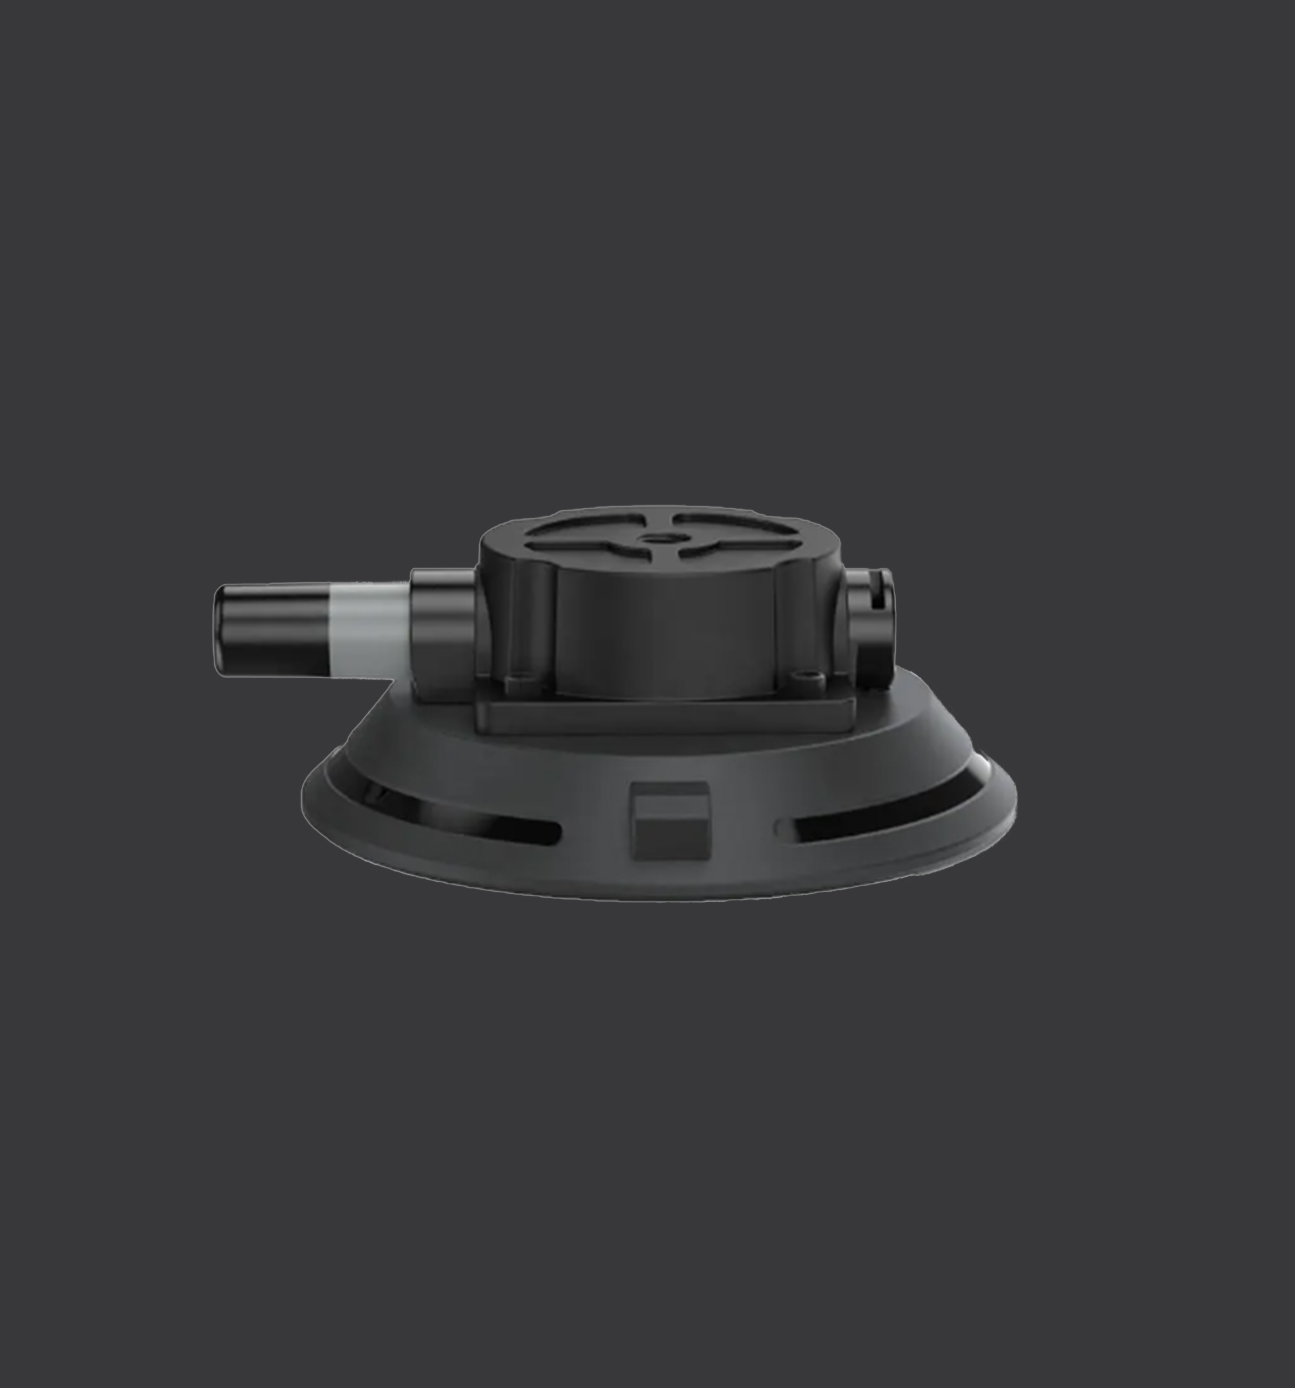
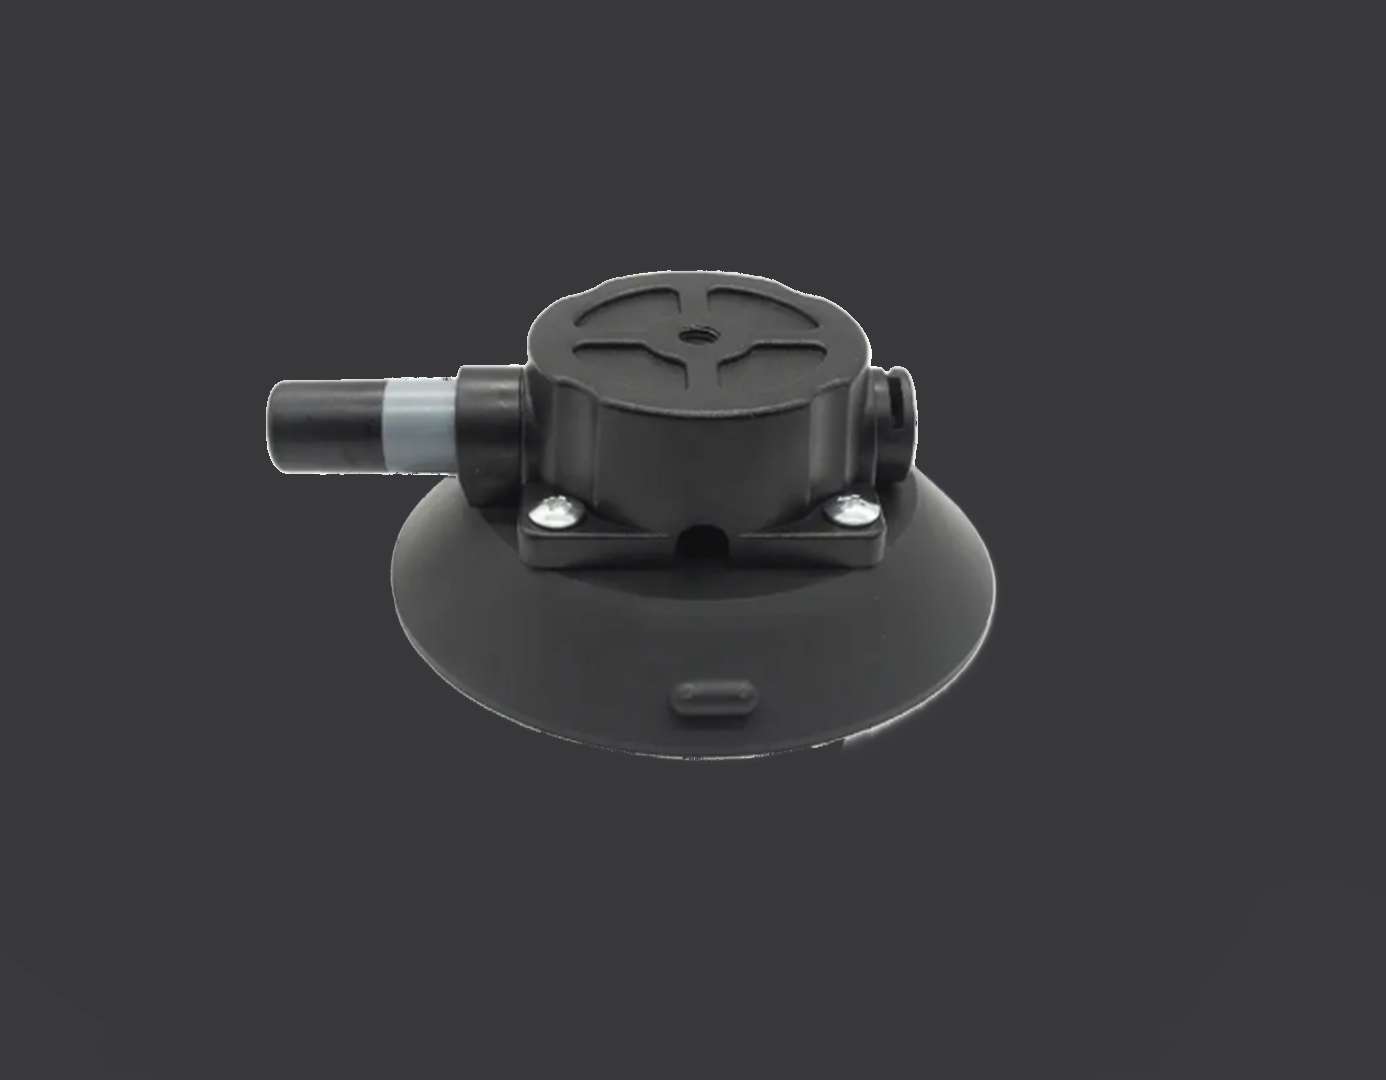
And for smooth surfaces like glass or flat panels, suction cups work great for quick setups when you’re parked.
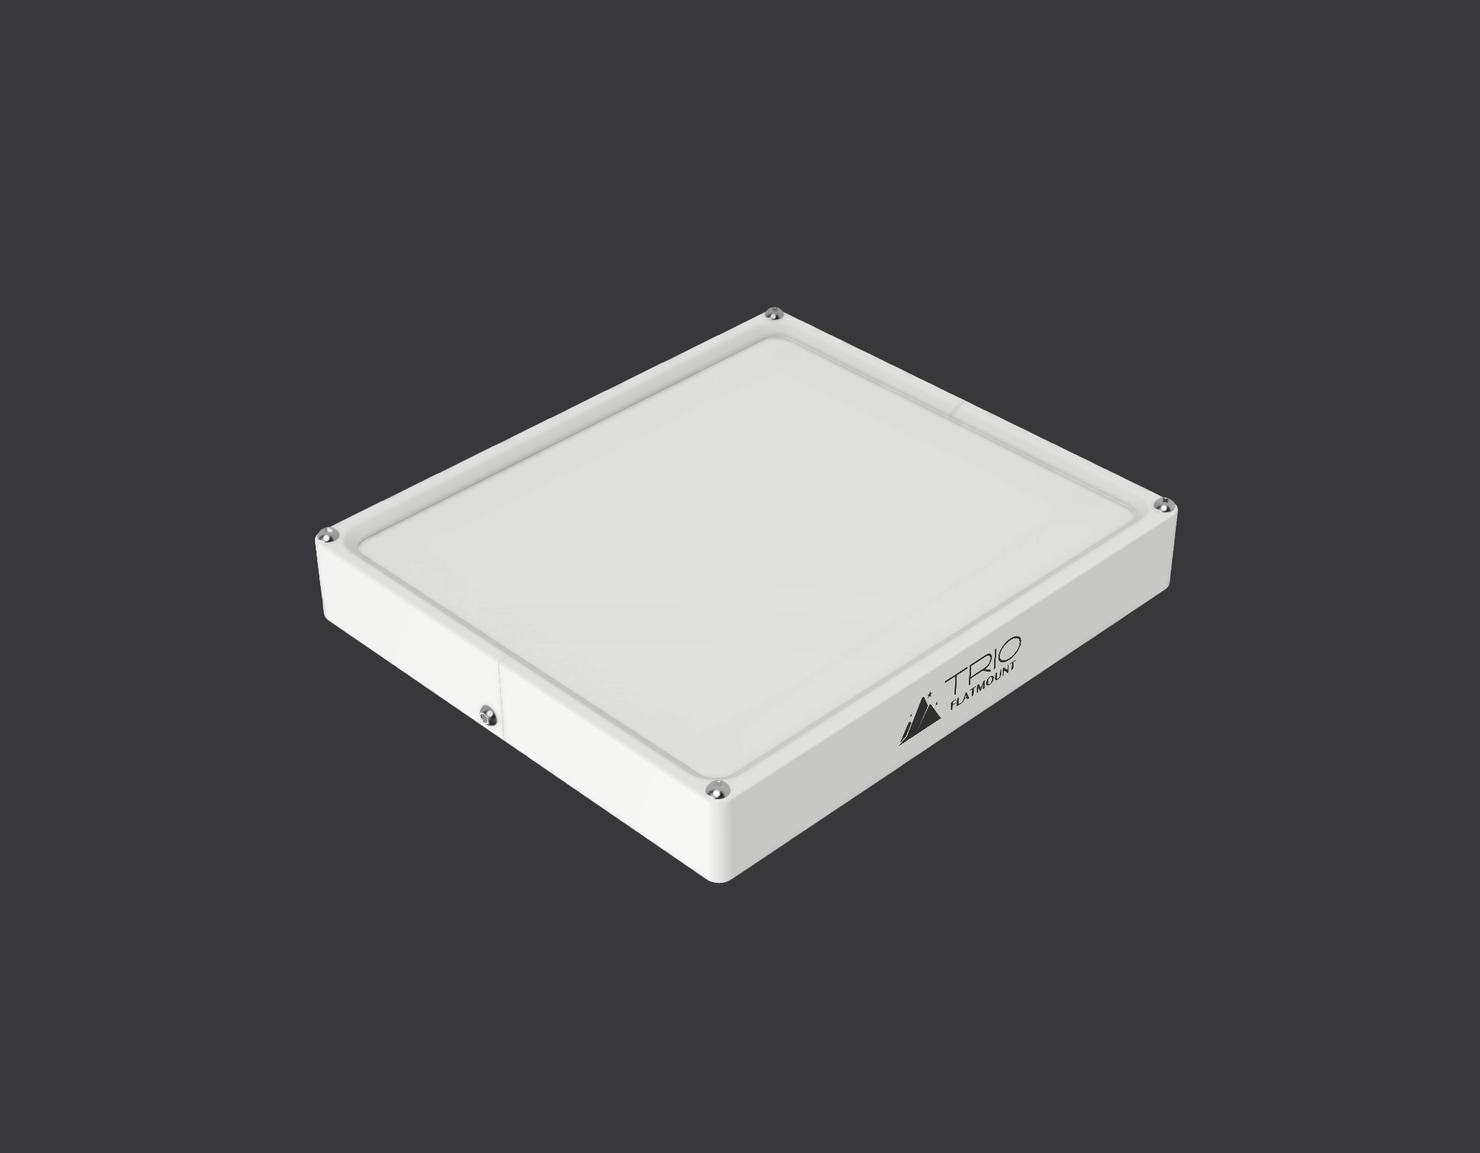
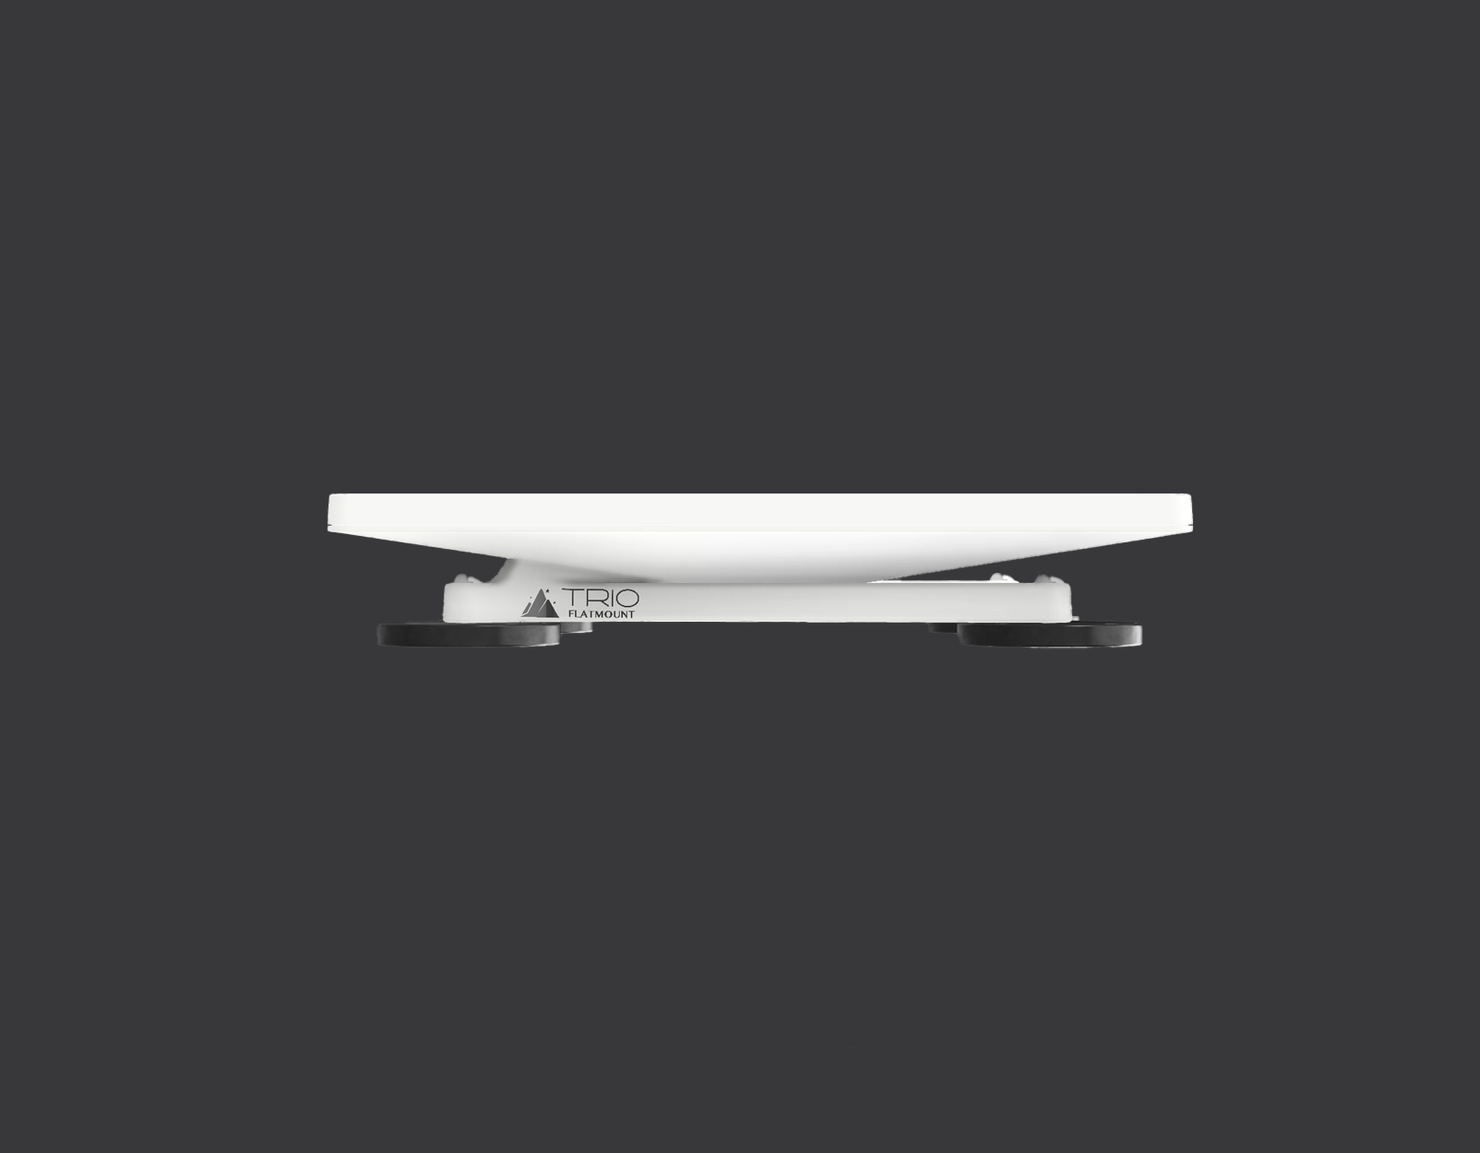
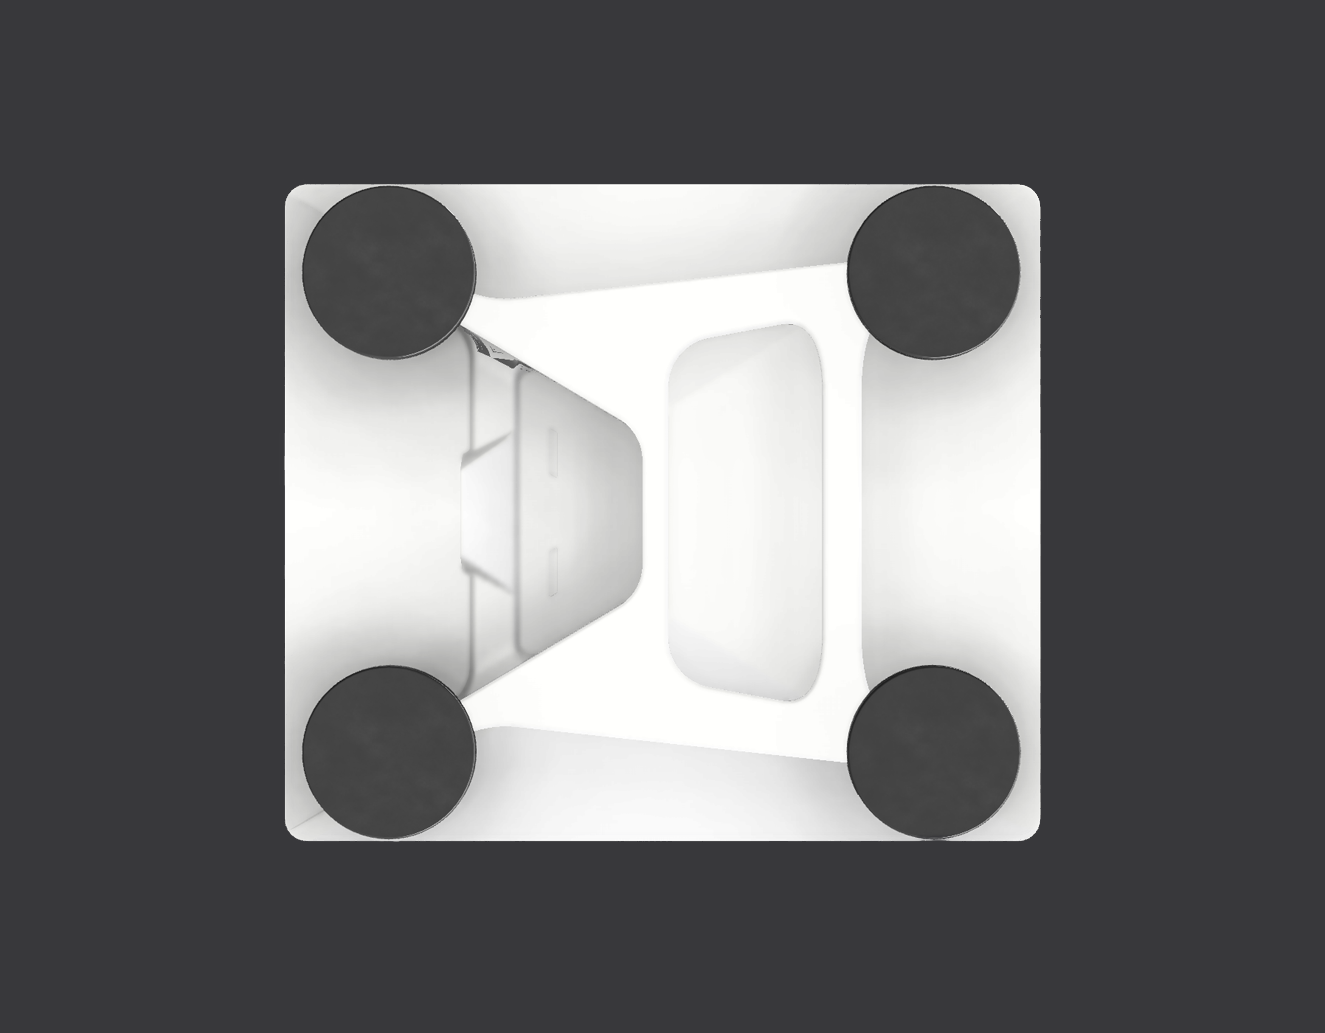
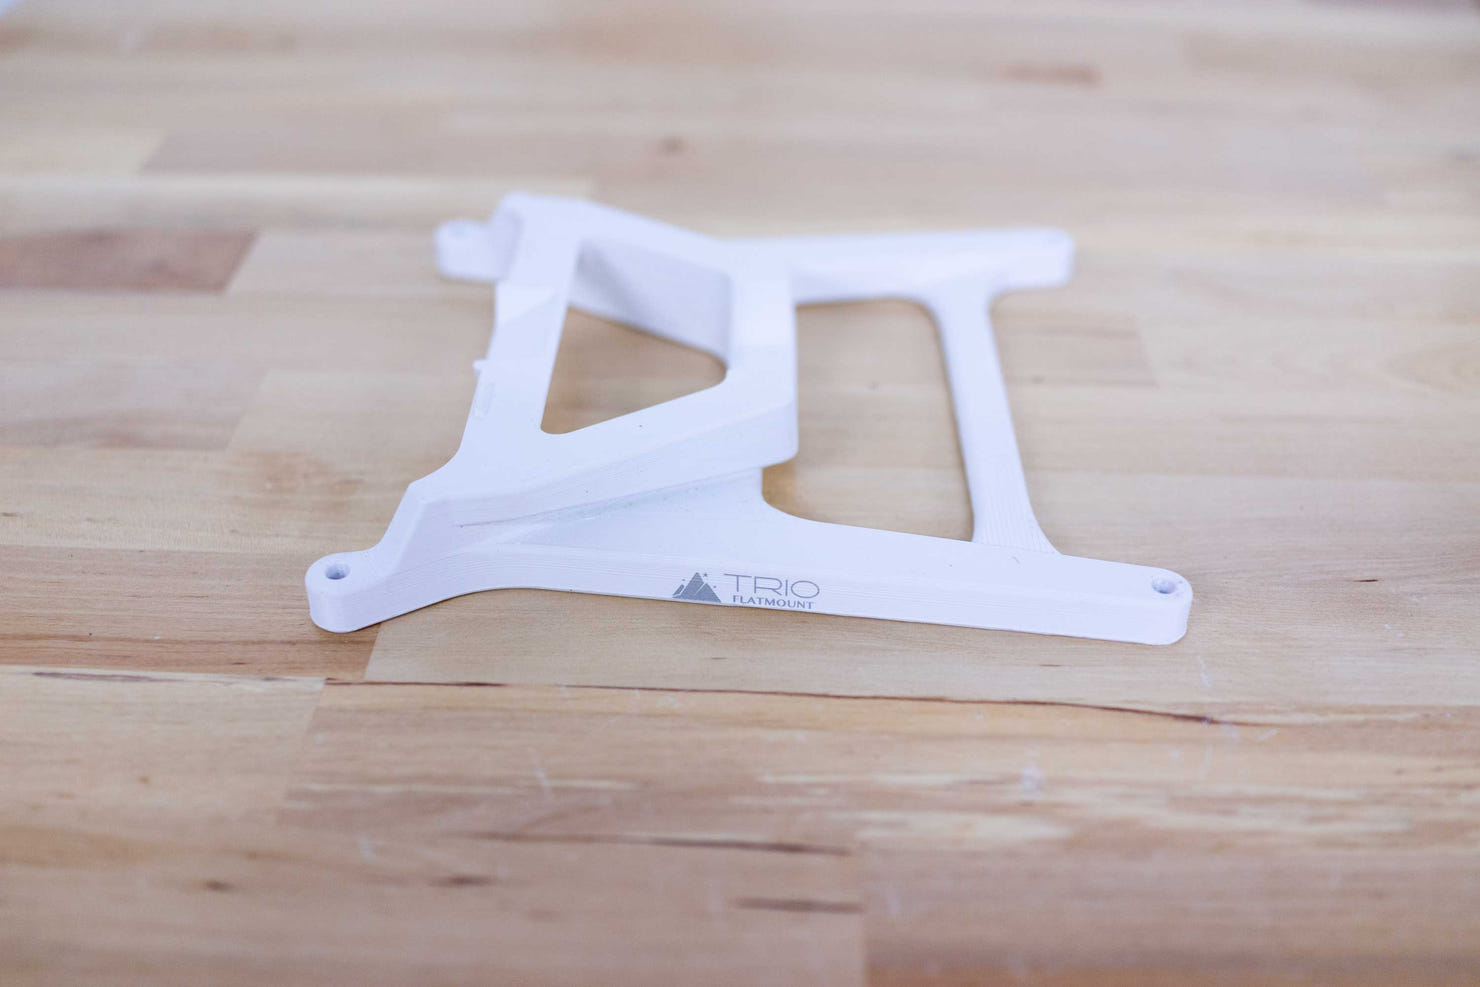
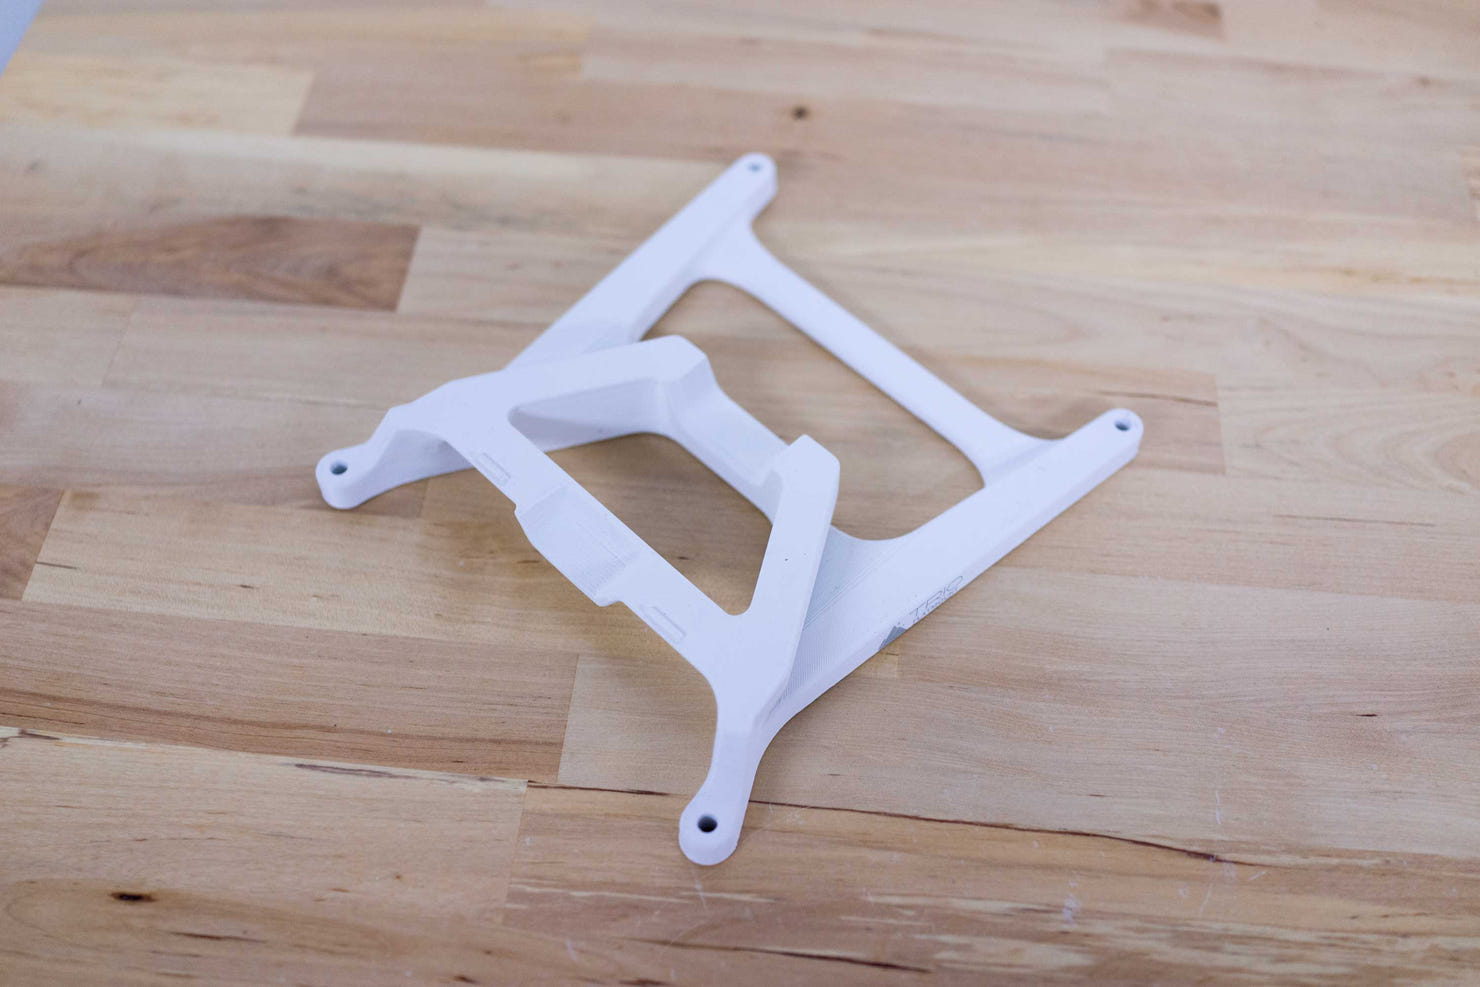
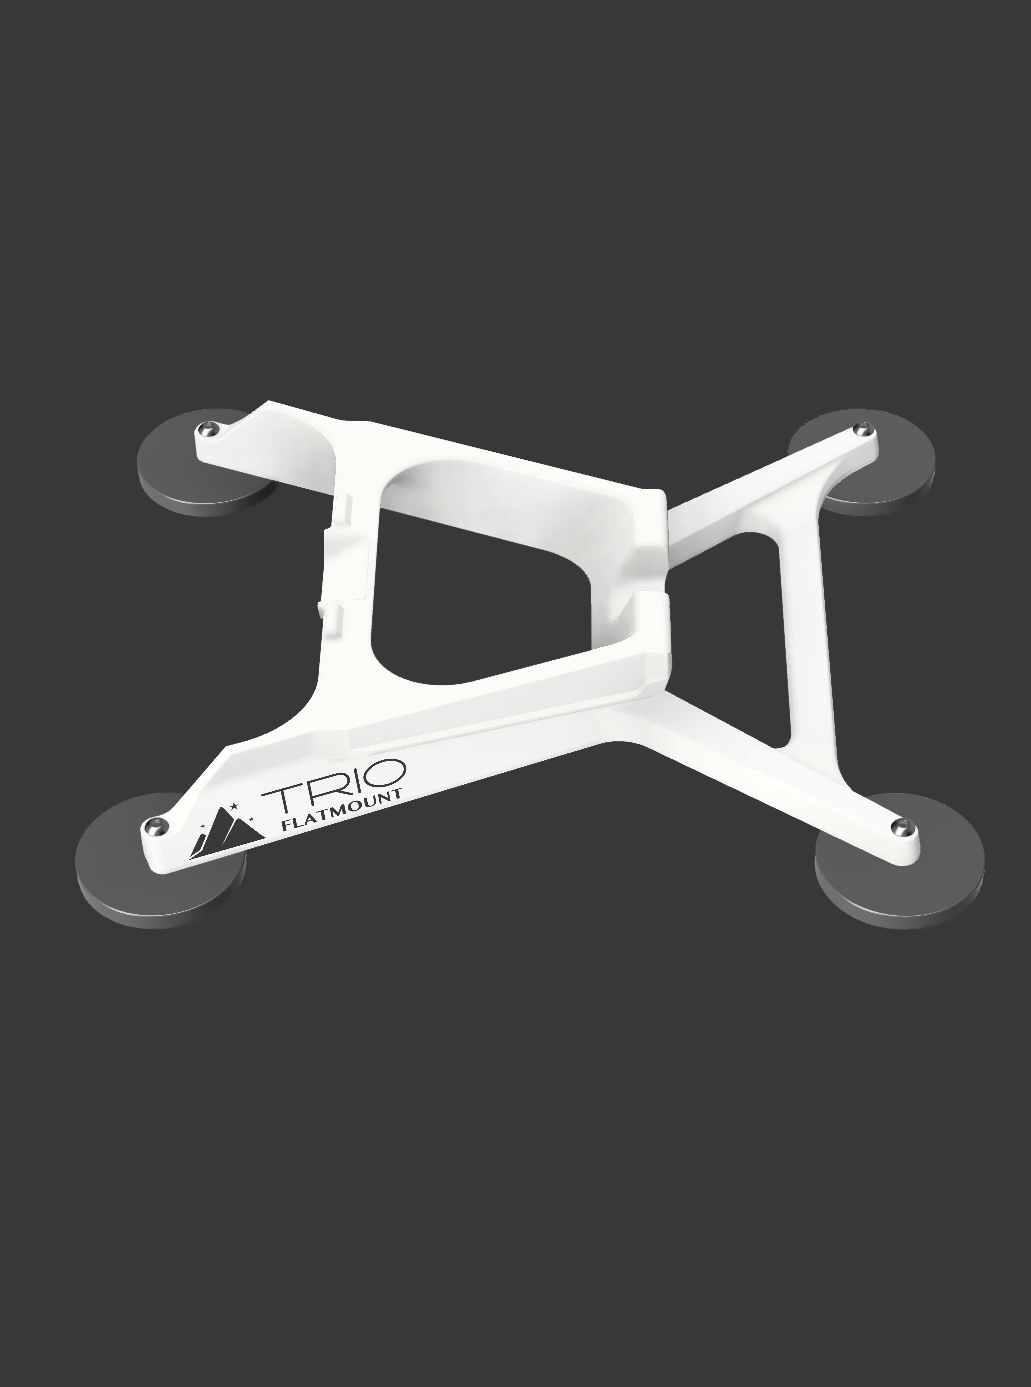
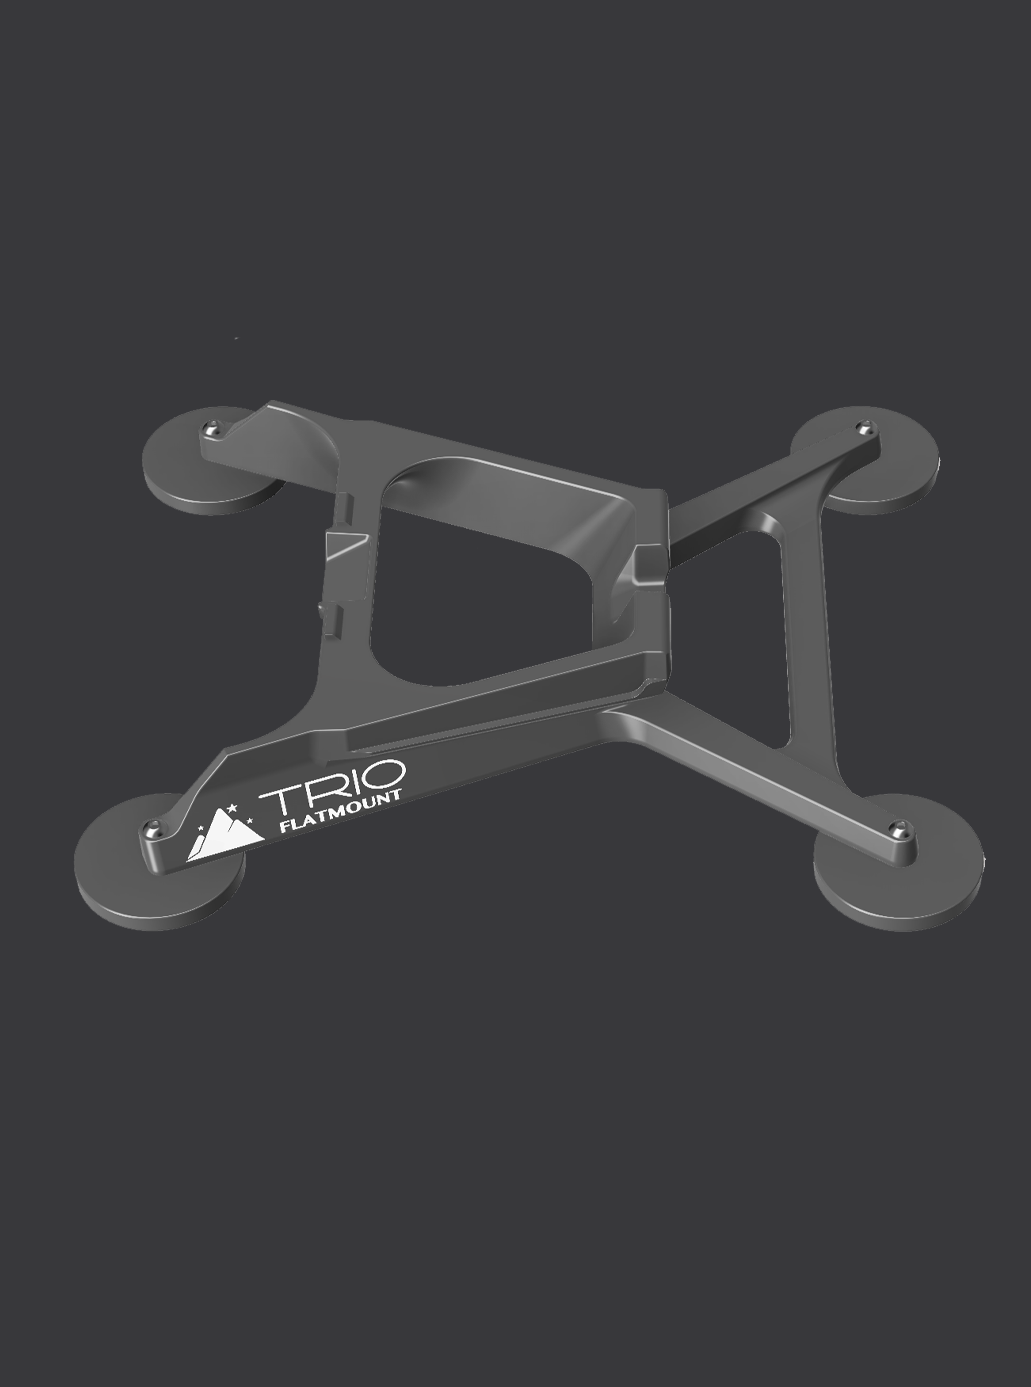
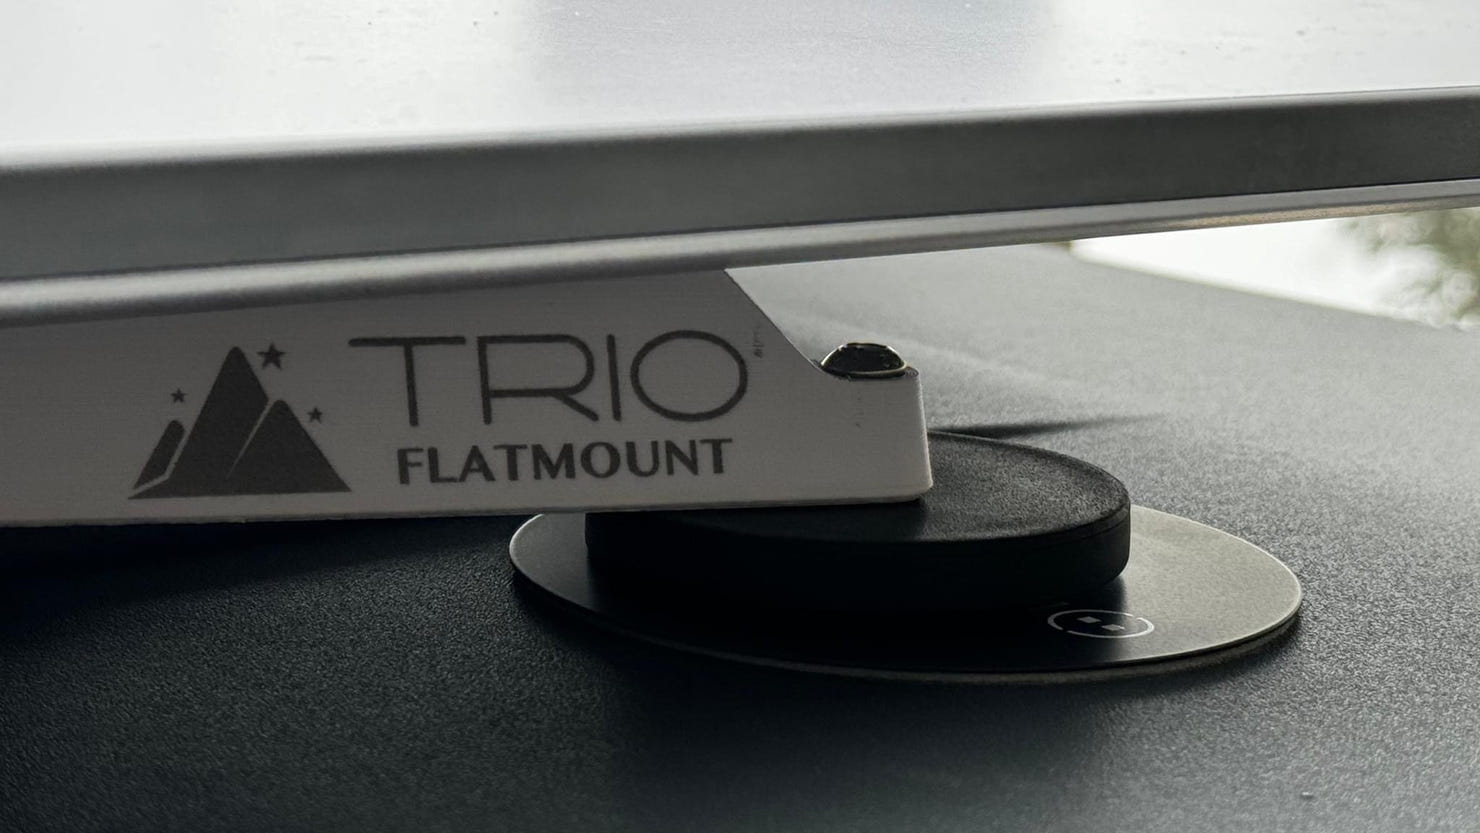
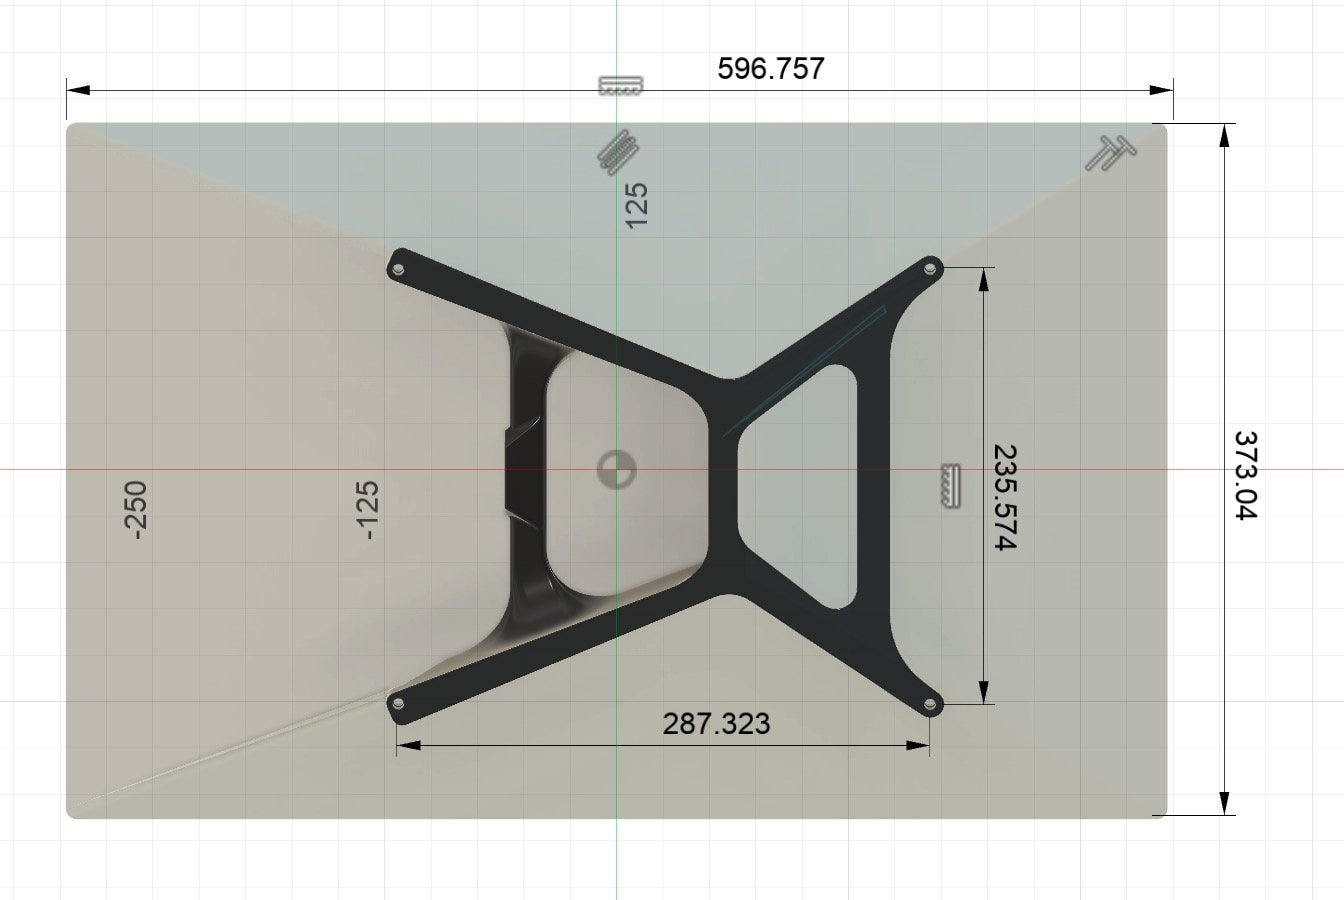
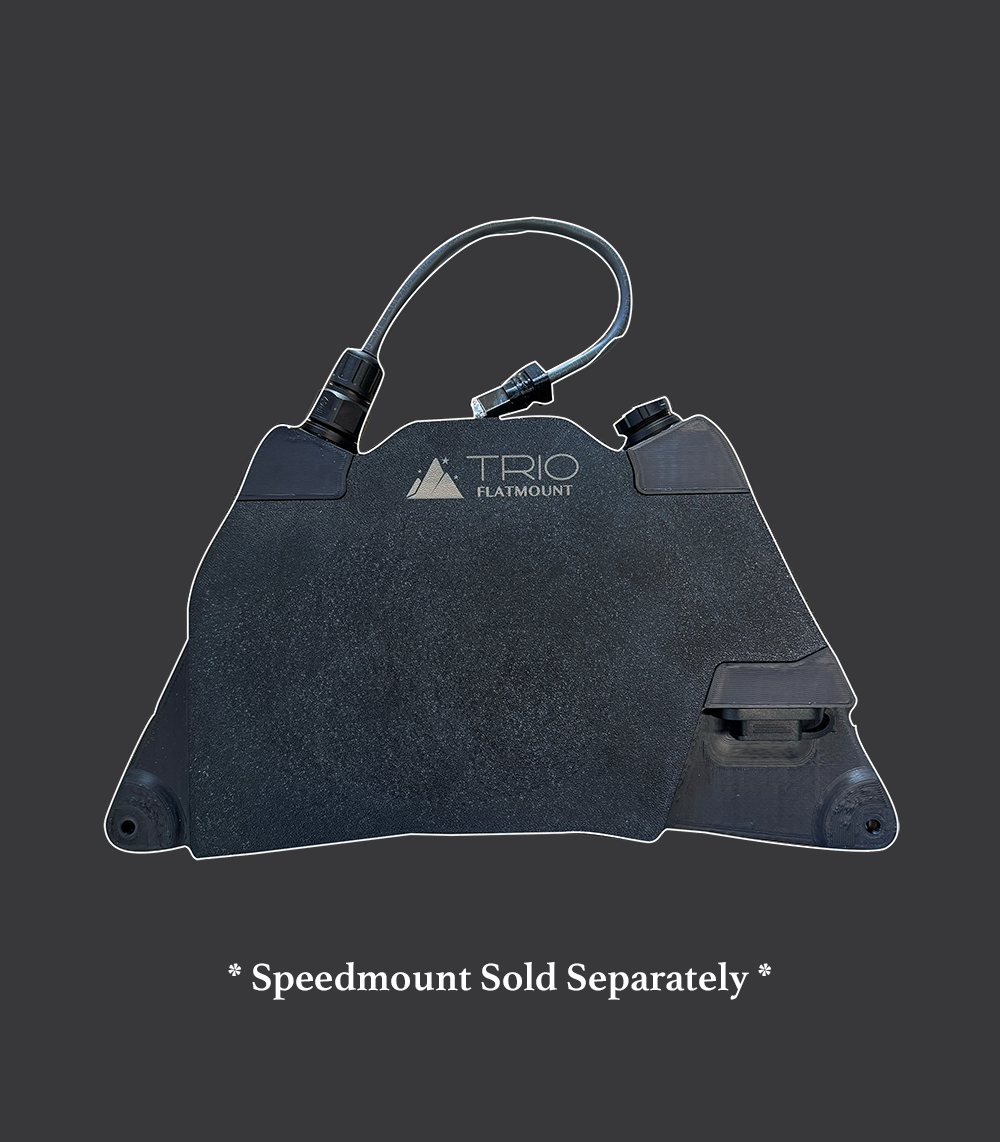
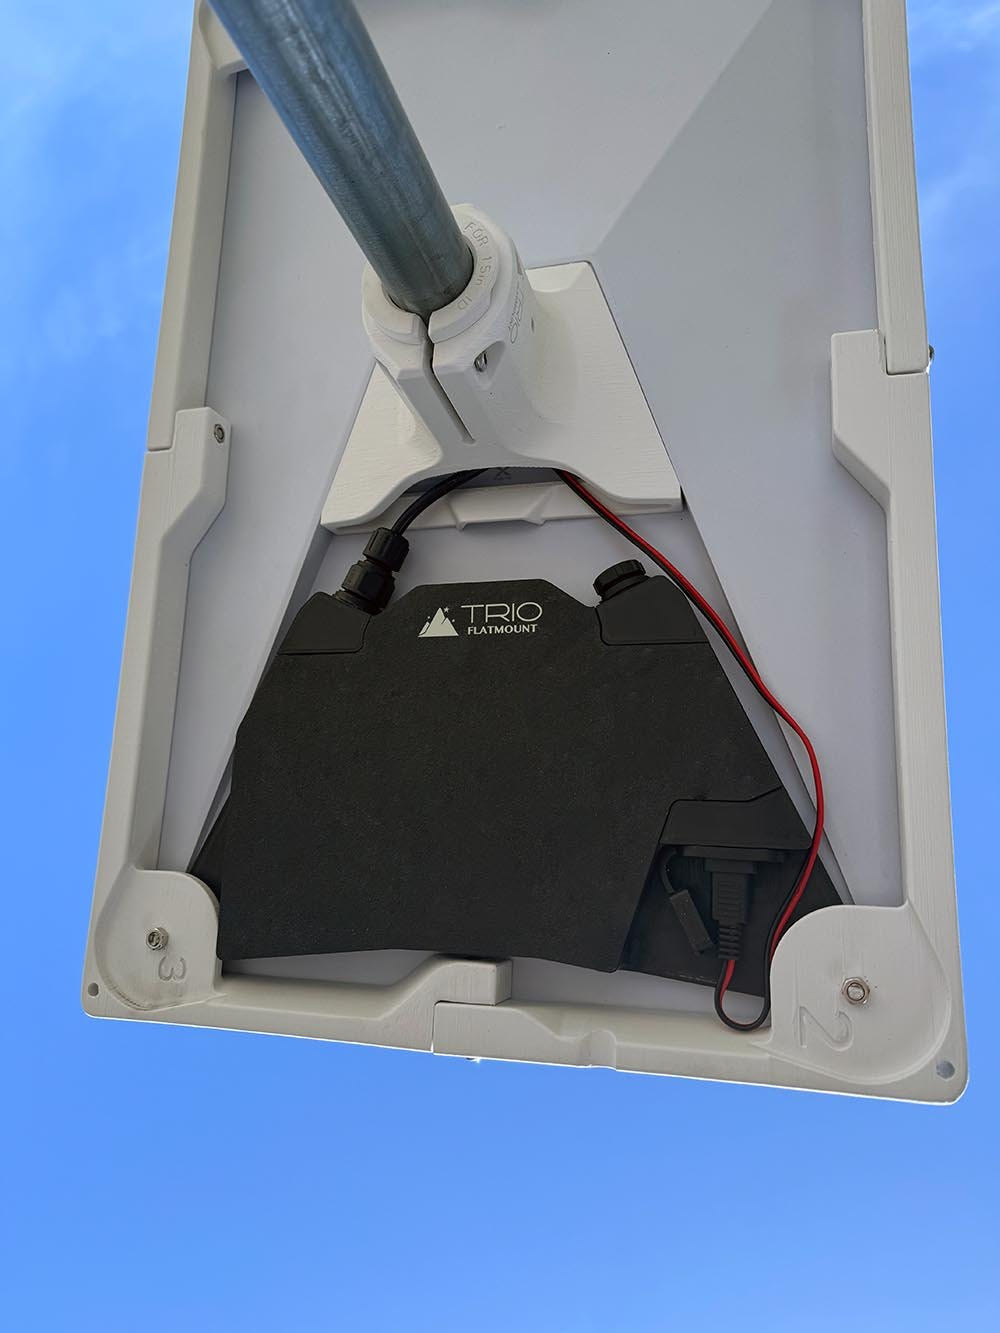
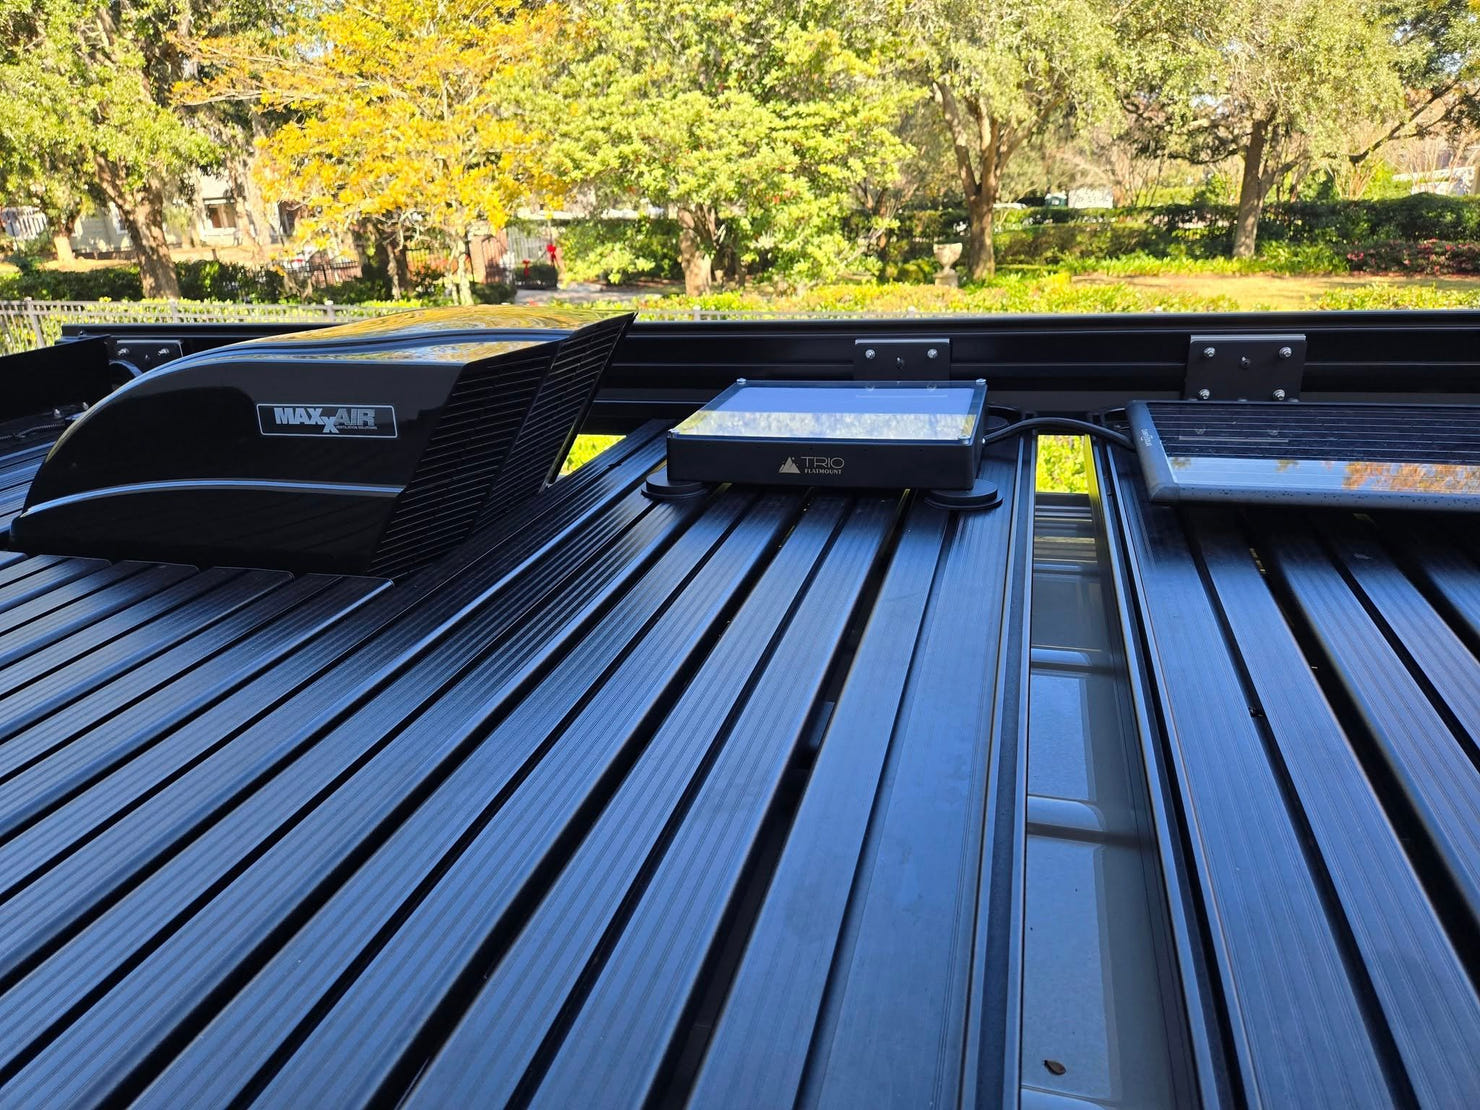
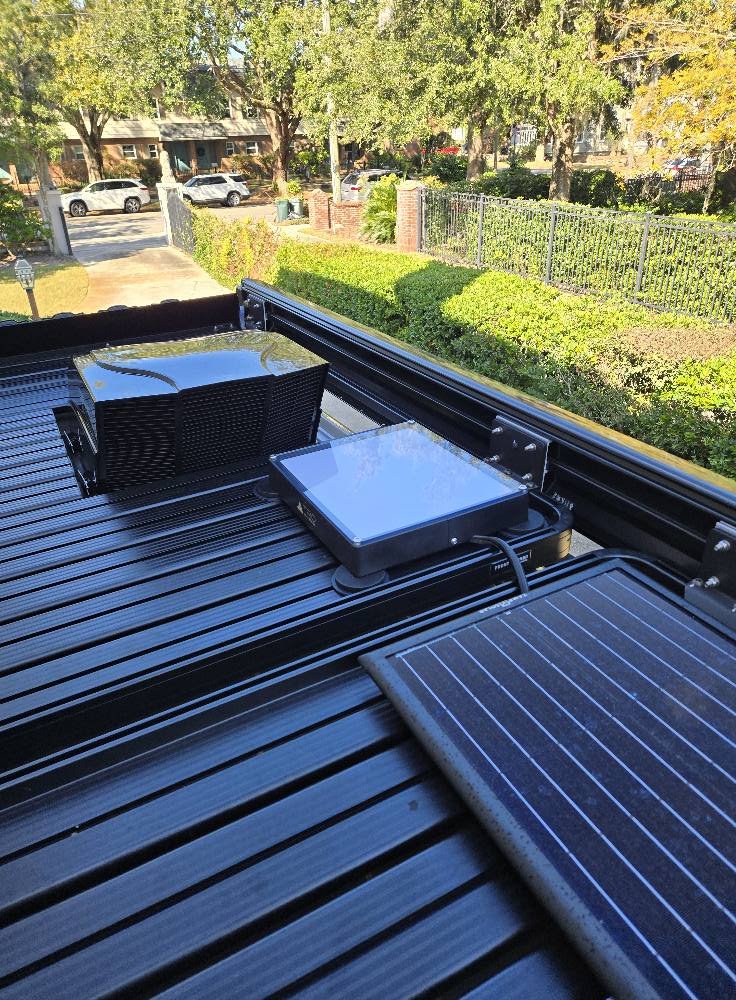
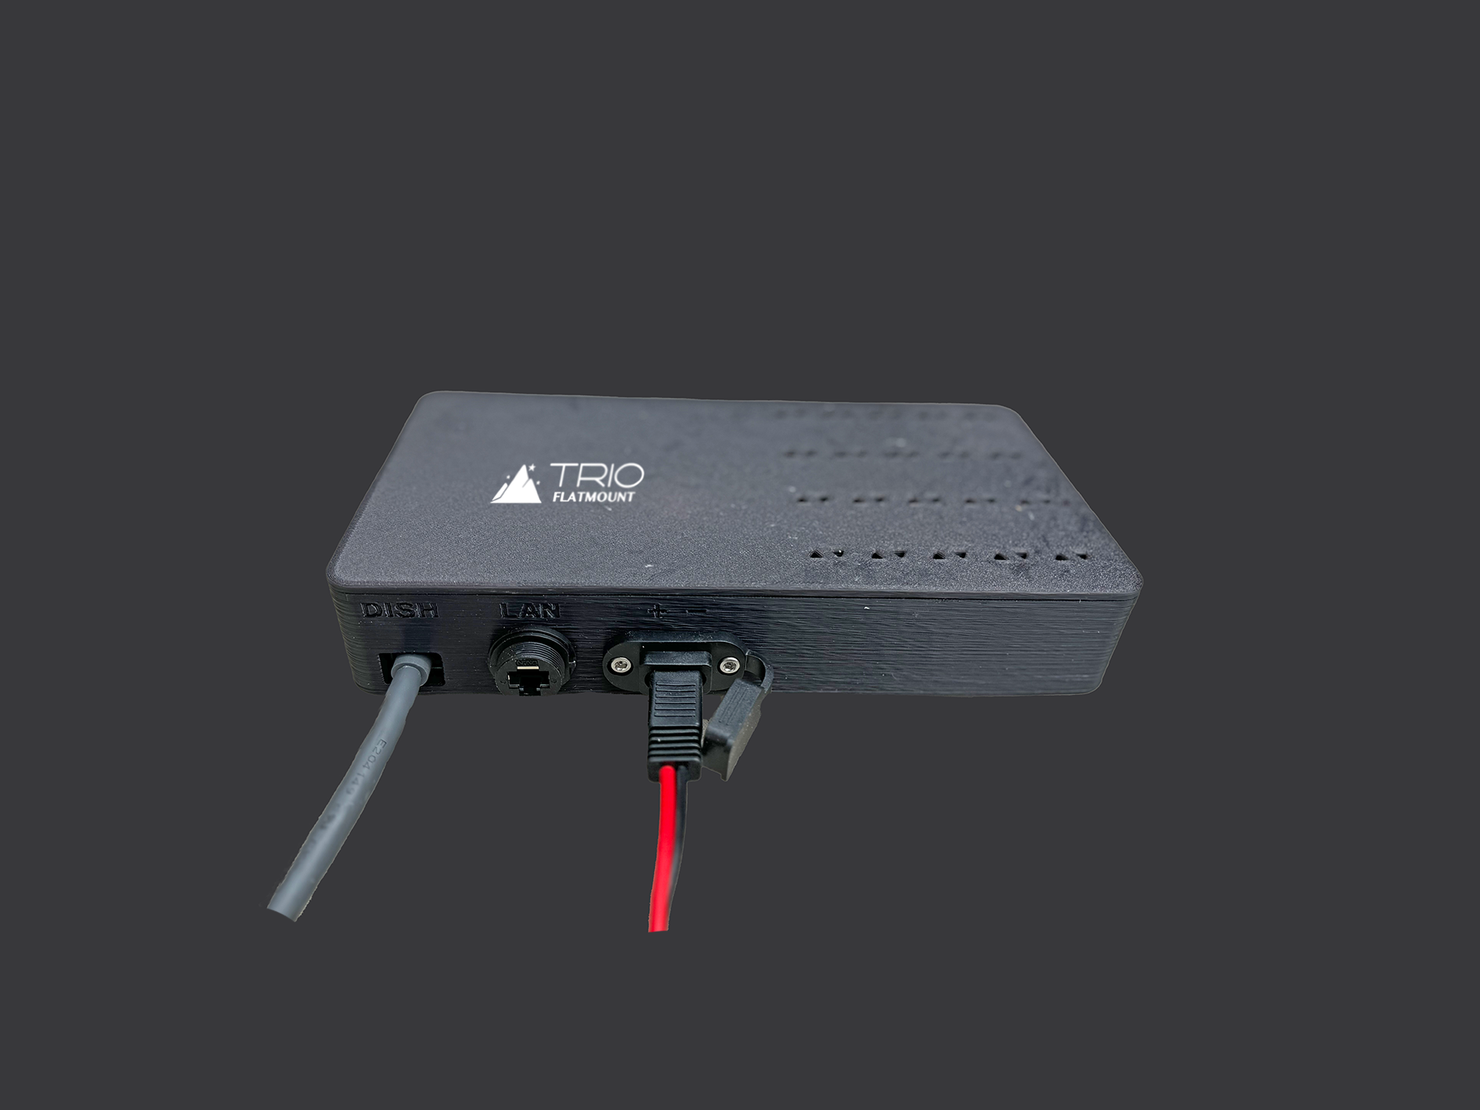
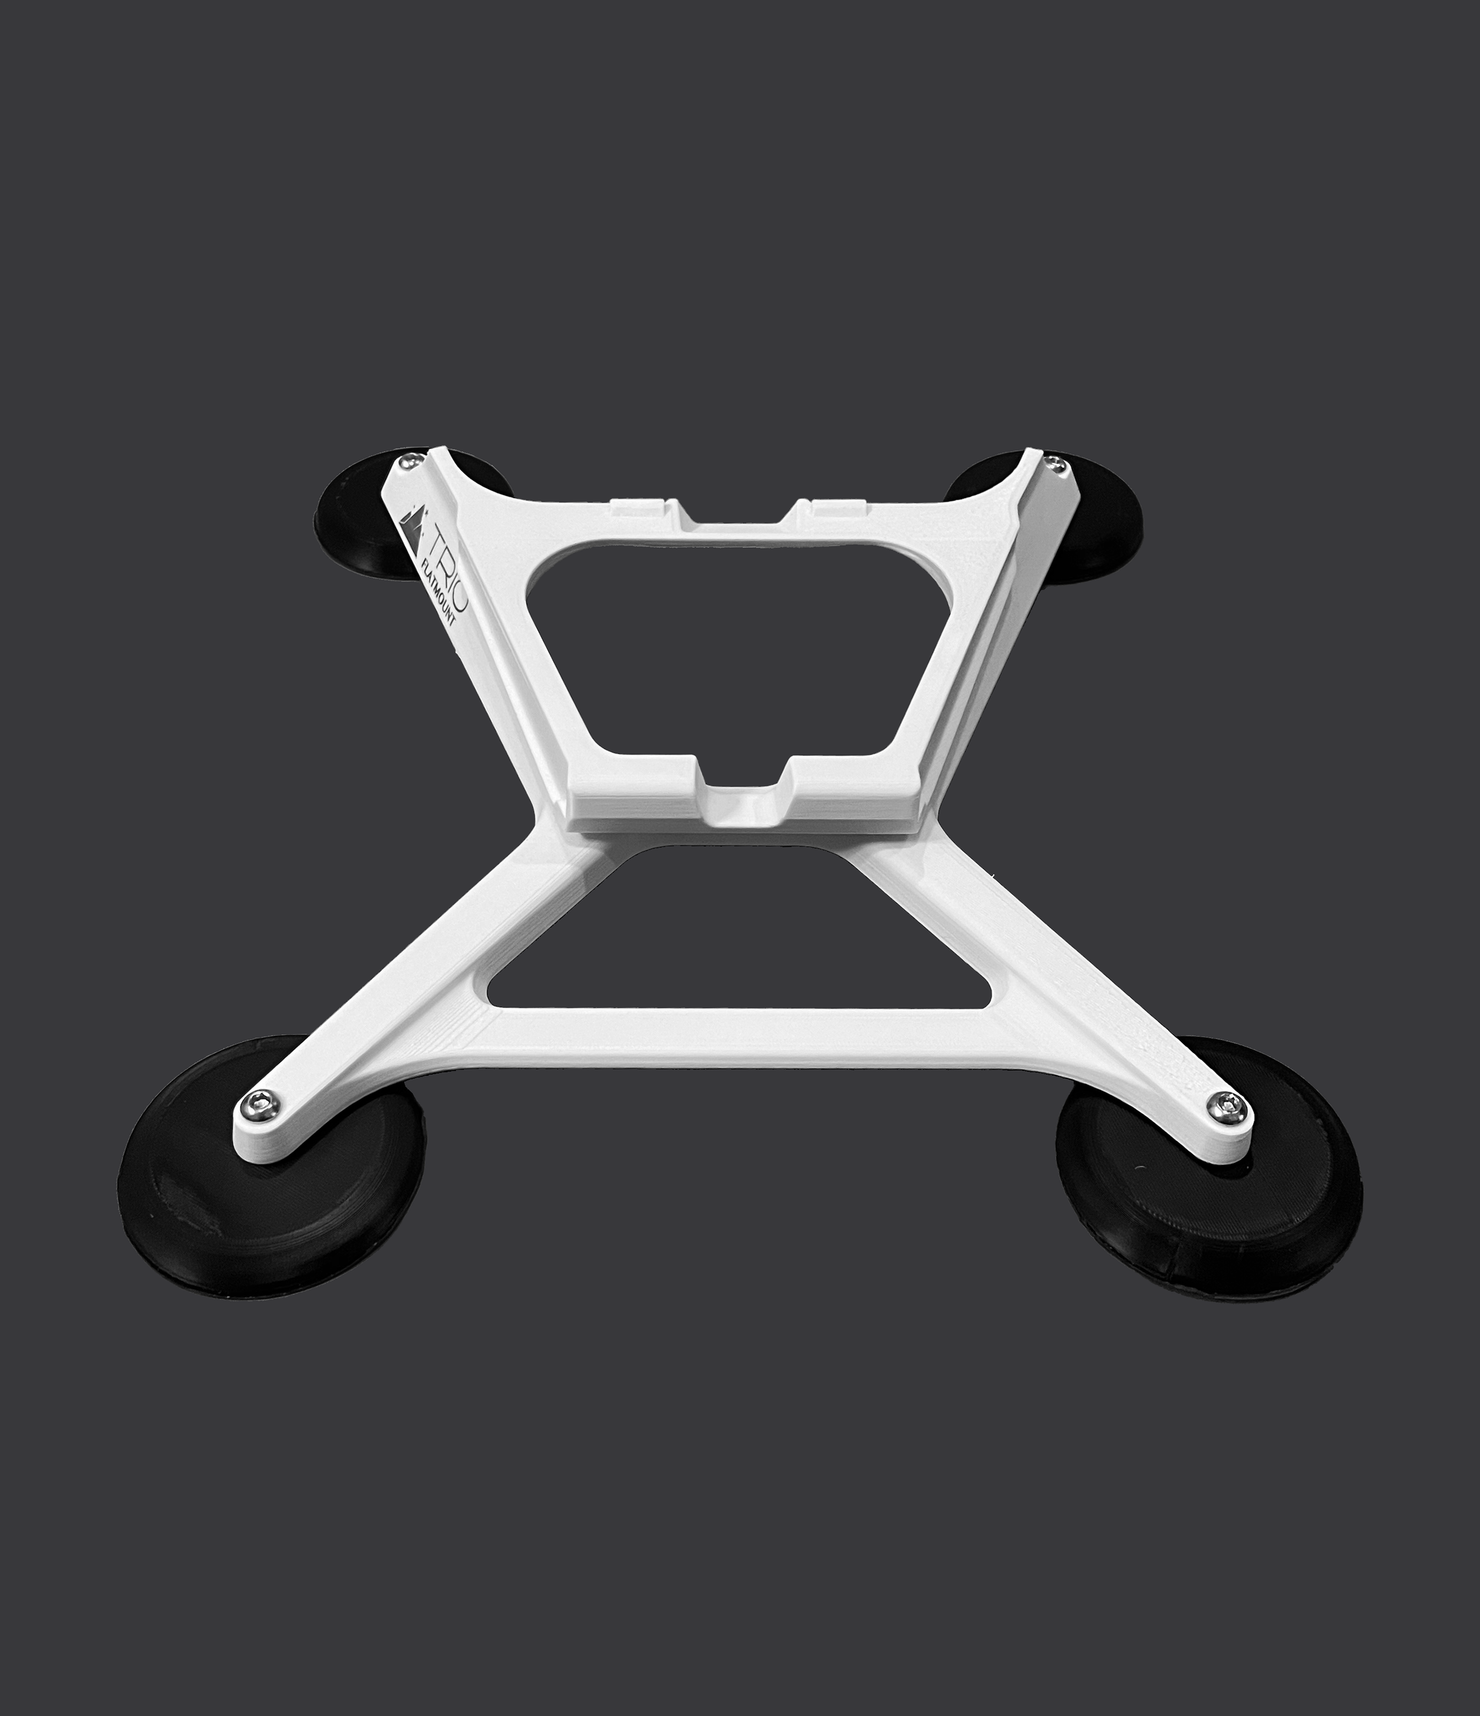
The Trio Mini Speedmount, for example, locks your dish down flat so it can handle wind, speed, vibration, and bad weather without a problem. You can drive, park, and even relocate it if trees or tall structures block your signal.
Tips for Getting the Best Value
-
Pick the right plan for how you use Starlink. If you’re always on the road, the Roam plan makes sense.
-
Don’t pay for more than you need. If you only use Starlink a few weekends a month, the Mini plan might do the job.
-
Invest in a proper mount. Let’s be honest, the tripod can fall over in high winds. And if you ever need to check your dish, you’ll be climbing a ladder and spending your whole afternoon doing it. A flatmount saves you all that trouble.
-
Check your region. Starlink often adjusts prices locally.
-
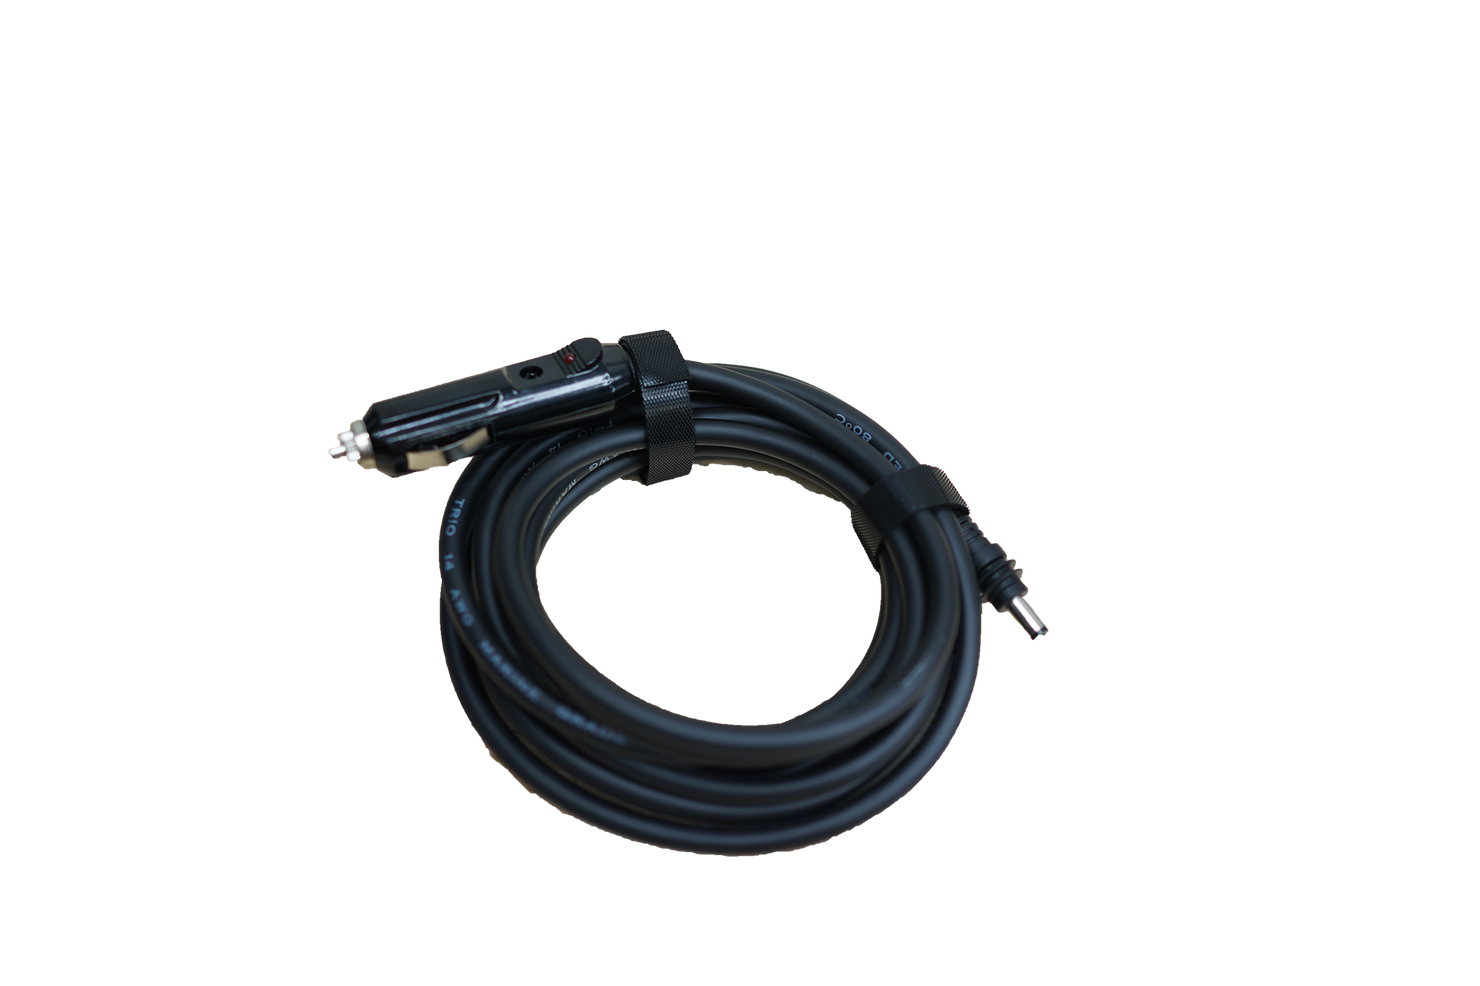
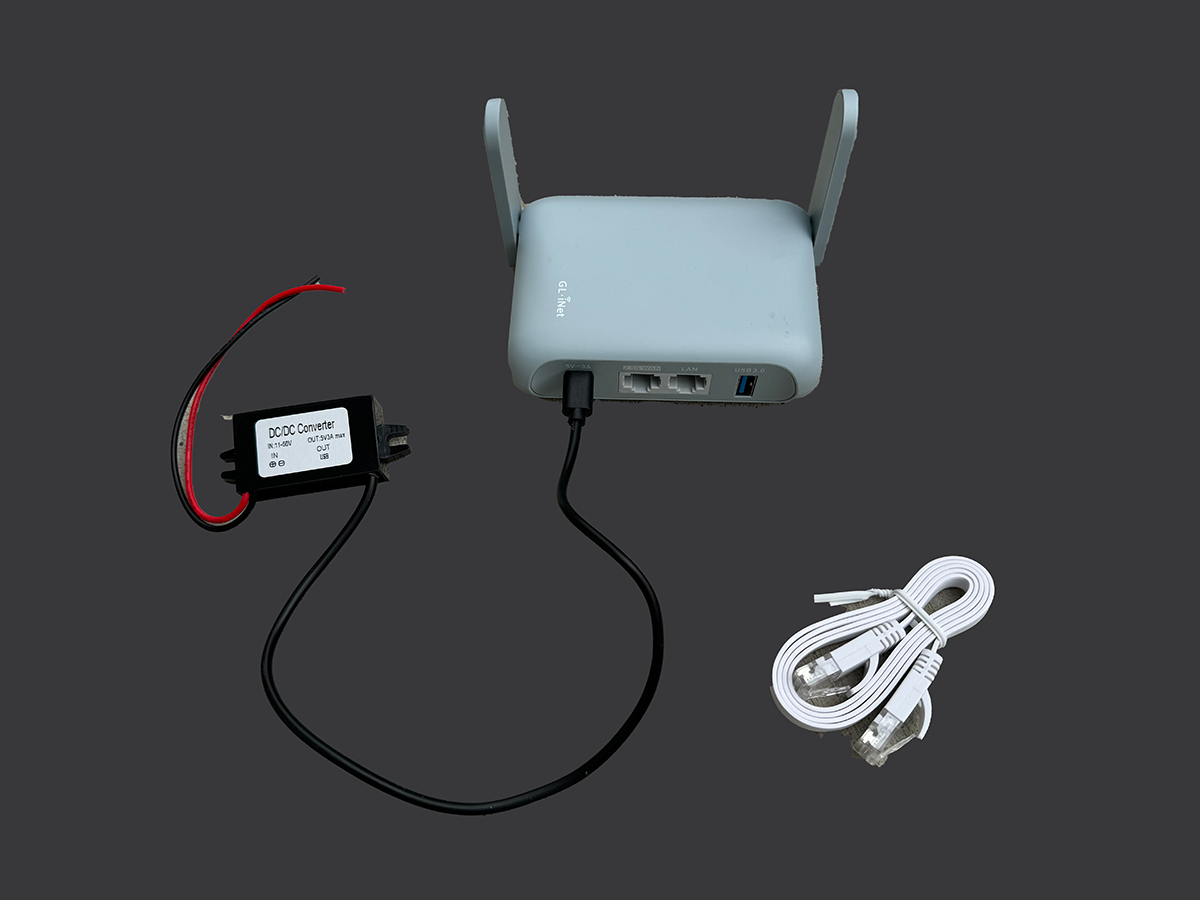
Use 12 V setups when mobile. It saves battery and runs smoother off-grid.
Final Thoughts
Starlink pricing is simple once you look at it the right way. It’s built to give people options, from the family in a cabin to the person working remote out of a national park like Yosemite. God, I wish I was in Yosemite right now. But anyway.
Once you know the difference between plans and get your setup right, it’s one of the best tools you can have for staying connected anywhere.
Before you hit that “Order” button, figure out how you’ll use it, what mount fits your rig, and which plan matches your lifestyle. Whether that’s Residential, Roam, or the Mini, you’ll know exactly what you’re paying for and why it’s worth it.